Root Cause Analysis Administration
Overview of Root Cause Analysis Module
The GE Digital APM Root Cause Analysis (RCA) module lets you conduct a root cause analysis, which allows you to analyze causes of failures. A root cause analysis also allows you to track the performance of the equipment by following implementation of recommendations. When you create a Root Cause analysis, you are using GE Digital APM tools to facilitate a standard process that is based on the PROACT® for Meridium methodology.
More Details
A root cause analysis is the process of analyzing failures down to their root causes, which can include but is not limited to physical causes, human causes, and latent causes of the failure.
In the GE Digital APM system, elements of a Root Cause analysis store all the information necessary for the team to identify a root cause for failure of and asset.
When the Root Cause analysis is complete, it can be published and made available to users who are not members of the analysis team, allowing them to view the results using GE Digital APM tools.
When a failure occurs in your facility, there could be any number of causes that led to the failure. If you investigate the causes, you might find that each failure is caused by another higher-level cause. If this root cause remains unidentified, the failures will likely persist.
For instance, consider an example of a car that has had trouble starting every month for the past three months. In this case, you might determine that:
- In the first month, the cold weather caused the failure.
- In the second month, the battery was low.
- In the third month, the warning to check engine was displayed in the dashboard.
If you were to conduct a root cause analysis on the car, you may find that while each month's failure had its own apparent cause, the root cause of each failure was that a voltage regulator was malfunctioning.
To help you identify the root causes of failures in your facility, you can assemble an RCA Team that will:
- Collect data relevant to the failure.
- Analyze the data.
- Develop hypotheses about the root cause.
- Develop recommendations for preventing the failure from occurring or lessen the impact of the failure in the future.
- Implement recommended solutions.
- Track implemented solutions and re-evaluate them, as needed.
Access the RCA Administrator Page
About this task
To access the RCA Administrator page, you must be a Super User or a member of the MI PROACT Administrator Security Group.
Procedure
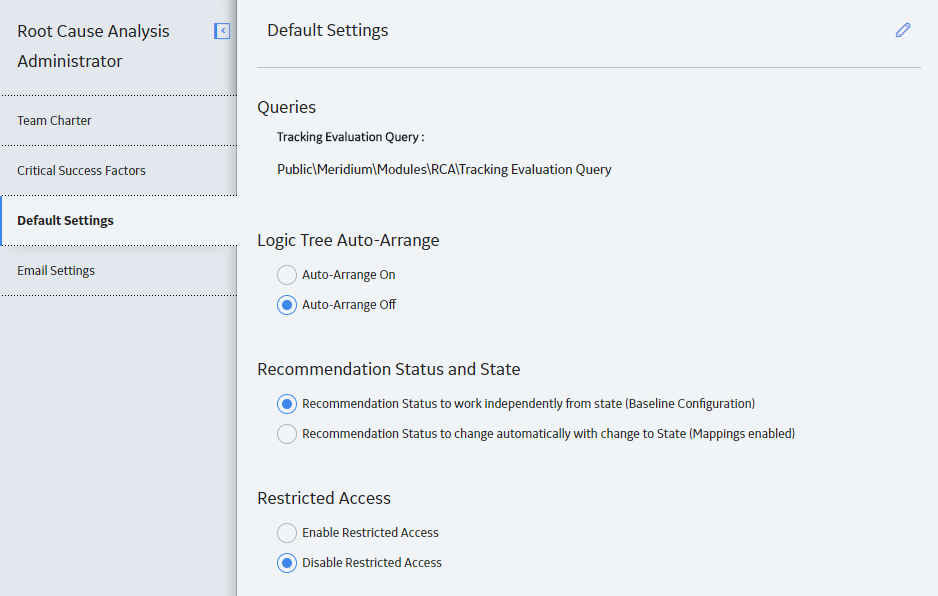
The RCA Administrator page appears, displaying the following tabs in the left pane:
- Team Charter: Contains the default Team Charter. You can specify the Team Charter that will appear when you access the Team Charter section for an RCA.
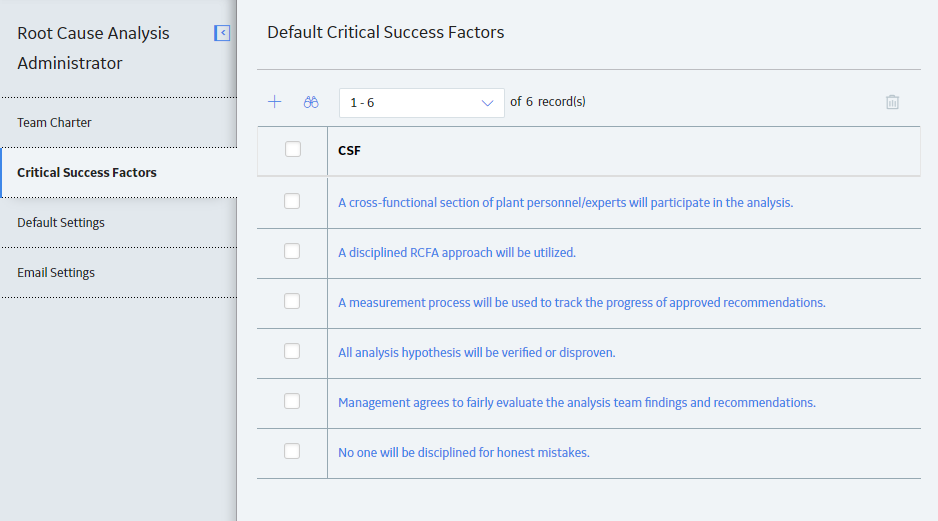
- Critical Success Factors: Contains a list of the Critical Success Factors (CSFs) that will appear by default in the Available CSF section when you access a CSF for an RCA.
- Other Settings: Contains the Tracking Evaluation Query, which contains Catalog path to the Tracking Evaluation Query that is provided in the baseline GE Digital APM database.
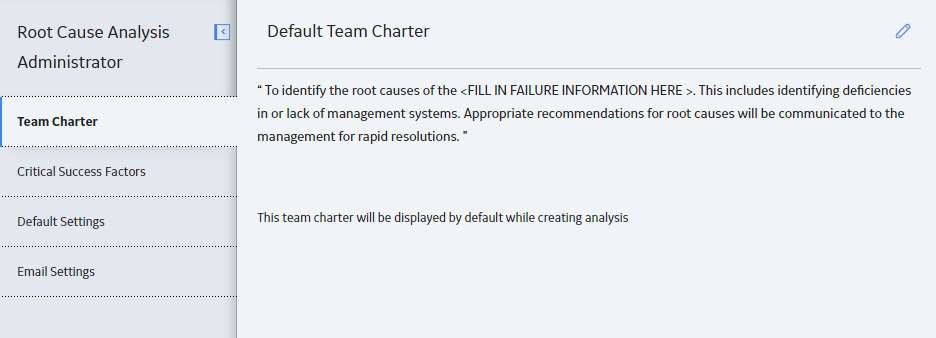
Modify the Default Team Charter
Procedure
-
Access the RCA Administrator page.
The default Team Charter appears in the workspace.
- In the upper-right corner of the workspace, select
 .
. The default Team Charter appears in a box.
- As needed, modify the text, and then select
 .
.Your changes are saved.
Results
After you modify the default Team Charter, your changes will appear in:
- The Team Charter workspace on the RCA Administrator page.
- The Team Charter section in the Analysis Summary workspace, if you use the default Team Charter in an RCA.
Create a New Default Critical Success Factor
About this task
Procedure
- Select the Critical Success Factors tab.
A list of default Critical Success Factors appears in the workspace.
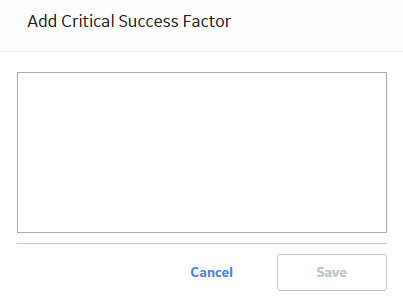
- In the upper-left corner of the workspace, select
 .
.The Add Critical Success Factor window appears.
Results
After you create a default Critical Success Factor, it appears in:
- The Default Critical Success Factors list in the Critical Success Factors workspace on the RCA Administrator page.
- The Available CSFs list in the Analysis Summary workspace, when you try to create a new Critical Success Factor.
Modify a Default Critical Success Factor
About this task
Procedure
- Select the Critical Success Factors tab.
A list of default Critical Success Factors appears in the workspace.
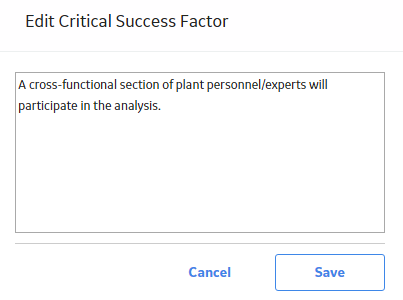
- In the CSF column, select the hyperlink to the Critical Success Factor that you want to modify.
The Edit Critical Success Factor window appears.
Results
After you modify a default CSF, your changes will appear in:
- The Default Critical Success Factors list in the Critical Success Factors workspace on the RCA Administrator page.
- The Available CSFs list in the Analysis Summary workspace, when you try to create a new Critical Success Factor.
Delete a Default Critical Success Factor
About this task
Procedure
- Select the Critical Success Factors tab.
A list of default Critical Success Factors appears in the workspace.
- In the upper-right corner of the workspace, select
 .
.The Delete Critical Success Factor dialog box appears, asking you to confirm that you want to delete the selected Critical Success Factor.
Results
When you delete a default Critical Success Factor, it will be removed from:
- The Default Critical Success Factors list in the Critical Success Factors workspace on the RCA Administrator page.
- The Available CSFs list in the Analysis Summary workspace, when you try to create a new Critical Success Factor.
Specify the Tracking Evaluation Query
About this task
Procedure
- Select the Default Settings tab.
The default Tracking Evaluation Query appears in the workspace.
- In the upper-right corner of the workspace, select .
The default Tracking Evaluation Query appears in a box.
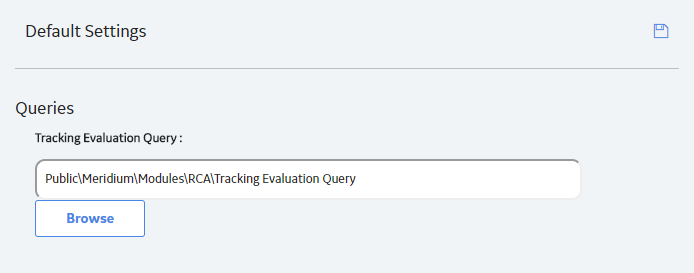
- Select Browse.
The Select a query from the catalog window appears.
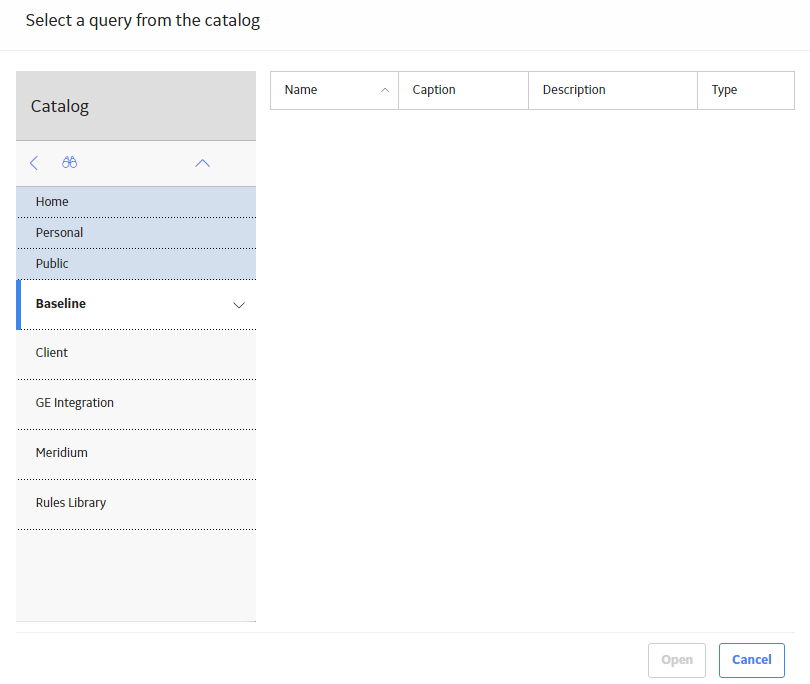
- Select .
Your changes are saved.
Specify Logic Tree Auto-Arrange
Procedure
- Select the Default Settings tab.
The Default Settings workspace appears.
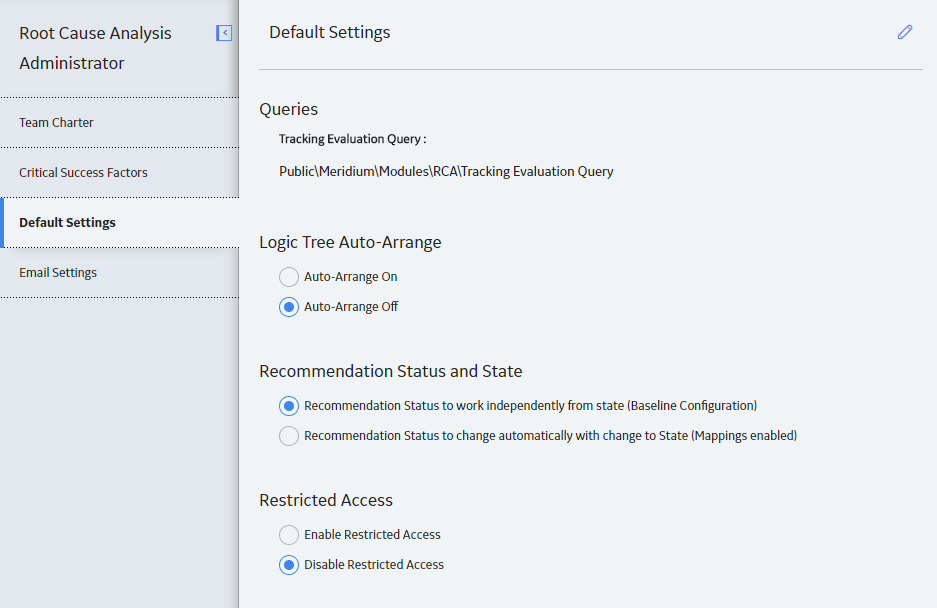
- Select , and then select the Logic Tree Auto-Arrange setting that you want to apply. Select one of the following options:
- Auto-Arrange On: The Logic Tree diagram will auto-arrange by default.
- Auto-Arrange Off: The Logic Tree diagram will auto-arrange only when the Auto-Arrange check box on the Logic Tree diagram in an RCA Analysis is selected.
- Select .
The Logic Tree Auto-Arrange setting is saved.
Configure the Email Setting
Procedure
- Select the Email Settings tab.The Email Settings workspace appears.
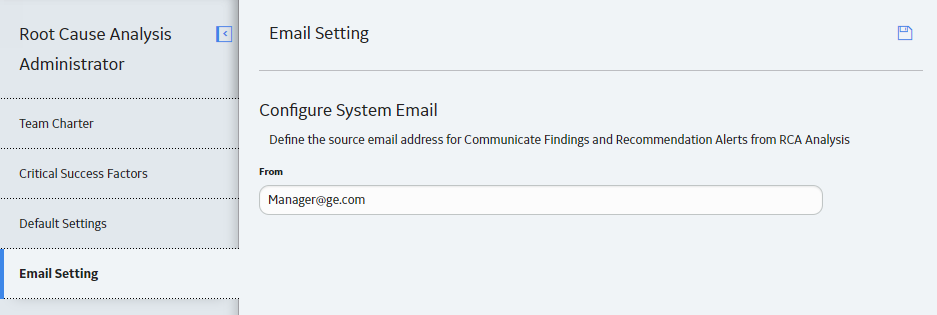
- In the From field, enter a valid email address, and then select .The email is saved and will now appear when you send a summary of findings, and Recommendation Alerts via email.
Configure State Management Email
Procedure
- Select the Email Settings tab.The Email Settings workspace appears.
- Select .The email content is saved and will be sent when an analysis is published or unpublished.