Before you begin
- Install collectors.
- For an iFIX collector, ensure that iFIX is running in a Windows-service mode.
For more information, refer to Working with iFIX Collectors.
- If the destination of a collector is an Azure IoT Hub device, ensure that the
device is running.
About this task
Before you begin using a collector, you must add an instance of the collector. You
can add multiple instances of the same collector or instances of multiple collectors
where you have installed the collectors. To add multiple instances of a collector,
perform the steps provided in this topic once again.This topic describes how to add a
collector instance using Configuration Hub. You can also add a collector
instance using the RemoteCollectorConfigurator utility, which does not
require you to install Web-based Clients.
Procedure
-
Access the system to which you want to
add a collector instance.
-
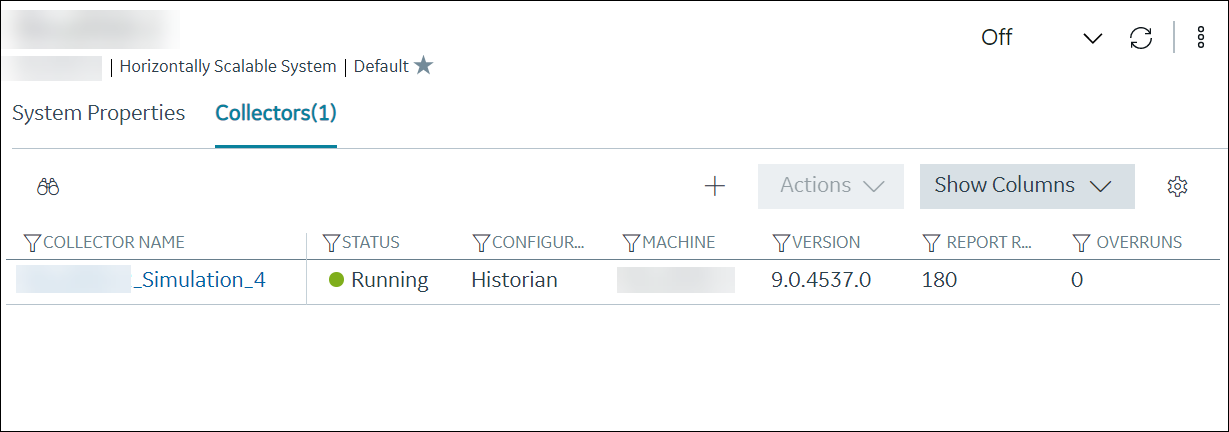
Select Collectors.
A list of collectors in the system appears.
-
Select
 .
.
The Add Collector Instance: <system name> window
appears, displaying the Collector Selection section. The
MACHINE NAME field contains a list of machines on
which you have installed collectors.
-
In the MACHINE NAME field, select the machine in which
you want to add a collector instance.
-
In the COLLECTOR TYPE field, select the type of the
collector whose instance you want to add, and then select Get
Details.
The INSTALLATION DRIVE and DATA
DIRECTORY fields are disabled and populated.
-
Select Next.
The Source Configuration section appears. For an
OPC collector, the source configuration is automatically populated. And, if you
have selected File Collector, the Destination
Configuration section appears. If that happens, skip to step
8.
-
In the HISTORIAN SOURCE SERVER field, enter the machine
name of the source server from which you want the collector to collect data. As
needed, enter values in the USERNAME and
PASSWORD fields to connect to the server.
For cloud collectors, a different set of fields appear. In that case, enter
values in the available fields.
-
Select Next.
The Destination Configuration section
appears.
-
In the CHOOSE DESTINATION field, select the destination
to which you want the collector to send data. By default, Historian
Server is selected.
-
Depending on the destination you have selected, provide values in the available fields, and then
select Next.
The Collector Initiation section appears. The
COLLECTOR NAME field is disabled and
populated.
-
In the RUNNING MODE field, select one of the following
options.
- Service - Local System Account: Select this
option if you want to run the collector as a Windows service using the
credentials of the local user (that is, the currently logged-in user).
If you select this option, the USERNAME and
PASSWORD fields are disabled.
- Service Under Specific User Account: Select this
option if you want to run the collector as a Windows service using a
specific user account. If you select this option, you must enter values
in the USERNAME and
PASSWORD fields. If you have enabled the
Enforce Strict Collector Authentication
option in Historian Administrator, you must provide the credentials of a user who is added to at least
one of the following security groups:
- iH Security Admins
- iH Collector Admins
- iH Tag Admins
If you choose the first two options, you can also configure the collector to
start automatically when you start the computer, or, in the case of iFIX
collectors, whenever you start iFIX.
-
Select Add.
The collector instance is added, and appears in the Collectors list. A
shortcut is created for each instance of the following collectors so that you
can open them at a command prompt:
- The iFIX Alarms and Events
collector
- The OPC Classic Alarms and Events
collector
- The OPC Classic DA
collector
- The OPC Classic HDA
collector
What to do next
Specify the tags whose data you want to collect using the
collector. In the CHOOSE CONFIGURATION field in the
Destination Configuration field,
- If you have selected Historian Configuration, access
Historian Administrator, and manage the tag configuration. For information,
refer to Configure Tags.
- If you have selected Offline Configuration, modify the
offline configuration file of the collector. By default, this file is available
in the following location: <installation folder of
Historian>\GE Digital\<collector
name>. For information, refer to Creating Offline Configuration XML file.