Install the Historian ETL Tools
Before you begin
About this task
- The Extract tool
- The Transform tool
- The Load tool
Note: If you want to upgrade Historian ETL:
- Uninstall the existing version of Historian ETL.
- Backup the configuration files, and delete them.
- Install the latest version of Historian ETL.
Procedure
-
Select the Accept check box, and then select Next.
The default installation drive appears.
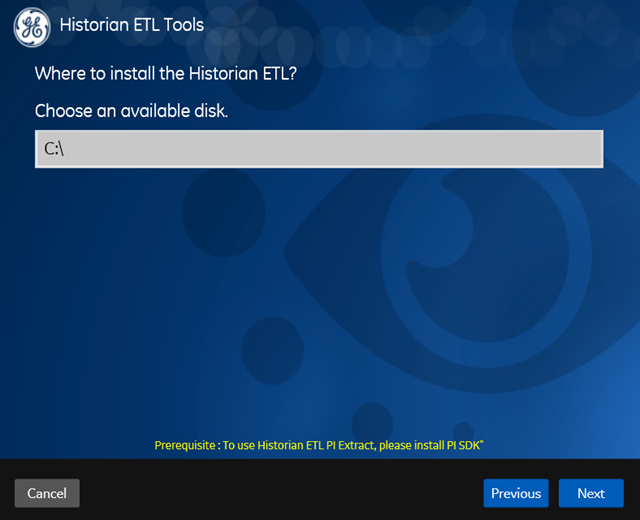
-
If required, modify the installation drive for Historian ETL, and then select Next.
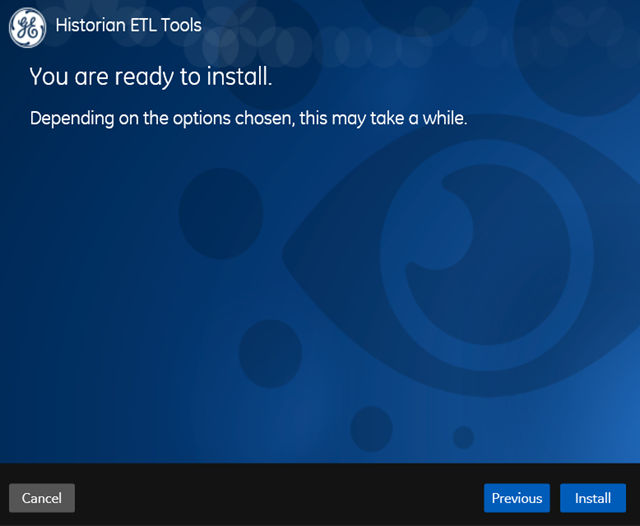
A message appears, stating that you are ready to install ETL.
Results
- The following folders are created in the GE Digital folder
in the installation drive that you specified:
- Historian ETL Extract
- Historian ETL Load
- Historian ETL PI Extract
- Historian ETL Transform
- The following services are installed:
- Historian ETL Extract
- Historian ETL Load
- Historian ETL PI Extract