The
Select Features page appears, displaying a list of
components that you can install with
Client Tools.
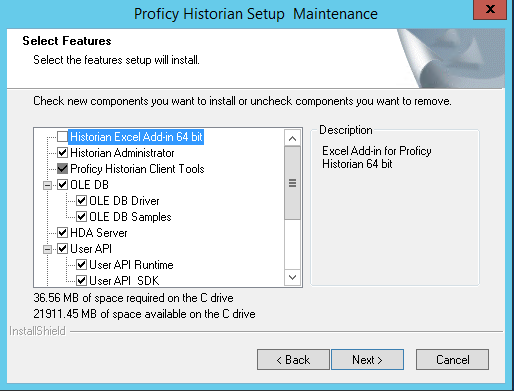
By
default, the check boxes for components such as
Historian
Administrator,
HDA Server,
OLE DB, and
User API and
SDK are selected. If you do not want to install them at this
time, clear the check boxes. You cannot, however, clear the
Proficy Historian Client Tools check box.
Important: If you are reinstalling, you must select all of the
previously installed components. If you do not do so, the component will
be uninstalled.
By default, the
Historian Excel
Add-in 64-bit check box is cleared. If you want to install
Excel Add-In along with
Client Tools installation, select the check box.
Note: If using certain versions of
Windows (like Windows 10 or Windows 2019), you may receive an error
message while installing Excel Add-In, stating that some of the DLL
files are not registered. You can ignore these
messages.