 Plant Applications
Add Tags, Variables, KPIs, Process Orders, and Batches
You can add Historian tags, Plant Applications variables, KPIs, process orders, batches, and golden batches to the Analysis page to trend required charts and display tables for analyzing information.
Before you begin
- Install Historian Web-based Clients.
- Access the historian-config-prod.properties file. For Enterprise Plant Applications, this file is located at <installation folder of Docker>/plantapps-web-docker/mnt/configfiles/historian-config/prod/1.1.0-SNAPSHOT
- For each Historian server whose tag data you want to add, provide the details of Historian as described in the following table.
Parameter Description Required/Optional? histN.service.origin The IP address, hostname, or the fully qualified domain name (FQDN) of the machine on which you have installed Historian Web-based Clients. Required histN.service.port The port number on which the Historian Web-based Clients is running. Required only if it is other than 8443 histN.service.hostname The hostname of the Historian server, as configured in Plant Applications. Required histN.service.client_id The client ID of the Historian UAA service. The default value is admin. Required histN.service.client_secret The client secret of the Historian UAA service. Required histN.uaa.origin The IP address, hostname, or the FQDN of the machine on which the UAA service used by Historian is installed. Required histN.uaa.port The port number of the UAA service used by Historian. Required hist.service.clientSecretEncrypted Indicates whether the client secret that you have provided is encrypted. The default value is false. Required - Restart the following services:
- mesdataservice
- Processanalyserappservice
Procedure
- Log in to Plant Applications Web Client.
-
Select
 .
The Chart Configuration page appears. By default, the Tags option appears in the Data type list.Note: After you login and select for the first time, the default trend
chart appears. You can select
.
The Chart Configuration page appears. By default, the Tags option appears in the Data type list.Note: After you login and select for the first time, the default trend
chart appears. You can select  to go back to the
Chart Configuration page.
to go back to the
Chart Configuration page. -
Select a context in the Plant Model list.
Note: You must expand the plant name to navigate and select the required department, line, or unit of your plant. The selected department, line, or unit appears for the plant model in the Plant Model list.
-
Select the required Historian server in the Historians list.
Note: The Historians list appears only when you select Tags in the Data type list. You can plot the Historian tags belonging to multiple Historian servers, limited to 10 servers only. The Historian server can be local or remote. A local Historian server is installed on the same node as the Process Analyzer. The remote Historian server is installed on a node different than that of the Process Analyzer. The minimum supported version is Historian 7.0 SP5 or later.
-
In the Data type list, select one of the following
options:
- Tags
- Variables
- KPI (available for lines and units only)
- Process Orders (available only if Plant Applications Web Client is configured to use process orders)
- Batches (available only if Plant Applications Web Client is configured to use batches)
- Golden Batches (available only if Plant Applications Web Client is configured to use batches)
Tip: To sort the search results, select a column name. To filter the data, select . For more information, refer to the topic Filter Tags, Variables, KPIs, Process Orders, and Batches. -
Depending on the data type, select one of the following options as shown in the
following table.
Data Type Option Variables Add Chart KPIs Add Chart Variables Add Chart Batches Add Batches Golden Batches Add Batches Process Orders Add Process Orders You can select multiple items.Note: To add multiple items to an existing chart, select Add Data for the chart. Alternatively, to add a new chart, drag the required items to the Add Chart button. GE recommends that you should restrict the total count of tags or variables for Live charts to five to optimize the trend chart output. -
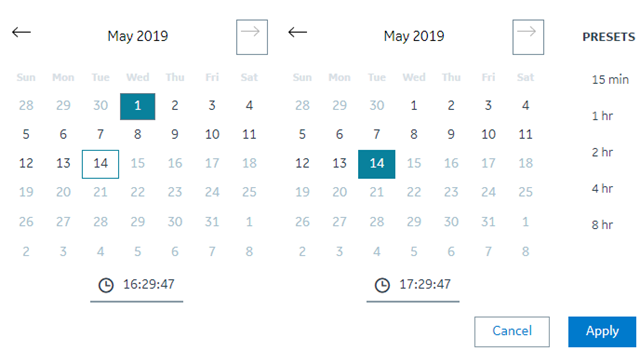
Select to select an interval from the available Presets or to select a custom
time interval by selecting the required dates and time, and then select
Apply.
The default time duration selected is the current time minus one hour. If you select an interval from the calendar, the chart is enabled to be plotted as the Historical chart instead of the Live chart.
-
After you add the required items to the charts, select
Plot.
With larger data samples the loading time of the analysis session may increase.A live chart is plotted on the screen as Chart 1.
Results
Tip: You
can select to open the Chart
Configuration page to search and add more tags, variables, KPIs,
batches, or process orders for analysis. In the Chart
Configuration page, you can select  to
open the Analysis page.
to
open the Analysis page.
to open the Chart
Configuration page to search and add more tags, variables, KPIs,
batches, or process orders for analysis. In the Chart
Configuration page, you can select to
open the Analysis page.You can further save an analysis trend to restore the analysis view. The trends you save are accessible by all users. For more information, refer to the Save an Analysis Trend topic.