 Plant Applications
Select Inclusive Machines
Procedure
- Log in to the Plant Applications Web Client.
-
Select
 .
The My Machines page appears. By default, the Exclusive tab is selected.
.
The My Machines page appears. By default, the Exclusive tab is selected. -
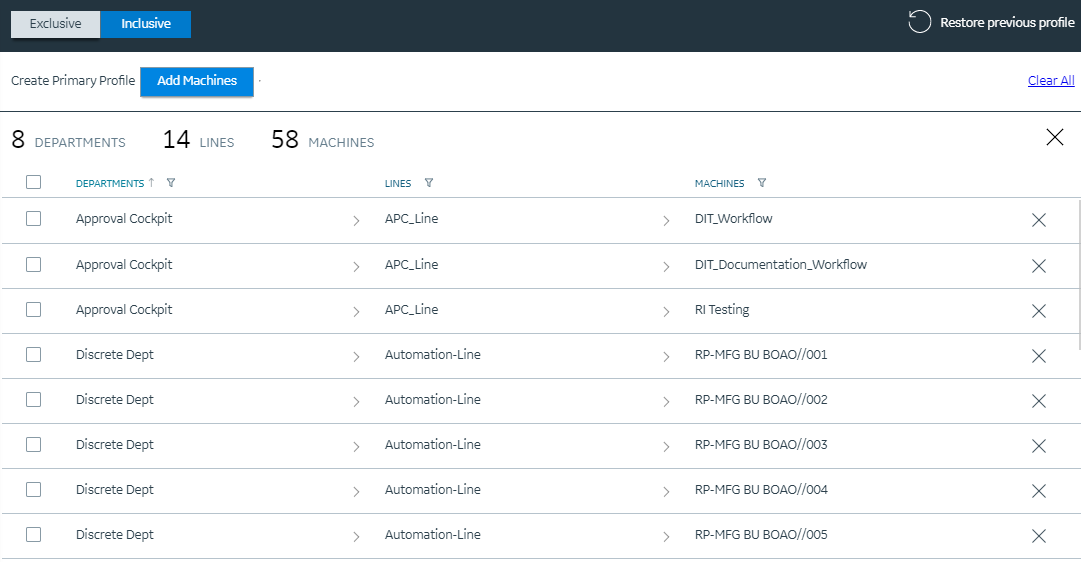
Select the Inclusive tab.
The list of machines appears along with an option to create your primary profile. You can use the Clear All link located at top-right corner to clear the list of machines.
-
Select Add Machines.
The Add Machines window appears with the list of machines.Note: If you have already selected the machines previously, you can see them being selected in the Add Machines window.
- You can search for the relevant departments, lines, and machines using the Search box. Based on the keywords entered, the list of machines appears.
- From the list, select the machines you want to set as your user preferences or remove the machines that you no longer required. You can expand the tree view to select relevant departments, lines, and machines.
-
After the selection, select Add&Close to add the selected machines to your profile. Alternatively, you can select Add if you choose to stay in the Add Machines window to make more selections.
The selected machines are added to your profile. If you want to add or remove machines from your profile, you can use the Add Machines button.
Based on machines selected in the My Machines application, application-specific data appears in the other applications. For example, in the Events page in the Downtime application, the downtime records for the machines selected in the My Machines application appear.
- Select Clear All at any point to time to clear the list of machines.