Plan Templates

Access the Plan Templates

Procedure

  1. Access the PLA Administrator page.
  2. Select the Plan Templates tab.

    The Plan Templates workspace appears.

  3. In the Template Name column, select the link for the plan template that you want to access.

    The Template Builder window for the selected plan template appears.

  4. As needed, you can modify the values in the available fields in each section in the Template Builder window.:
  5. Select Finish to save your changes and return to the Plan Templates workspace.

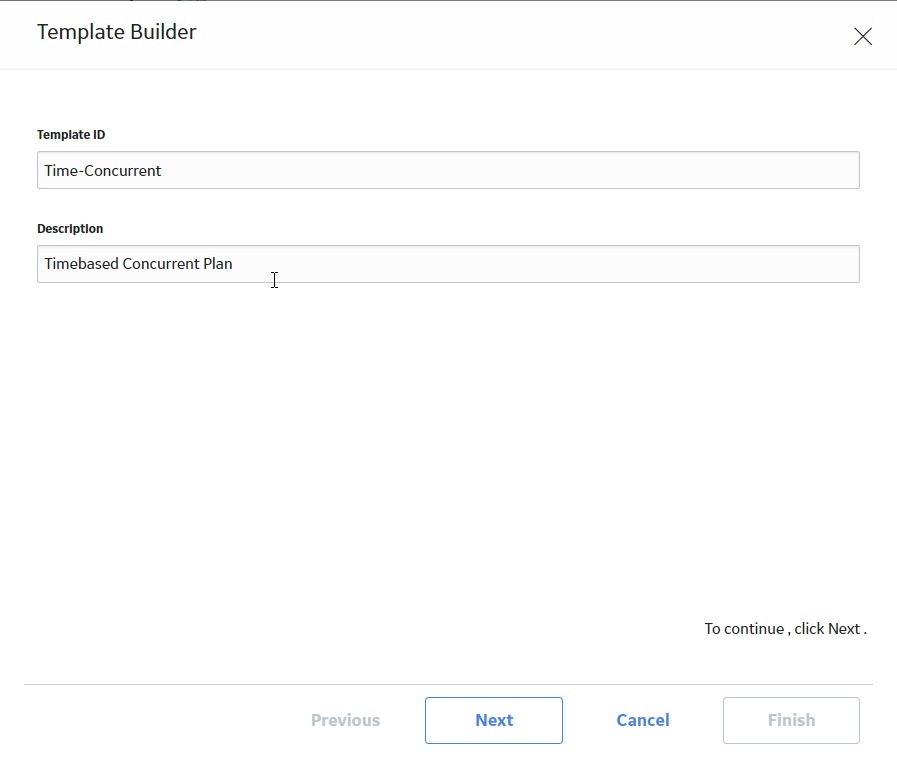
Create a Plan Template

Procedure

  1. Access the PLA Administrator page.
  2. Select the Plan Templates tab.

    The Plan Templates workspace appears.

  3. In the upper-right corner of the workspace, select Create Plan Template.

    The Template Builder screen appears, displaying the Template ID and Description boxes.

  4. In the Template ID box, enter an ID for the plan template.
  5. In the Description box, enter a description for the plan template.
  6. Select Next.
  7. In the Select Production Unit box, select a unit.

    The list of available products for the selected unit appears.

  8. Next to each product that you want to add, select the check box, and then select Next.
  9. If you want to define the period for which you want to track the production, in the Select Plan-Basis section, select Plan is time-based.

    -or-

    If you want to define the amount of each product that you plan to produce, in the Select Plan-Basis section, select Plan is quantity-based.

  10. If the unit produces all the products at the same time, in the Production Model section, select Concurrent.

    -or-

    If the unit produces the first product first, and then begins producing the second product after production of the first product is complete, in the Production Model section, select Sequential.

  11. Select Next.
  12. If you are creating a time-based plan, on the Time-based Plan screen, enter values in the following fields:
    1. Duration: Select the duration of the plan template. Depending on the selection, the value in the Plan End Time field is automatically populated.

    2. Plan Start Time: Select the start date of the plan.

    3. Plan End Time: Depending on the value you select in the Duration field, this field is populated automatically.

    -or-

    If you are creating a quantity-based plan, on the Quantity-based Plan screen, enter values in the following fields:

    1. Plan Start Time: Select the start date of the plan.

    2. Quantity: In each row, enter the number of products that you plan to produce.

    Note: If the production model is sequential, then, in the Sequence column, enter the sequence number of each product.
  13. Select Next.

    The Useful Production Time screen appears.

  14. Specify the days and times when the useful production will occur. Select or enter values in the following fields:
    1. I have the same useful production time for the whole week: Select this check box if you want the production shift to occur during the whole week.

    2. I have the same useful production time from Monday through Friday: Clear this check box if your production shifts occur on specific days.
    3. Select to add a shift, and then enter or select the start time and end time.

    4. Data Entry Frequency: Select how often the data is entered into GE Digital APM.

  15. Select Finish.

    The plan template is created and appears in the Plan Templates workspace.