Important: You do not have the latest version of Historian! You are missing out on the newest capabilities and enhanced security. For information on all the latest features, see the Historian product page. For more information on upgrades, contact your GE Digital sales agent or e-mail GE Digital Sales Support. For the most up-to-date documentation, go here.
Configure Time
Configure Time
The Time button allows you to configure the time range for which you want view data within a chart by entering a start and end time. The Time page also displays the Time Zone, and Fixed or Relative time.
Configuring the Start and End Time
Procedure
Select the Time button.
The Time page appears.
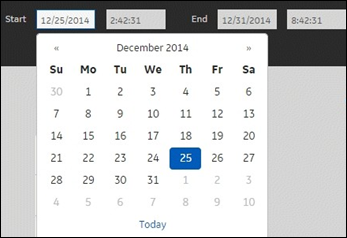
Place your cursor in the first Start date cell to view a calendar from which you can select the start date.
The current month's calendar appears.
You can use the << or >> arrows (at the top of the calendar) to move to another month.
Select the Start date.
The date appears in the Start date cell.
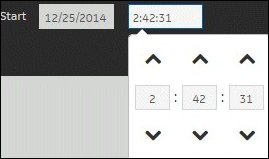
Place the cursor in the Start time cell.
The Time Selector appears.
You can use the up and down arrows to select the Start time.
Select the Start time.
The Start time appears in the cell.
Place the cursor on the End date cell and select the end date.
Place the cursor on the End time and select the time to end the data collection.
Note: When an error occurs, the error icon appears. Check to make sure the Start date is earlier than the End date.
Select the Apply (or Apply to All) button to apply the new time selection.
Configuring the Time Zone
Procedure
Navigate to the System Config tag by selecting Administration under the Admin drop-down menu. Then select System Configuration.
The System Configuration page appears.
Select the Time Zone drop-down menu to select either Local or UTC time.
A message box informs you of the status of this configuration change. If successful, the Sample Date/Time reflects this change.
Note: You must log out and log in again for the new time zone to become effective.
 Historian