 Historian
Install Web-Based Clients Using the Installer
Before you begin
- Install the Historian
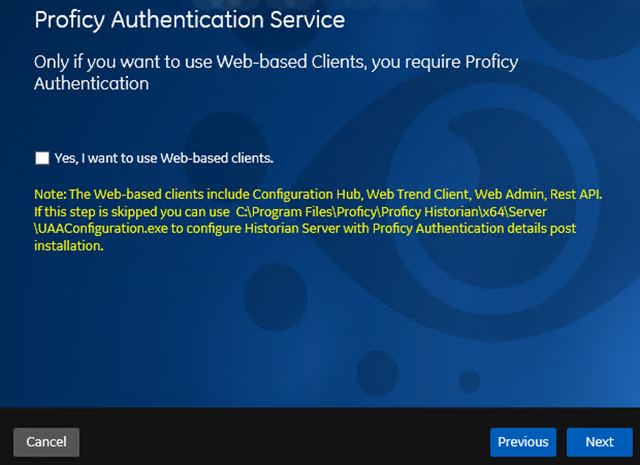
server. During the installation, in the Proficy
Authentication page, select the Yes, I want to use
Web-based Clients check box, and provide the Proficy
Authentication server name and port number.
- If you want to use Web-based Clients in a cluster environment, ensure that your network is enabled for multicast traffic, and set up high availability on each node in the cluster.
About this task
You can also install Web-based Clients using the command line.
During the installation, you can choose to use Web-based Clients in a cluster environment, thus ensuring high availability of connection to the Historian server using the client applications.
Procedure
- Run the InstallLauncher.exe file.
-
Select Install Web-based Clients.
The welcome page appears.
-
Select Next.
The license agreement appears.
-
Select the Accept check box, and then select
Next.
The TCP port assignments page appears.
-
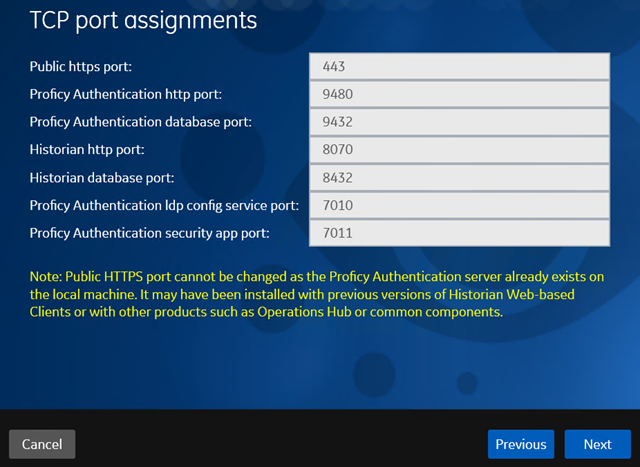
As needed, change the values for TCP port assignments as described in the
following table, and then select Next.
Field Description Public https port Port for https protocol communication used by Web-based Clients (through a firewall). The default value is 443. Ensure that this port number matches the one you specify while installing the Historian server. In addition: - If you will install Operations Hub later on the same machine, the value that you provide in this field is populated while installing Operations Hub.
- If you have already installed Operations Hub on the same machine, this field is disabled and populated with the value you have provided while installing Operations Hub.
Proficy Authentication http port Port for http protocol communication used by the Proficy Authentication service. The default value is 9480. Proficy Authentication database port Port for the Proficy Authentication database. The default value is 9432. Historian http port Port for the http protocol communication used by Web-based Clients. The default value is 8070. Historian database port Port for the PostgreSQL Historian database. The default value is 8432. Proficy Authentication Idp config service port Port for the Configuration Hub identity provider service. The default value is 7010. Proficy Authentication security app port Port for the Proficy Authentication Configuration tool. The default value is 7011. The Fully Qualified Domain Name(s) page appears.- If you will install Operations Hub later on the same machine, the value that you provide in the FQDNs field is populated while installing Operations Hub.
- If you have already installed Operations Hub on the same machine, the FQDNs field is disabled and populated with the value you have provided while installing Operations Hub.
-
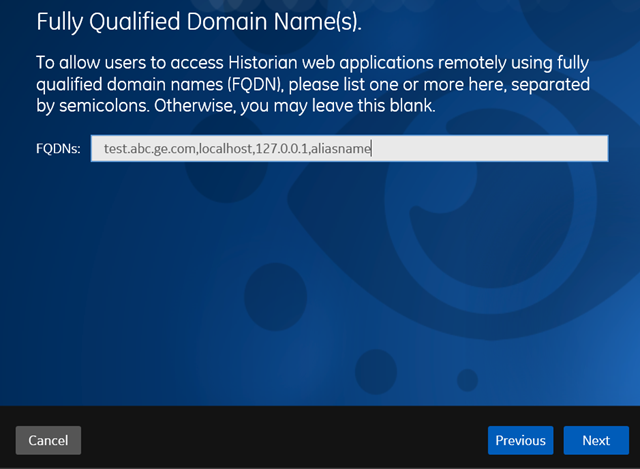
In the FDQNs field, enter the fully qualified domain
names, and then select Next.
This enables you to access Historian web applications remotely. You can use it to access the Web Admin console using alias names. Enter the values separated by commas.To access the Web Admin console using any of the following URLs, enter
Test.abc.ge.com,localhost,127.0.0.1,aliasName- https:// Test.abc.ge.com /historian-visualization/hwa
- https:// 127.0.0.1 /historian-visualization/hwa
- https:// aliasName /historian-visualization/hwa
- https:// localhost /historian-visualization/hwa
Important:- Do not enter a space between the values.
- You must add the IP address and alias name in the
hosts file located at
C:\Windows\System32\drivers\etc. The IP
address that you add must be a static or fixed IP address.
Format:
<IP address>
                                        <alias
                                        name>
Example:
1.2.3.4 myservername - FQDN is not supported for Configuration Hub.
The Cluster Configuration page appears.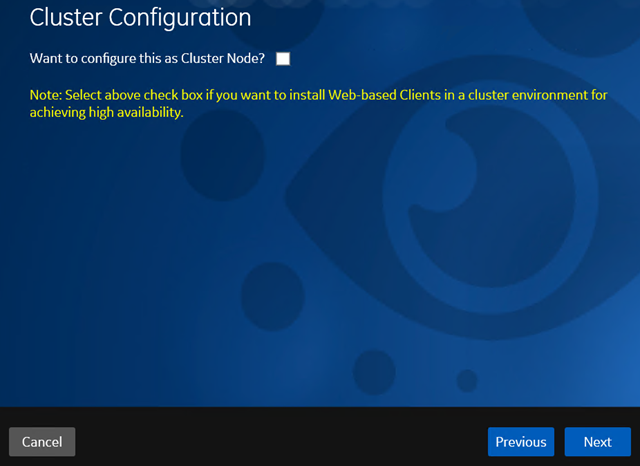
If, however, you are upgrading Web-based Clients, this page does not appear. In that case, skip the next step. -
If you want high availability of Web-based Clients, select the Cluster Node check box, and enter values
as described in the following table.
Field Description Historian Database Folder Provide the database folder in the shared drive that you have created. The default value is C:\ProgramData\GE\OperationsHub. You must change this value. Cluster FQDN Enter the client access point of the role for which you have added the resources while setting up high availability. Multicast Address If needed, modify the common IP address that all the nodes in the cluster can use. Enter a value between 224.0.0.0 and 239.255.255.255 (or a hostname whose IP address falls in this range).The default value is 228.0.0.4. Historian Cluster Membership Port If needed, modify the common port number that all the nodes in the cluster can use. The default value is 45564. This port number, in conjunction with the multicast address, is used to create the cluster. Historian Cluster Receiver Port If needed, modify the multicast port number that you want to use for incoming Historian data. The default value is 4000. -
Select Next.
The Proficy Authentication page appears, allowing you to choose whether you want to install Proficy Authentication along with Web-based Clients installation or use an existing Proficy Authentication.
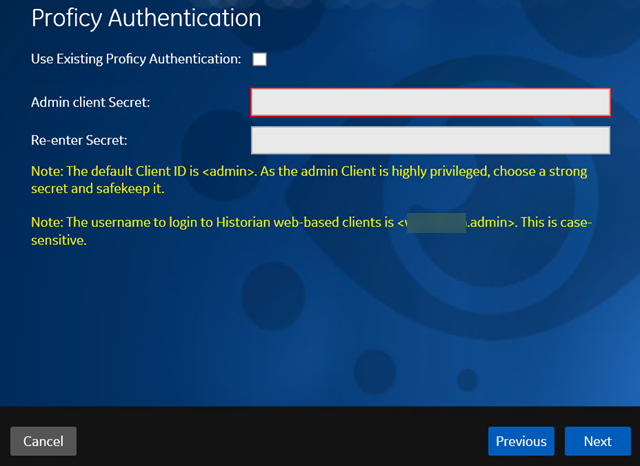
- If you want to install Proficy Authentication, clear the Use External Proficy Authentication check box. If you want to include Proficy Authentication in the cluster, you must install Proficy Authentication locally on each cluster node.
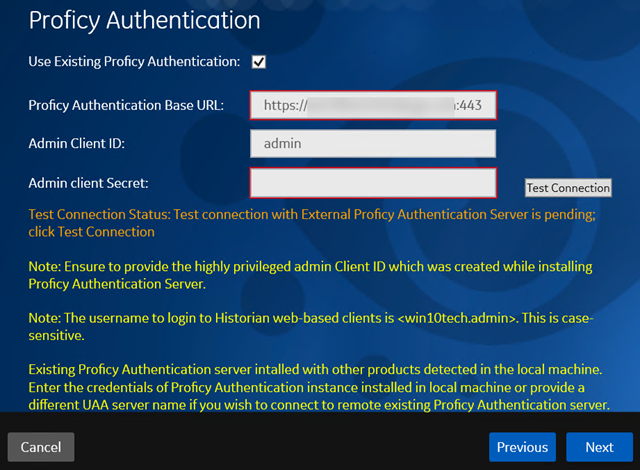
- If you want to use an existing Proficy Authentication server, select the Use External Proficy Authentication check box. Proficy Authentication is detected if you installed it using a unified installer or Operations Hub, or if Historian uses Proficy Authentication installed remotely from an earlier version.
-
If you want to install Proficy Authentication, enter the Admin client
secret, re-enter the secret, and then select
Next.
The admin client secret must satisfy the following conditions:
- Must not contain only numbers.
- Must not begin or end with a special character.
- Must not contain curly braces.
Note: The format of username for Historian Web-based Clients is <host name>.admin, where <host name> is the machine on which Web-based Clients are installed. And, the default client ID is admin. Both the host name and client ID are case-sensitive.If, however, the Proficy Authentication server hostname is long, resulting in a username longer than 20 characters, Windows does not allow you to create the user. In that case, you can create a Proficy Authentication user, and then create the corresponding Windows user, using the uaa_config_tool utility.
-
Alternatively, if you want to use an external Proficy Authentication service (that is, a Proficy Authentication
instance already installed by an external application such as Operations
Hub):
-
Select the Use External Proficy Authentication check box.
The fields for the external Proficy Authentication service appear.
-
Select the Use External Proficy Authentication check box.
-
Select Next.
The Configuration Hub Installation page appears, allowing you to choose whether you want to install Configuration Hub along with Web-based Clients or use an existing Configuration Hub.

Configuration Hub allows you to add and manage a collector instance remotely. For more information, refer to About Configuration Hub.
If, however, an earlier version of Configuration Hub is available on the same machine, you will be prompted to enter the details of the existing Configuration Hub, and it will be upgraded to the latest version. If that happens, skip the next step.Important: By default, Configuration Hub points to the same Proficy Authentication server as the one you provided during the Historian server installation. If you want to install Web-based Clients in a cluster environment, ensure that:- Configuration Hub does not use the same Proficy Authentication server as that used by the cluster.
- The Proficy Authentication and Configuration Hub details must be the same for all cluster nodes.
-
If you want to install Configuration Hub, ensure that the Use Existing Configuration Hub check
box is cleared, and then provide values as described in the following
table.
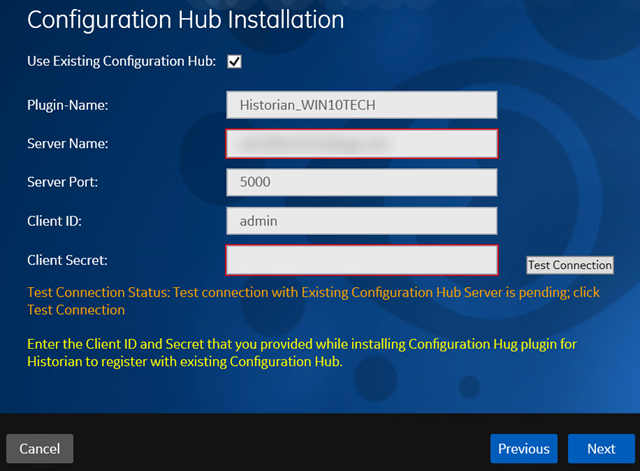
Field Description Install Location If needed, modify the installation folder for Configuration Hub. Plugin Name If needed, modify the name of the Configuration Hub plugin for Historian. The default value is in the following format: Historian_<host name>. If, however, you are installing Web-based Clients in a cluster environment, the default value is Historian_<cluster name>. You can modify this value, but provide the same value for all the nodes in the cluster. Server Port If needed, modify the port number that you want to use for the web server (NGINX). The default value is 5000. If you want to install Web-based Clients in a cluster environment, provide the same value for all the nodes in the cluster. Container Port If needed, modify the port number for the Configuration Hub container. The default value is 4890. Client ID Enter the username to connect to Configuration Hub. The default value is admin. The value that you enter can contain: - All English alphanumeric characters (ABCDEFGHIJKLMNOPQRSTUVXYZ abcdefghijklmnopqrstuvwxyz_0123456789)
- The following special characters: ><:~!@#$%^&*?|
Client Secret Enter the password to connect to Configuration Hub. The value that you enter can contain: - Must contain at least eight characters.
- All English alphanumeric characters (ABCDEFGHIJKLMNOPQRSTUVXYZ abcdefghijklmnopqrstuvwxyz_0123456789)
- The following special characters: ><:~!@#$%^&*?|
Re-enter Secret Re-enter the password to connect to Configuration Hub. -
Alternatively, if you want to use an existing Configuration Hub:
-
Select the Use External Configuration Hub check
box. This check box is disabled if an existing Configuration Hub is
detected.
The fields for external Configuration Hub appear.
-
Select the Use External Configuration Hub check
box. This check box is disabled if an existing Configuration Hub is
detected.
-
Select Next.
The default installation drive appears.
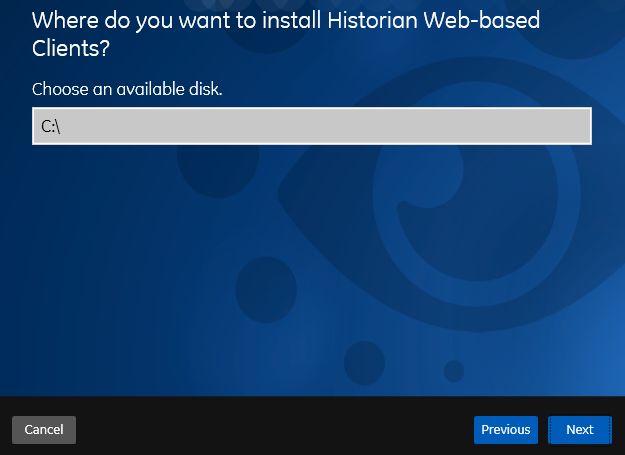
-
If needed, change the installation drive for Web-based Clients, and then select Next.
The log files location page appears.
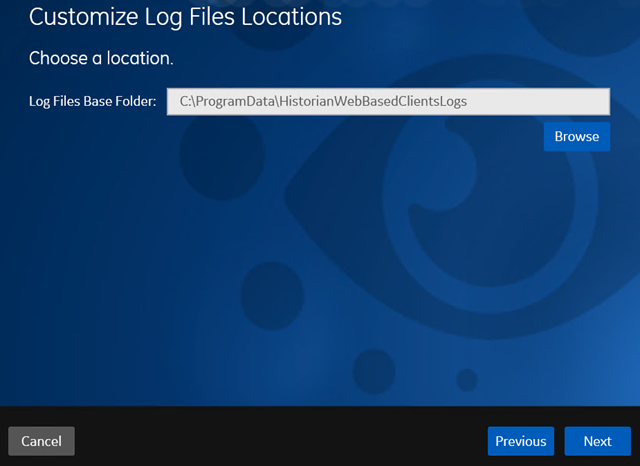
-
If needed, change the location for log files, and then select
Next.
The destination Historian server page appears.
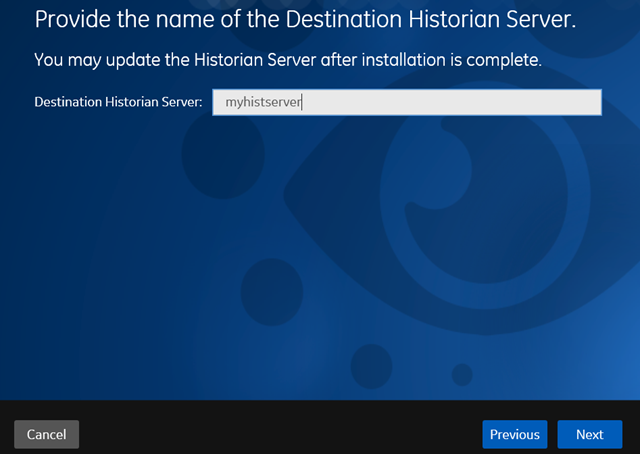
-
Provide the name of the destination Historian server to which Web-based Clients are connected by default. When you login to Configuration Hub, the default system will point to this server.
Note:
- Provide the name of either Historian single-server or mirror primary server because the systems in Configuration Hub will be either a stand-alone system or a horizontally scalable system.
- If you want to connect to a remote Historian server, you must disable the Enforce Strict Client Authentication and Enforce Strict Collector Authentication options using Historian Administrator in the remote server.
-
Select Next.
A message appears, stating that you are ready to install Web-based Clients.
-
Select Install.
The Web-based Clients installation begins.
- When you are prompted to reboot your machine, select Yes.
Results
- HKEY_LOCAL_MACHINE\SOFTWARE\GE Digital
- HKEY_LOCAL_MACHINE\SOFTWARE\GE