 Historian
Install the OPC UA HDA Server
Before you begin
Note: You can install Historian and the OPC UA HDA server
on the same machine or on different machines.
Procedure
- Run the Historian installer.
-
Select Install Historian OPC UA HDA Server.
The welcome page appears.
-
Select Next.
The license agreement appears.

-
Select the Accept check box, and then select
Next.
The following page appears, asking you to select the installation drive.
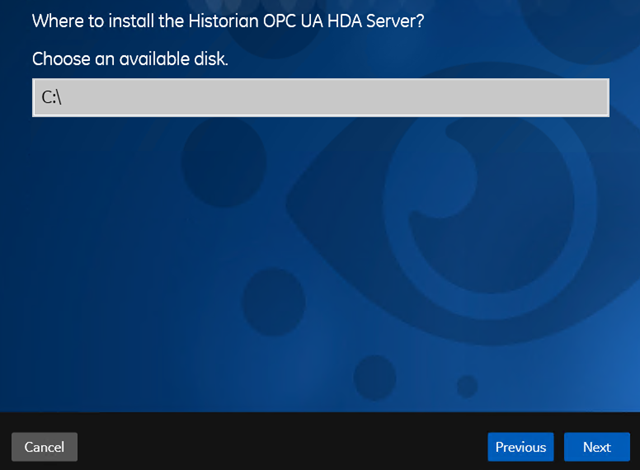
-
Select the installation drive, and then select Next. You
can retain the default one, or choose a different one.
The OPC UA HDA Server Attributes page appears.
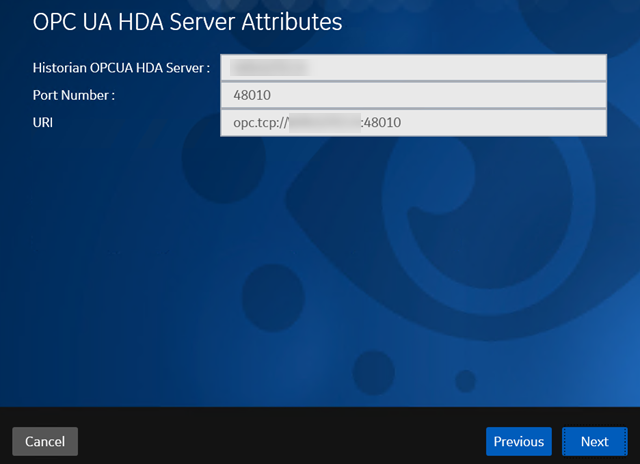
-
Provide values as described in the following table, and then select
Next.
Field Description Historian OPCUA HDA Server Enter the host name or the IP address of the machine on which you want to install the OPC UA HDA server. By default, the local host name appears. Port Number Enter the port number that you want the OPC UA HDA server to use. URI The URI to access the OPC UA HDA server. This field is disabled and populated with a value in the following format: opc.tcp://<host name>:<port number>, where <host name> and <port number> are the values that you have entered in the preceding fields. The Historian Server Details page appears.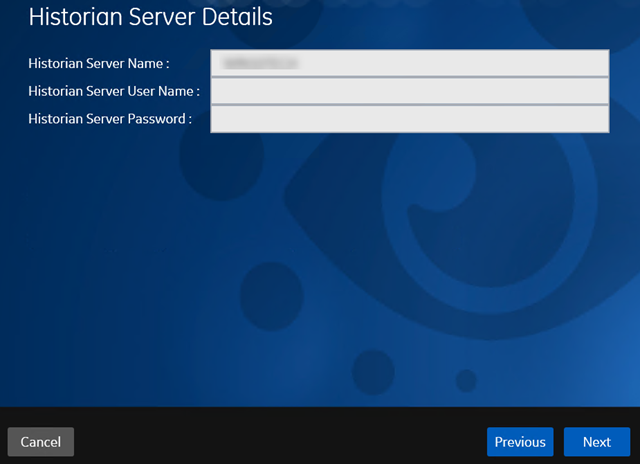
-
Provide values as described in the following table, and then select
Next.
Field Description Historian Server Name Enter the name of the Historian server that you want to connect to the OPC UA HDA server. Historian Server User Name Enter the username of the Historian server. Historian Server Password Enter the password of the Historian server. The You are ready to install page appears. -
Select Install.
The Historian OPC UA HDA server is installed. Reboot the machine when prompted to do so.
What to do next
- If you have installed the OPC UA HDA server on a remote machine, enable the firewall.
- Install an OPC UA client.
- Configure the OPC UA HDA server.