 CIMPLICITY
Step 7. Set up Historian Connections to Collect Data
Historian connections can pull selected data from Historian and display it in CIMPLICITY applications.
About this task
Valid Historian connections that are listed at the following locations:
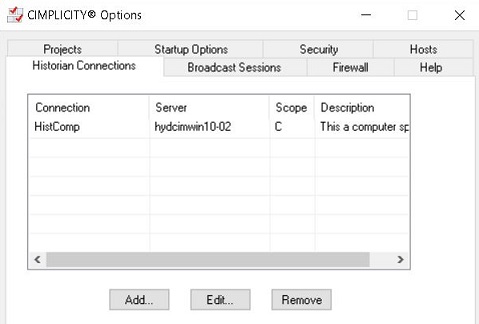
- Historian Connections tab in CIMPLICITY Options Dialog. (Only computer level connections are available)
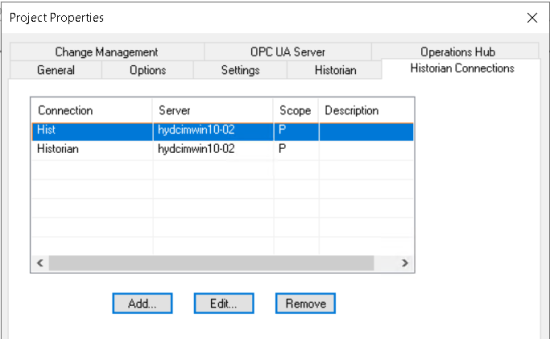
- Historian Connections tab of Project Properties. (Only project level connections are available).
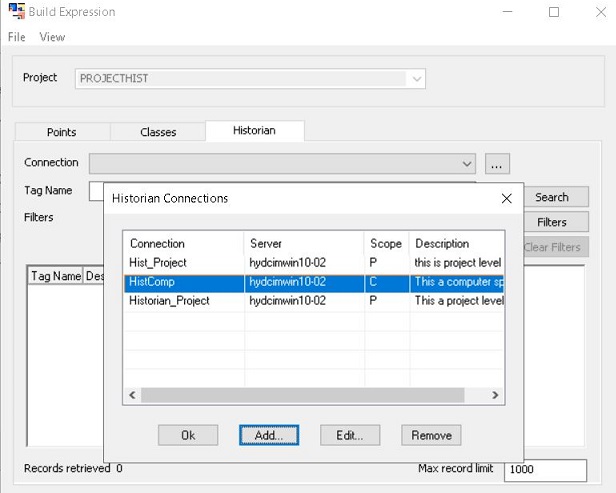
- Tag browser that enables you to select and use Historian tags in CIMPLICITY, e.g. an Expression field in CimEdit. (Only computer level connections are available).
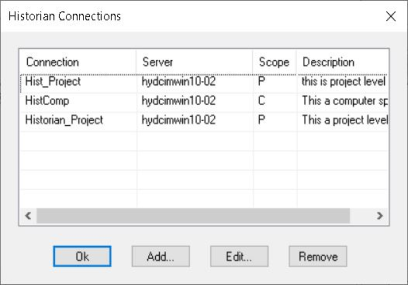
- Expression Builder of a derived point. (Both project level and computer level connections are available).
| Location | Figure |
|---|---|
| Historian Connections tab in CIMPLICITY Options Dialog. |
 |
| Historian Connections tab of Project Properties. |
|
| Tag browser |

|
| Expression Builder of a derived point. |
|
- Select Add or Edit or
Remove to add, edit and/or remove Historian
connections.
| A | Add button |
| B | Edit button |
| C | Remove button |
Procedure
Add, Edit or remove connections, as follows.
| A | Add button |
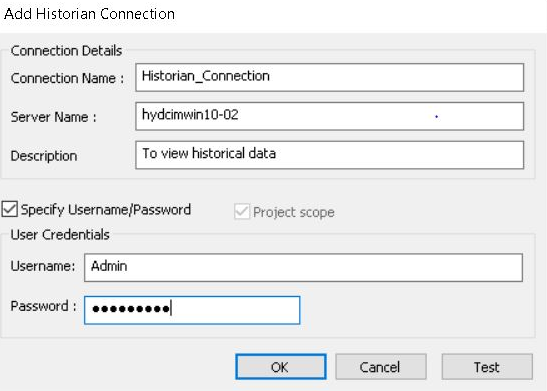
- The Add button enables you to add a server/connection to the Historian Connections list. During runtime, CIMPLICITY can pull data from Historian tags in applications and fields that use and display Historian tag values.
- Click Add. A blank Add Historian Connection dialog box opens.
- Entries to define the Historian connections are as follows.
| Field | Description | |
| Connection Name | An alias that will make the connection easy to recognize. | |
| Server Name | Name of Historian server. | |
| Description | Additional detail to help identify the Historian connection. | |
| Specify Username/Password | Check to enable the Username and Password fields. | |
| Username | Username that has access to the Historian Administrator. | |
| Password | Valid password for the entered user. Note: A valid password is required to connect if a user name is entered. | |
| Buttons | OK | Closes the dialog box; adds the connection/server to the list. |
| Cancel | Cancels the addition. | |
| Test | Tests the connection to the Historian server. | |
| Project Scope | Indicates that the Historian
Connection is created at project level. Note: The Project Scope check box can be
enabled/disabled only from the Expression Builder. You must
disable the check box to add a computer scope connection.
|
|
| B | Edit button |
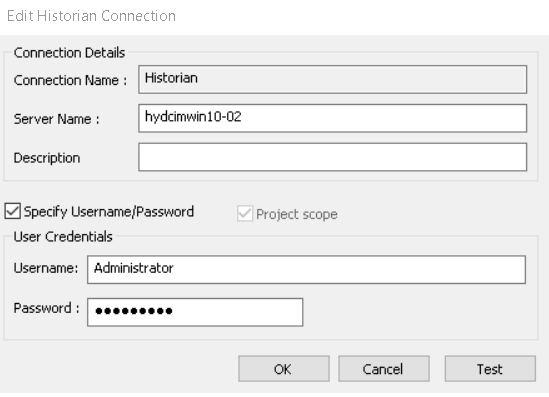
Specifications for any connection can be edited.
- Select the connection in the list to be edited; click Edit.
The Edit Historian Connection dialog box opens.
- Make any required change.
- Click OK.
Results
The Edit Historian Connection dialog box closes; the edited connection/server replaces the original connection/server in the Historian Connections list.
| C | Remove button |
Any connection/server can be removed from the Historian Connection list.
- Select a connection
- Click Remove.
The connection is removed from the list; this connection will no longer be listed or be available when a user selects the connection/server that will supply Historian tag data for a feature, e.g. Historian Trend line.
Connection Guidelines
- The default Historian server is selected as follows.
| Machine | Default Server is selected: |
| Server | Historian Administrator. |
| Viewer | During the Historian Client installation. Note: Historian Client can be installed during installation of the CIMPLICITY viewer. |
- The Historian connection file:
- Is named histmgr_connection_config.xml.
- Is located in the ...\CIMPLICITY\data directory.
- Is stored at the computer level.
- Must be identical on the server and the viewer.
Tip: histmgr_connection_config.xml can be included in CIMPLICITY deployment to insure that it is identical on the server and viewer.