 CIMPLICITY
Step 2. Create a TADB Database
About this task
- Important Notes before creating a TADB Database
- Create a TADB Database
Important Note Before Creating a TADB Database
This procedure needs to be done on SQL Servers where Tracker Query is going to be installed or upgraded, including both nodes of a cluster and also on a Historical TADB server.
Tracker Query requires a file, mfc90.dll, in order to operate correctly.
Important: Mfc90.dll must be installed before Proficy CIMPLICITY is installed.
Do the following.
Procedure
-
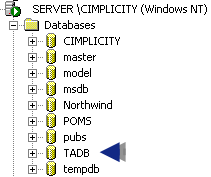
Create a new database in the SQL Server that will be used for the TADB.
-
Fill in the fields, as follows.
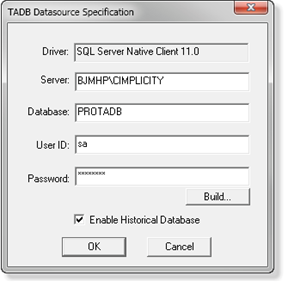
Field Description Driver SQL Server. Server Name of the server that has the database. Database Database that was created in the SQL Enterprise User ID User who has access to the database. Password Required to access the database. Build Opens Data Link Properties dialog box, in which you can find or set up the server if it is not already set up. Note: Microsoft help is available for your configuration. Enable Historical Database At least a Standard edition of Microsoft SQL Server is required.. -
Actions in the remainder of this step depend on the status of the connected database.
The database is not an established TADB or Query Engine database. The database is an existing TADB database with data. The database is not an established TADB or Query Engine database.
The following messages display.
- The current database...is not a TADB database. Do you want to create one now?
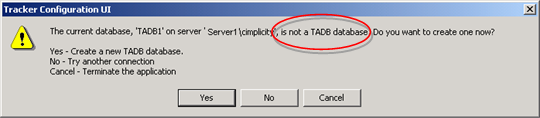
Click Yes to create the selected database as a TADB database.
- The current database...is not a Query Engine database. Do you want to create one now?

Click Yes to create the selected database as a Query Engine database.
- A Configuration Login dialog box opens.
- Enter a user name and password that has privileges to configure Tracker.
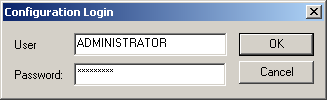
- Click OK.
Results
The TrackerCfg_UI window becomes available for configuration.
The database is an existing TADB database with data.
- Click the Save button
 on the TrackerCfg_UI toolbar to save the configuration.
 - Close the TrackerCfg_UI.
- Click the Configuration Update button
 on the Workbench toolbar.
 - Re-open the TrackerCfg_UI.
If data has been imported into the TADB database a message displays.
Options are:
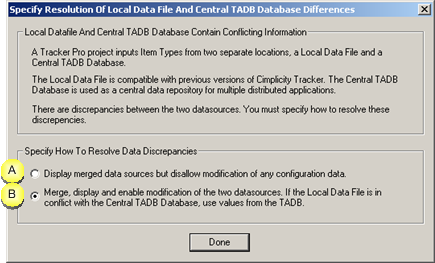
| A | Does not allow you to modify the TADB database. |
| If you choose this option, this message will display every time you open the TrackerCfg_UI until the PRT Item Types configuration is the same as the configuration in the SQL database. | |
| B | Updates the data in PRT Item Types. TADB configuration is used if there is a conflict or differences. |
- Check (B) Merge display and enable modification...to update PRT Item Types with the TADB configuration.
- Click OK.
- Select PRT>Advanced>Item Types in the TrackerCfg_UI left pane.
The TADB meta data categories display in the TrackerCfg_UI PRT>Advanced>Item Types right pane.


