CIMPLICITY
8.7. Implement the RCO Move Block/Carrier Configuration
About this task
| A | Move a Block/Carrier from the LOAD to the ROBOT_CONV Region |
| B | Confirm that the Move Succeeded |
- Move a Block/Carrier from the LOAD to the ROBOT_CONV Region
Procedure
-
Make sure that a block and carrier are in the LOAD region.

Note: Check the block's item ID in PRT_UI.
Since the previous block/carrier did not move they will still be in the LOAD region unless you moved them manually.
-
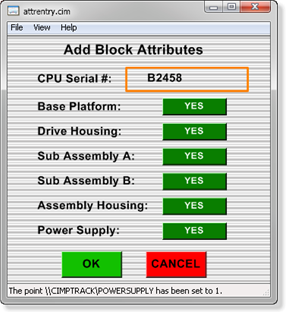
Click OK.
Results
The attribute values should be YES; the block and carrier should move to the ROBOT_CONV region.
- Confirm that the Move Succeeded
You will see that your CimEdit/RCO configuration has caused changes in all of the following applications.
- CimView Screen LOAD Region
- PRT_UI LOAD Region
- PRT_UI ROBOT_CONV Region
- Block Attributes
- RCOUI AUTO COMPLETE
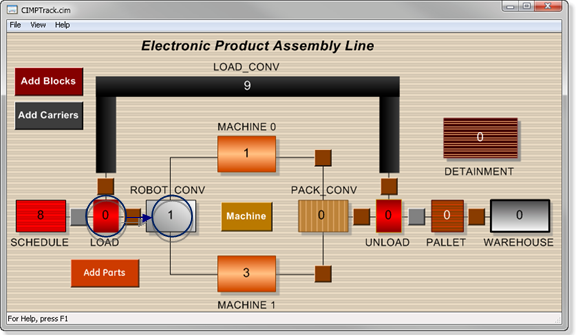
CimView Screen LOAD Region
On the CIMPTRACK CimView screen, the
- LOAD region displays 0
- ROBOT_CONV displays at least 1.
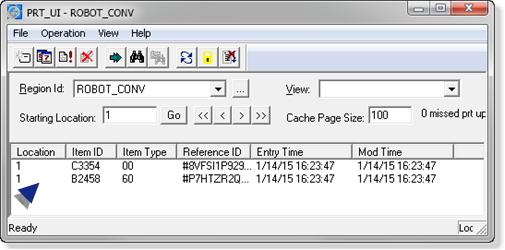
PRT_UI LOAD Region
The PRT_UI LOAD region should be empty.
PRT_UI ROBOT_CONV Region
The ROBOT_CONV region should list the block/carrier that were in the LOAD region.
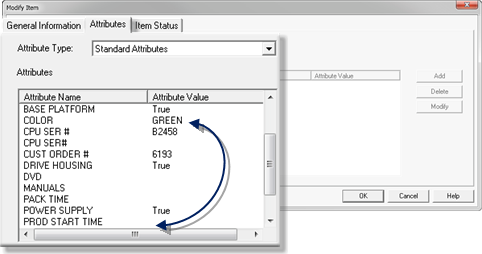
Block Attributes
The Block's attributes that were listed on the attrentry screen should be True.
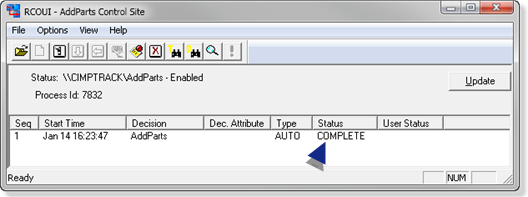
RCOUI AUTO COMPLETE
This is the first time you will open the RCOUI for this tutorial. Because you created an RCO, the RCOUI should report that activity.
- Double-click Production Tracking>Routing Control Objects UI in the Workbench left-pane.
-
The
AddPartsdecision should be COMPLETE in the RCOUI.