 Plant Applications
Install Plant Applications Standard Web Client in Silent Mode
About this task
Note: Before installing the Plant Applications Standard Edition Web
Client, ensure that you first perform the preinstallation tasks.
The silent installation consists of
configuring settings in a configuration file. Use the configuration file
configuration.ini to configure same settings that you
configure during interactive installation. Note: In silent mode installation, the installer by default is
installed to the C: drive.
Procedure
-
Mount the ISO, and then navigate to the
E:\Install\WebClient directory, and then open the
configuration.ini file using any text editor, for
example, Notepad or Notepad++.
Note:
To edit the configuration file configuration.ini, copy the .ini file to a location on your machine. For example, C:\New folder.
-
In the configuration file, enter details for the following:
- Operations Hub credentials
- Fully Qualified Domain Name (FQDN)
- Installation Directory
- Proficy Authentication (UAA) credentials
- Plant Applications Web Client API Login details
- Plant Applications Database credentials
- Plant Applications CouchDB credentials
- Plant Applications Administrator User credentials
- Tomcat credentials
- Log file location
- RabbitMQ credentials
- Kafka and Zookeeper credentials
- Save the configuration.ini file.
-
Open the command prompt in the administrator mode, and then navigate to the
path E:\Install\WebClient where the
Unattended.bat file resides. The
E:\ is the drive where the ISO has been mounted. Then
run this command:
Unattended.bat “<absolute path of configuration.ini
                        file>”
.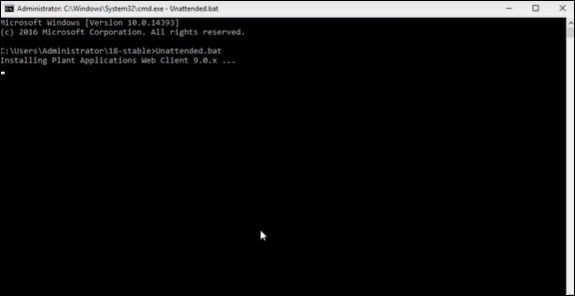
The Plant Applications Standard Web Client installation starts. A progress bar appears and displays the installation progress.
Note: The installation takes about 20 minutes to complete and might take longer based on system resources.Note: Before you log into the Plant Applications Web Client, ensure to complete the configuration of the Message Bridge Utility. -
To see the installation details, you can access the log
file here: C:\ProgramData\Proficy\Logs\webclientinstaller\.
To see the application details, you can access the log file here:
C:\Program Files\GE
Digital\PlantApplicationsWebClient\ServiceLogs.
When the installation is complete, Run the Message Bridge Configuration Utility. This is mandatory step to be completed before using the Web Client.Note: If the installation fails, then the system displays an error code: Failure.exit code is 3010. Check the log file to view the error and the description for the problem.
- When you have completed running Message Bridge Configuration, Verify the Installation if the Plant Applications Web Client applications are up and running.
- Access the Plant Applications REST APIs to access the REST APIs for Plant Applications Web Client.
- When installation is successful but posting applications into Operations Hub fail, then you must post the applications using utility. See Post Applications into Operations Hub Manually.
- After the installation is complete, if you want to find the port details or swagger URL information, refer the WebClient-Ports.txt located in C:\Program Files\GE Digital\PlantApplicationsWebClient\WebClient-Ports.txt.