
Create a Page
Steps to create a page in the latest version of Operations Hub.
Before you begin
About this task
For steps to create pages in the Operations Hub classic version, refer to Create a Page (Classic).
Procedure
-
On the navigation panel, select .
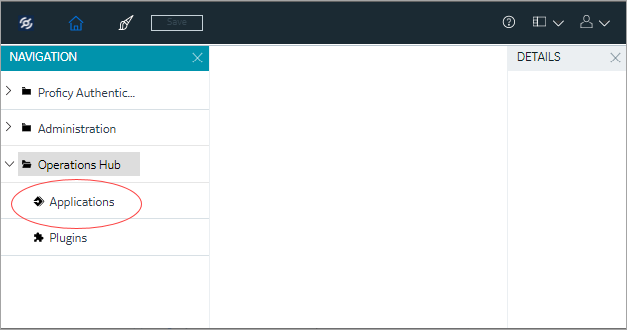 The existing list of applications appear.
 -
For the application you want to create a new
page:
- Select
 > Add New Page
 - Right-click and select Add New
Page.

The Create Page screen appears. - Select
-
Enter the following field values:
Field Name Description PAGE NAME Name of your application page. The name must contain at least one uppercase or lowercase letter.
DESCRIPTION Brief description of your page. LAYOUT Based on your page design requirements, select a layout. -
Select Add.
 The page is created and a blank page designer screen appears. Refer to Panels Layout.
 -
From the components panel
Visuals tab, drag-and-drop
or double-click the plug-ins you want to add to
the page designer area, and configure their
properties.
See Visuals Tab
-
From the components panel Data
tab, bind data to the plug-ins.
See Data Tab
- On the toolbar, select Save.
Create a Page (Classic)
Steps to create a page in the Operations Hub classic version.
Before you begin
About this task
Procedure
-
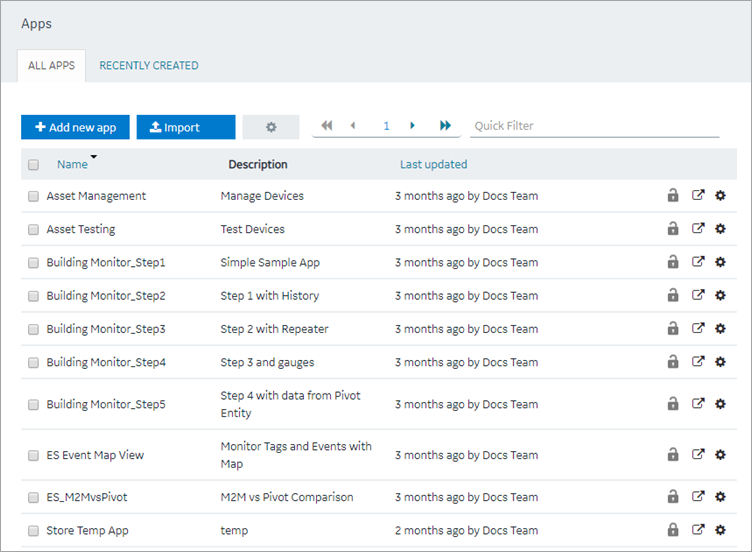
In the main navigation menu, select
APPS.
The APPS workspace appears, displaying a list of applications created in the site.
-
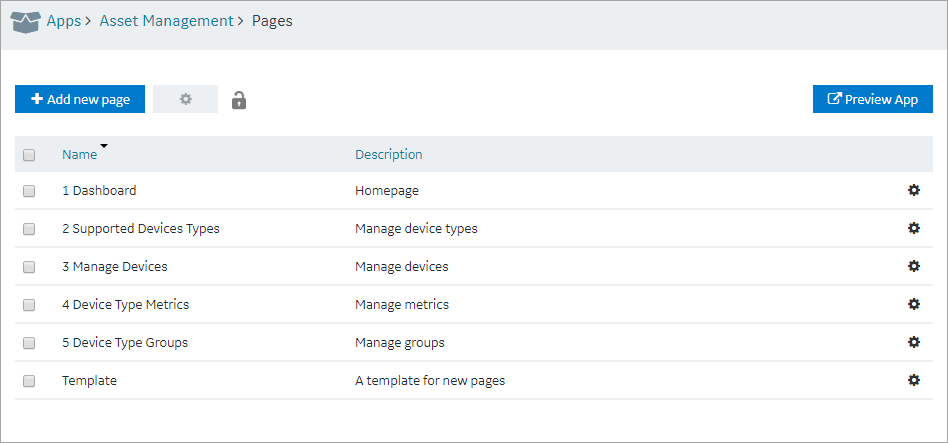
In the Name column,
select the application in which you want to create
a page.
The PAGES workspace appears.
-
Select Add new
page.
The Create Page window appears.

-
Provide values as described in the following
table.
Field Name Description Page name Enter a name for the page. The name must contain at least one uppercase or lowercase letter. Page description Enter a description for the page. Include in app navigation Select this check box if you want this page to be included in the application navigation. By default, this check box is selected. -
Select Create.
The page is created, and the page designer appears.
 The container and the left/right panels on the page designer are flexible to use.
- Drag the left/right sides of the container to resize for a wider view.
- Select
 and
and
 to show or hide
left/right panels.
to show or hide
left/right panels.
- As needed, add components to the page.
-
As needed, add queries to the page. Set
options for the query, including query submission
options.
Several queries require the multi-select parameter to be selected on the App Page, otherwise no output data will be displayed.
The following Historian REST queries require the multi-select input to be enabled on the EndApp page for output data to be displayed:- Get > Raw Data
- Get > Calculated Data
- Get > Sampled Data
- Post > Calculated Data
- Post > Interpolated Data
- Bind the inputs and outputs of widgets to page data, such as manually entered values, queries, formulas, and globals.
-
Select Save App.
The changes made to the page are saved.Note: At any point in time, if you attempt to navigate away from the page, a confirmation message appears to confirm whether you want to stay on the page, and finish your work.