Operations Hub
Install Operations Hub
Before you begin
- Ensure that the machine on which you want to install Operations Hub meets the System Requirements.
- Use a machine that does not host any applications that are bundled with Operations Hub.
- Run a Windows update (including security updates).
- Use a host name that contains up to 24 characters and any of the following characters:
- Alphabetic characters
- Numeric characters
- Minus
- Period
- Ensure that you have administrative privileges to the machine on which you want to install Operations Hub.
About this task
Procedure
-
Run the Operations Hub installation DVD,
and then select Install GE Operations Hub 2.0.
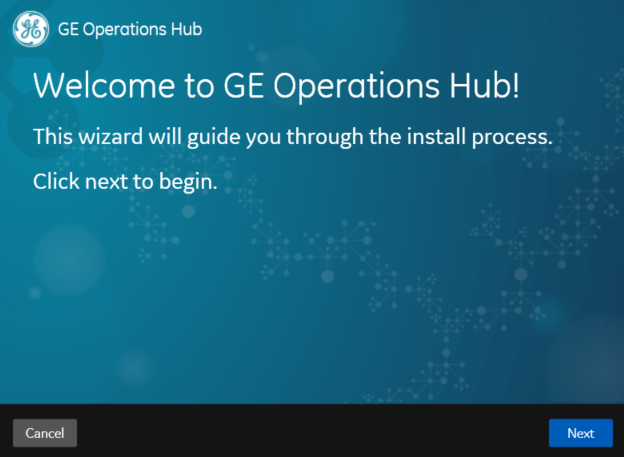
The Welcome to GE Operations Hub page appears.
- Select Next.The Read and accept the license agreement to continue page appears.
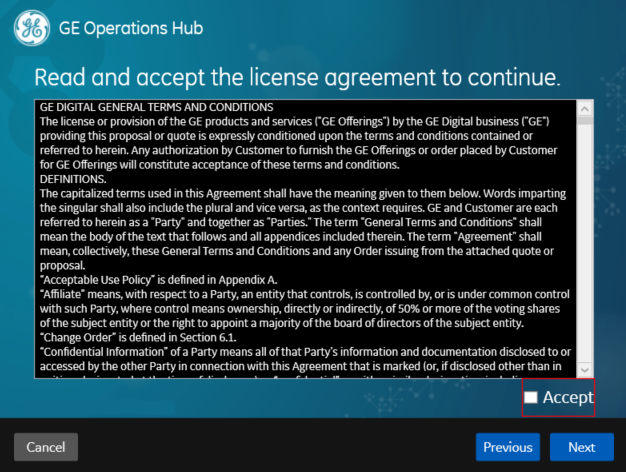
- Select the Accept check box, and then select Next.The TCP port check page appears, specifying whether the ports chosen for Operations Hub are available.
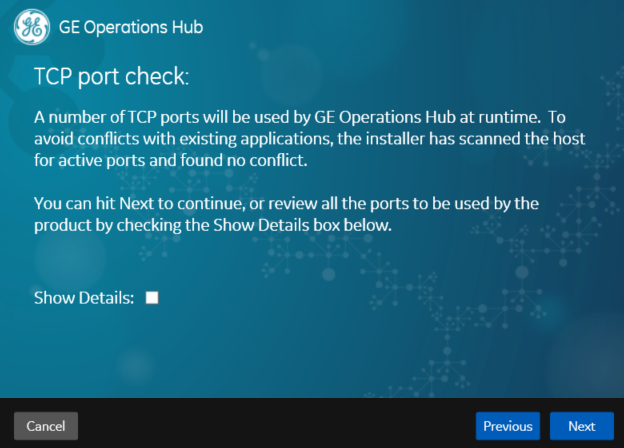
-
If you want to review or change the ports that will be used by Operations Hub, select the
Show Details check box.
The TCP port assignments page appears, providing a list of ports that will be used by the various components in Operations Hub.
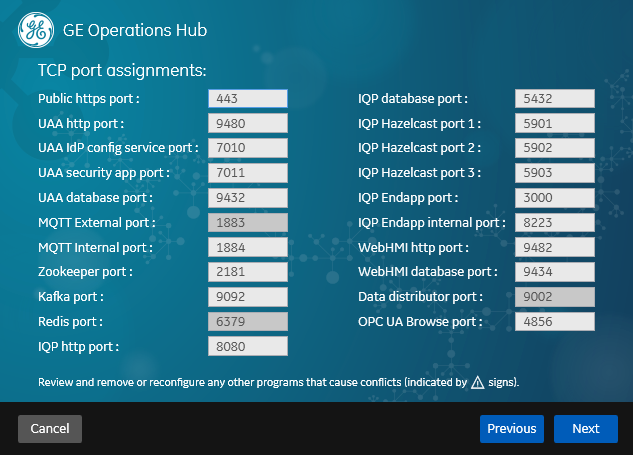 Note: Use care when changing port numbers so that there is a not a conflict with an existing application. Generally, a port number higher than 1023 should be assigned, since ports 0 to1023 are well known ports typically already assigned on Windows systems for different purposes.
 - If needed, modify the port numbers, and then select Next.The Host Names page appears. By default, the All Host Names box contains a value, and the Primary Host Name box is disabled and populated with the first value in the All Host Names box.

- Select Next.The User Authentication and Authorization Service page appears.
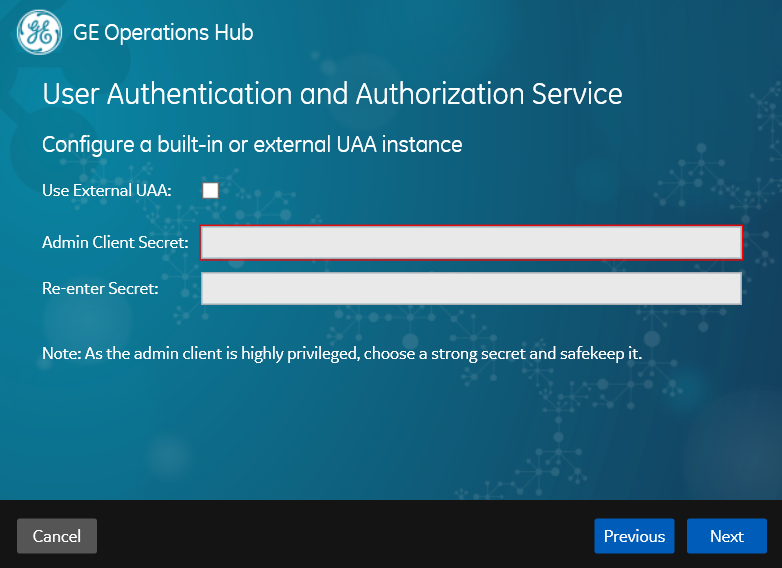
-
If you want to use an external UAA service, select the Use External UAA check box.
When this check box is selected, the following information appears in the install screen.
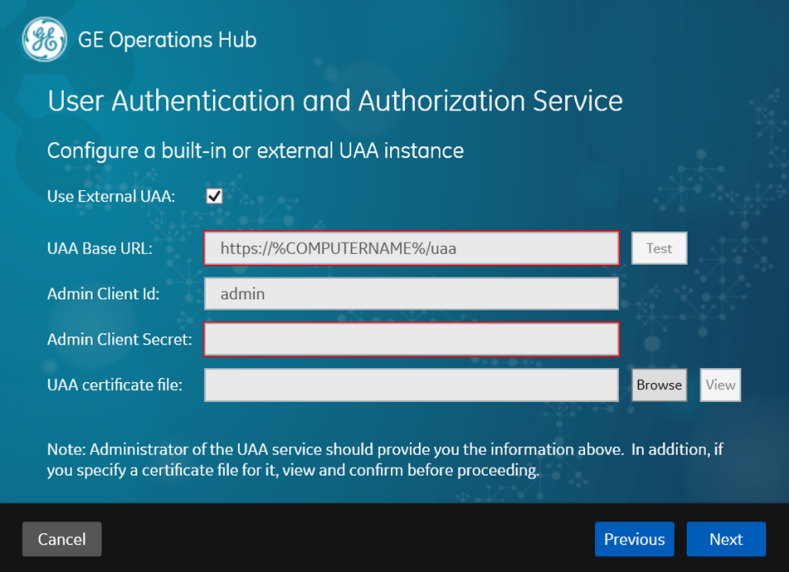
-
For external UAA, provide values as specified in the following table.
Item Description UAA Base URL Enter the URL of the UAA service. Note:- If referencing Historian 7.x UAA, then use a URL similar to this: https://Historian7x:8443; if referencing Historian 8.x then use a URL of https://Historian8x (no port number).
- Historian 7.x requires a different port than Historian 8.x. For Historian 7.x, the default port to connect to UAA is 8443. For Historian 8.x, the default port to connect to UAA is 443.
- If the ports were customized, then use the selected port.
Admin Client Id Enter the ID of the administrator account of the UAA client. Admin Client Secret Enter the password of the administrator account. UAA certificate file Enter the path to the certificate file used by the UAA service. Note:- If provided, the certificate file must be a
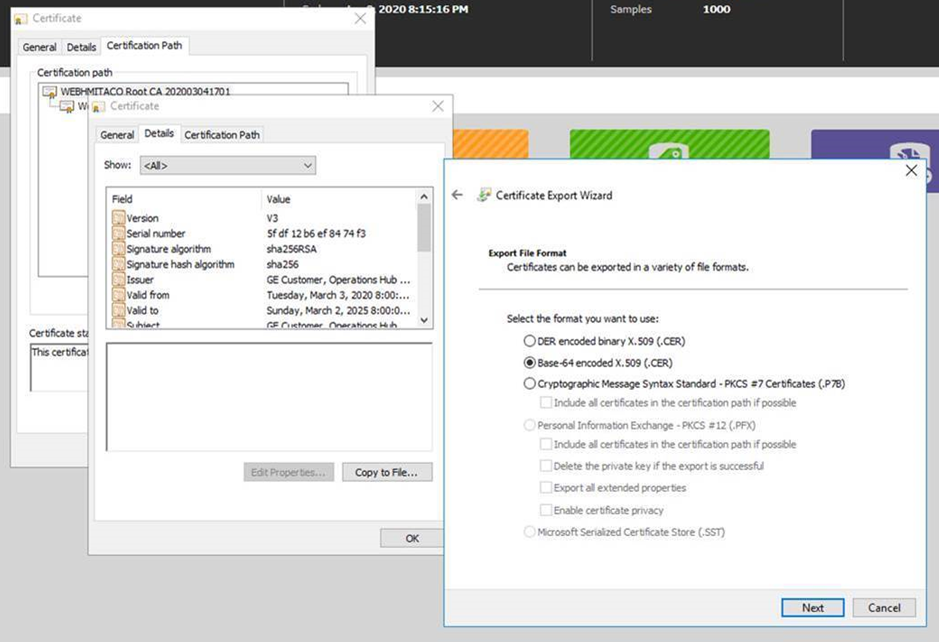
.pemfile for the root issuer (not the UAA server certificate). - Export the root certificate from Historian and
save using the Base 64 option (as shown in the
following figure). Then, rename the exported
.cerfile to.pemso you can use it here in Operations Hub. - After completion of install, this certificate should also be imported into Trusted Root Certification Authorities certificate store on client machines, to suppress warnings given by browsers such as Chrome.
 The Test button allows you to test the connection to the External UAA instance based on the information provided in the dialog box. Some of the possible messages encountered that a user may need to correct when the Test button is exercised are summarized in the table below:
Issue Warning Resolution Invalid credentials
401 Unauthorized.
Check the admin client id and admin client secret provided to the External UAA URL.
No certificate
The test will pass, but the user is requested to provide the UAA root issuer’s certificate.
Provide the UAA root issuer certificate file in the install.
Invalid certificate
Test succeeds but the certificate is not used- error reported if bad certificate used.
Provide the correct UAA root issuer certificate file in the install.
Incorrect case sensitivity in URL or host name has a mismatch
Test succeeds but changes are required due:
- External UAA server name resolution.
- Actual mismatch with the “UAA base URL” and the issuer Uri in the “uaa.yml file.
Make sure the issuer Uri in the uaa.yml file and the UAA Base URL match exactly.
Error connecting to External UAA
External UAA server name resolution issue.
Check to make sure the External UAA is running. Check to make sure the issuer Uri in the uaa.yml file and the UAA Base URL match.
Error negotiating TLS connection
The issuer Uri in the uaa.yml has just the host name while the user provides an FQDN in the UAA base URL.
This error happens either while testing the user entered UAA Base URL or when testing the issuer Uri. The error message will indicate what issue is. The root cause is due to either the name in the UAA base url or the issuer URI name under testing can not be authenticated by the certificate provided.
Again, make sure the issuer Uri in the uaa.yml file and the UAA Base URL match exactly.
Note:- To locate the uaa.yml file on the Historian machine, go to the following folder: C:\ProgramData\GE\Operations Hub\uaa-config\uaa.yml. Find the issuer: uri: https://Hist80vm/uaa.
- The install is not blocked from proceeding without the corrections from the previous table. However, there will be some runtime errors which may require an administrator to reconfigure. See the following Historian 8.x and Historian 7.x scenarios.
For Historian 8.x: If the UAA URL in the Operations Hub install does NOT match the Historian 8.x UAA URL, then you will receive an "Issue not trusted" error when attempting to import a model. Examples of UAA URLs used during the Operations Hub install may be a URL with a Fully Qualified Domain Name (FQDN) or one that includes a Port Number such as: https://z840his2019:443/uaa. If there is a mismatch, change Historian UAA’s uaa.yml file so the issuer uri matches what’s in the certificate. If Historian 8.x is installed with a Fully Qualified Domain Name (FQDN), then utilize the FQDN when specifying the external UAA URL. For example: http://HistFQDN/uaa.
If Historian 8.x is installed with a host name like “Historian8,” then utilize the host name when specifying the external UAA URL. For example: http://Historian8/uaa
Basically, the issuer Uri in the uaa.yml file and the UAA Base URL must match exactly. This will ensure the Operations Hub Administrator user is able to login successfully.
For Historian 7.x: If the UAA URL in the Operations Hub install does NOT match the Historian 7.x UAA URL, then you will receive an "Issue not trusted" error when attempting to import a model. To resolve this:
- Get the external UAA URL that you entered during install. For example, it might be something like: https://historian7:8443/uaa.
- Go to the Historian machine.
- Locate the uaa.yml file at this location: C:\Program Files\GE Digital\UAA\uaa.yml.
- At the end of the file, add the following
lines:
issuer:
uri: https://historian7:8443/uaa
- Select Next.The Create Tenant Admin Account page appears.
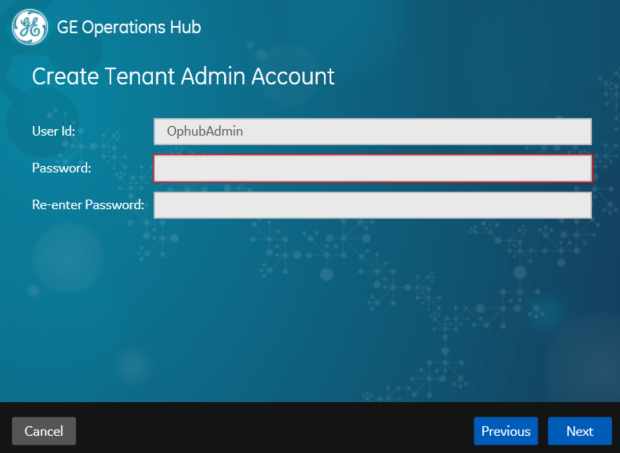
- Provide values as specified in the following table, and then select Next.
Item Description User Id Enter the user ID of the administrator account for Operations Hub. When you provide the tenant user ID, the following conditions apply: - If you are installing Operations Hub for the first time, do not provide StudioAdmin as the tenant user ID because it is used by Operations Hub.
- If you want to use a shared UAA to work with Operations Hub, do not provide the user ID of an existing user of the UAA instance. If you do so, the installation fails.
- If you are reinstalling Operations Hub, do not provide the tenant user ID that you previously provided. This is because even if you purged the data while uninstalling Operations Hub, the user account, along with the groups and privileges assigned to the user, still exists in the UAA instance.
Password Enter a password for the administrator account. Re-enter Password Re-enter the password for the administrator account. The Customize Log Files and Postgres Data Locations page appears.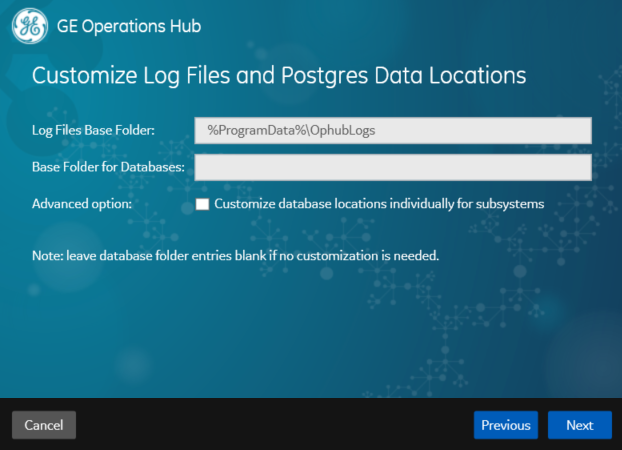
- Provide values as specified in the following table, and then select Next.
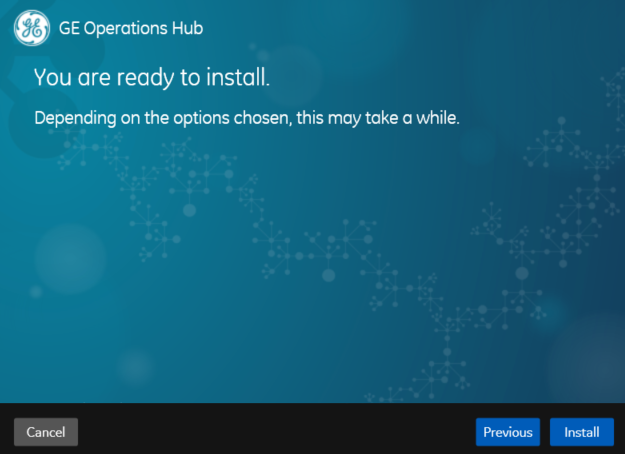
Item Description Log Files Base Folder Enter the path to the log files generated by Operations Hub. By default, the value in this box is %ProgramData%\OphubLogs. Base Folder for Databases Enter the path to the base folder for the UAA, Operations Hub, and WebHMI databases. If you want to use the default folder, leave this box blank. Otherwise, enter the path to the folder that you want to use. Customize database locations individually for subsystems Select this check box if you want to use different folders for each database. UAA Database Folder This box appears only if you have selected the Customize database locations individually for subsystems check box. Enter the database folder that you want to use for UAA. If you want to use the default folder, leave this box blank. IQP Database Folder This box appears only if you have selected the Customize database locations individually for subsystems check box. Enter the database folder that you want to use for Operations Hub. If you want to use the default folder, leave this box blank. WebHMI Database Folder This box appears only if you have selected the Customize database locations individually for subsystems check box. Enter the database folder that you want to use for WebHMI. If you want to use the default folder, leave this box blank. The You are ready to install page appears.