 Historian
Configure Internet Protocol Security (IPSEC)
About this task
Procedure
-
Run
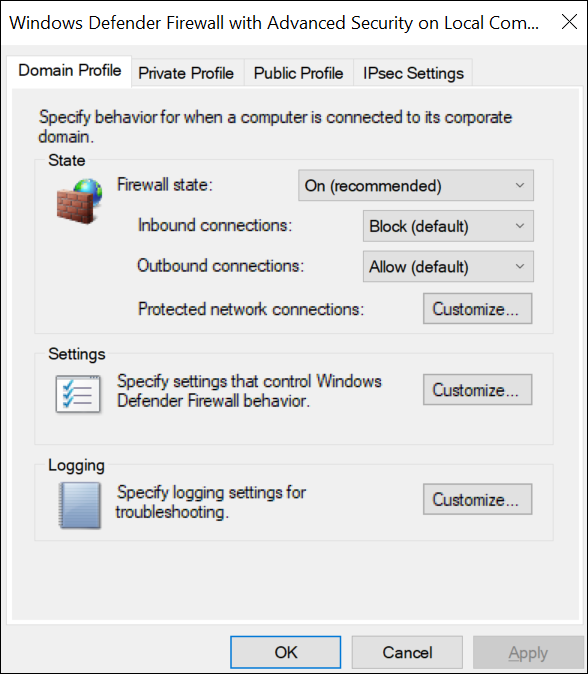
wf.msc.The Windows Defender Firewall with Advanced Security window appears. -
Create a security method:
-
Select .
The Windows Defender Firewall with Advanced Security on Local Computer window appears.
-
Select .
The IPsec Defaults window appears.

-
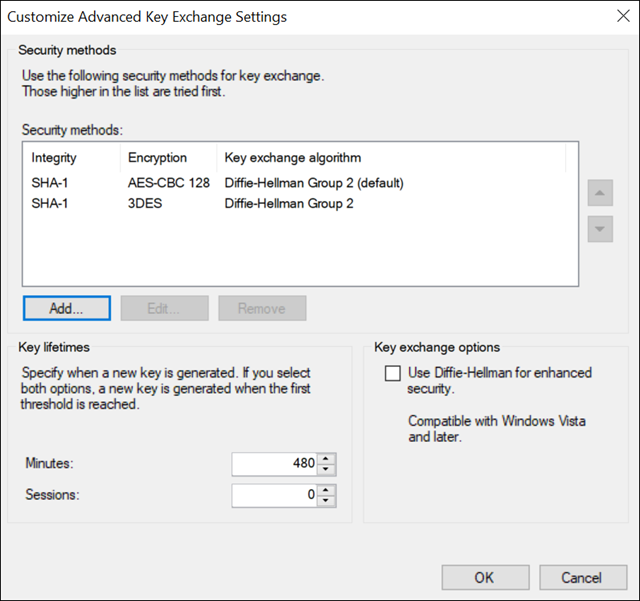
Under Key exchange (Main Mode), select .
The Customize Advanced Key Exchange Settings window appears.
-
Select the algorithms that you want to use for each purpose. The
following image shows an example.
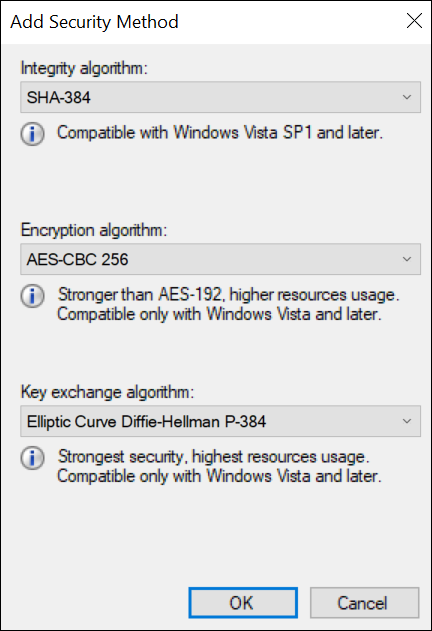
Important: You must provide the same values for all the machines for which you want to configure IP security.The security method that you have added appears in the list.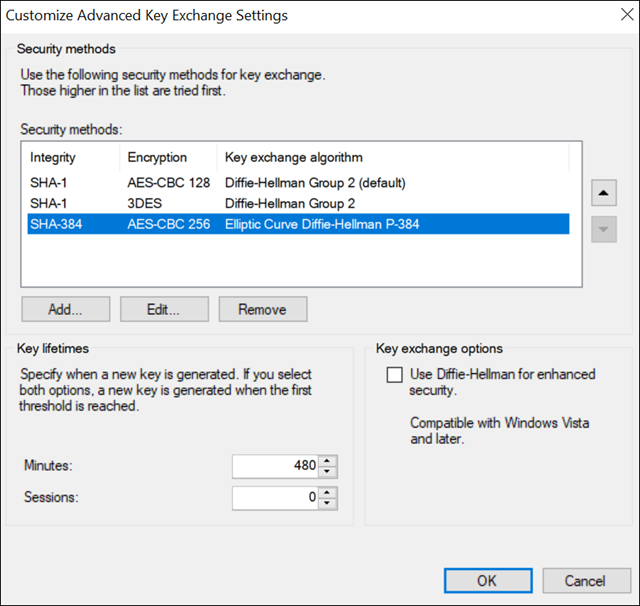
-
Select .
-
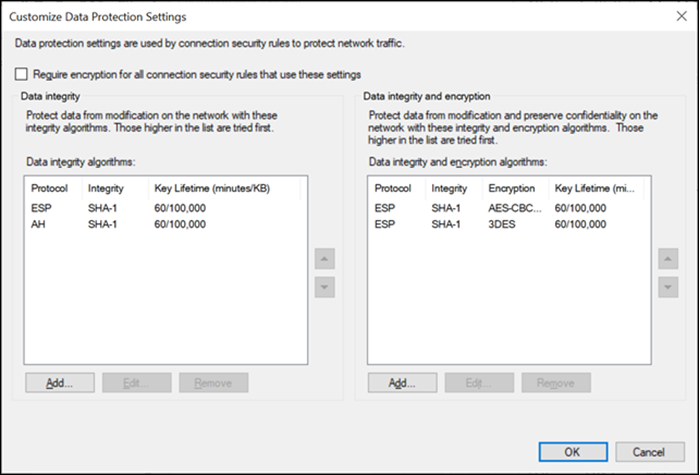
Add integrity and encryption algorithms:
-
In the Customize IPsec Defaults window, under
Data protection (Quick Mode), select .
The Customize Data Protection Settings window appears.
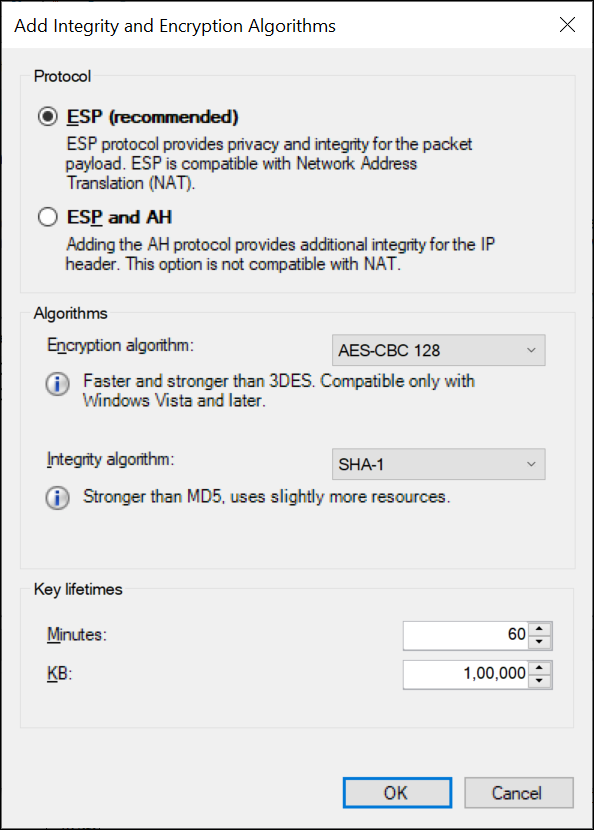
-
Under Data integrity and encryption, select
Add.
The Add Integrity and Encryption Algorithms window appears.
-
In the Customize IPsec Defaults window, under
Data protection (Quick Mode), select .
-
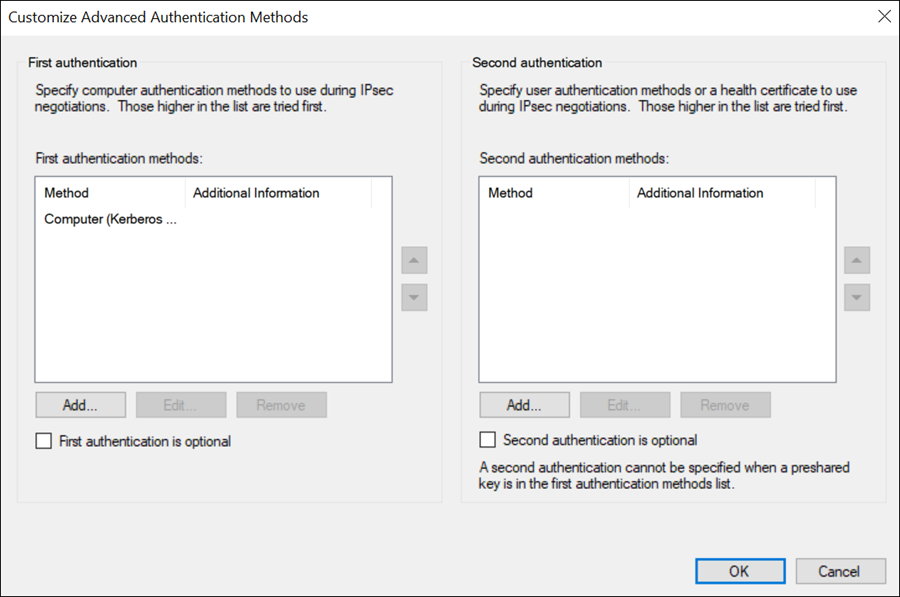
Create a first authentication method:
-
In the Customize IPsec Defaults window, under
Authentication Method, select .
The Customize Advanced Authentication Methods window appears.
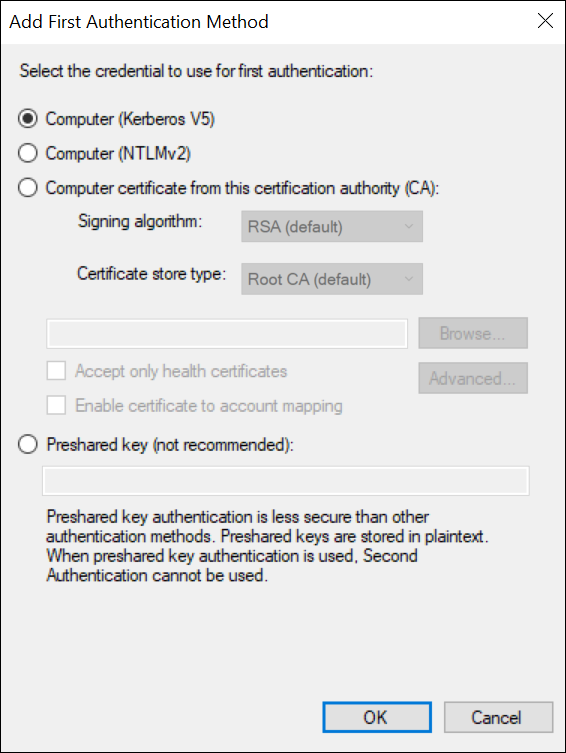
-
Under First authentication methods, select
Add.
The Add First Authentication Method window appears.
-
In the Customize IPsec Defaults window, under
Authentication Method, select .
-
Create a connection security rule:
For Windows x86, run the following set of commands to create a rule:
For other versions, perform the following steps:netsh advfirewall consec add rule name=""<rule name>"" endpoint1=any endpoint2=any protocol=tcp port1=any port2=2010 action=requestinrequestout-
Select .
The New Connection Security Rule Wizard window appears.
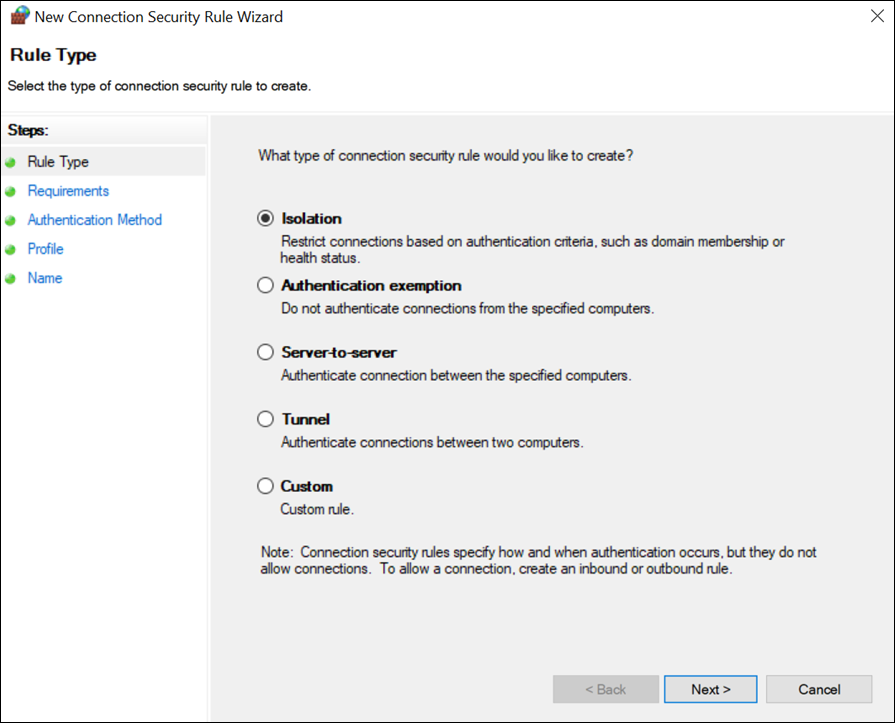
-
Select .
-
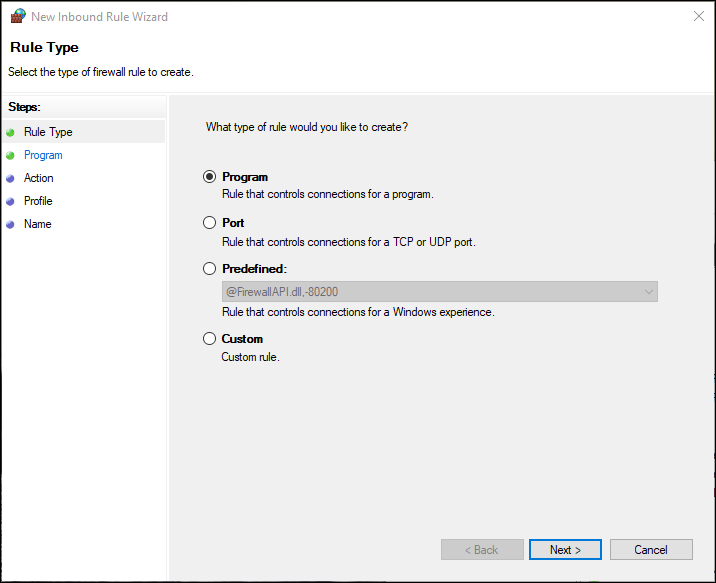
If using Microsoft Windows Server 2019, 2016, 2012 R2 and/or Windows 8, 8.1,
open up port number 5000:
-
Select .
The New Inbound Rule Wizard window appears.
IPSEC is now configured on the machine. -
Select .
- Repeat all the steps above on all the machines that host the Historian server and/or its components/clients.
-
To verify that the IPSEC cryptography is used: