Have You Seen Historian Lately?Click here to check out all the new features in the latest version.
Supercharge your GE solution! Download a free trial of Proficy Operations Hub, CSense analytics, and more. Learn more about the Proficy 2022 releases, by signing up for one of our upcoming events.
Tip: You can filter the
collectors by the system name.
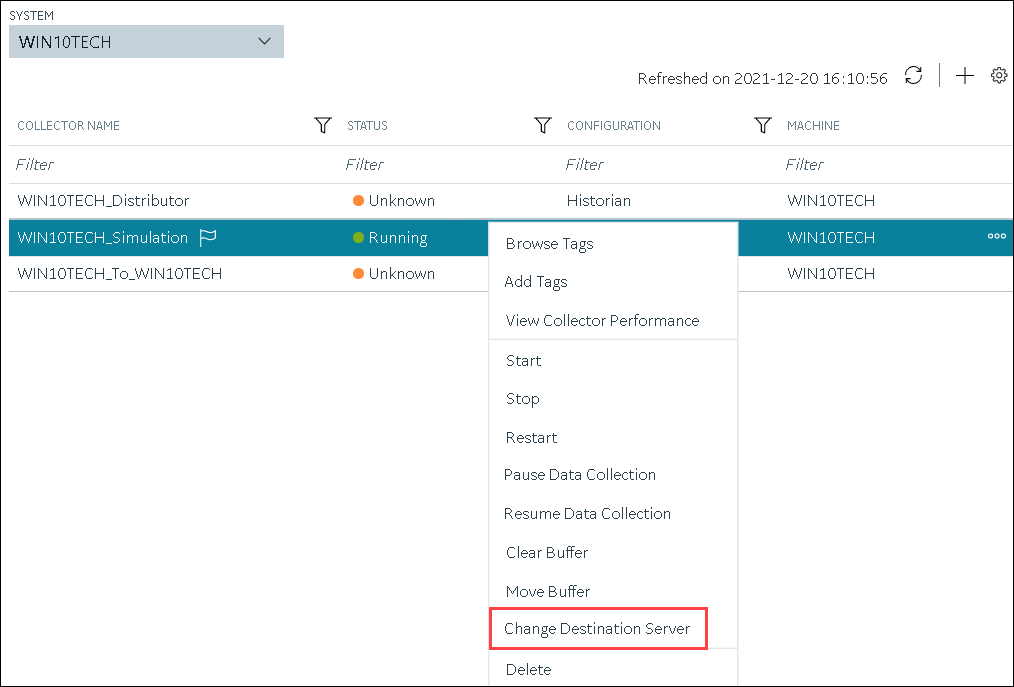
Right-click the collector instance whose destination server you want to change
(or select ), and then
select Change Destination Server.
The Change Destination Server: <collector name>
window appears. The COLLECTOR MACHINE, CURRENT
RUNNING MODE, and CURRENT DESTINATION
SERVER fields are populated and disabled.
In the NEW RUNNING MODE field, select one of the
following options:
Service: Select this option if you want to start
the collector as a Windows service using the credentials of the local user
(that is, the currently logged-in user). If you select this option, the
USERNAME and PASSWORD
fields are disabled.
Command Line: Select this option if you want to
start the collector in the command-line mode. If you select this option, you
must enter values in the USERNAME and
PASSWORD fields.
In the NEW DESTINATION SERVER field, enter the host name
or IP address of the new destination server to which you want the collector to
send data.
In the USERNAME and PASSWORD
fields, enter the credentials to access the new destination server.
Select Change Server.
The destination server of the collector is changed, and the collector is
stopped.
What to do next
Update the network message compression of the collector by modifying the
collector instance using Configuration Hub.
 Historian
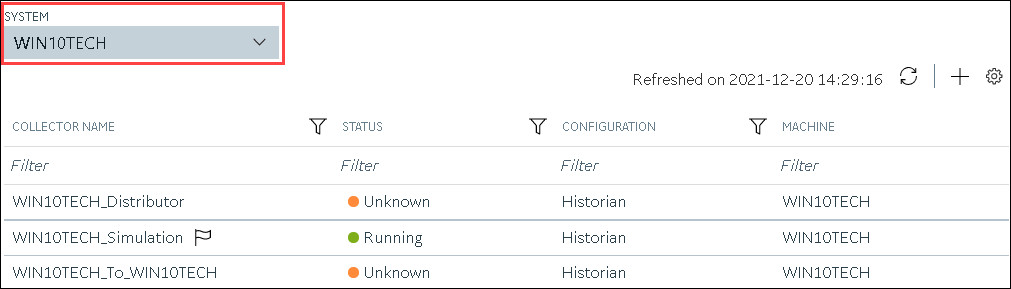
 ), and then
select Change Destination Server.
), and then
select Change Destination Server.