CIMPLICITY
6.3. Create a Script to add Attributes to Block Items
About this task
You can use a script to apply attributes to blocks that you create using the CIMPTRACK CimView screen.
| A | Check the Modify Item dialog box>Attributes Tab in PRT_UI |
| B | Create a New Region Object in the Add Blocks Button's Script |
| C | Create a Set of String Variables that will Hold the Attribute Names |
| D | Set up the Attributes for the Block Items |
| E | Check the PRT_UI window to Verify that the Attributes were Added |
| F | Assign Random Values to Selected Block Item Attributes |
| G | Test the new Add Blocks Button Script |
- Check the Modify Item dialog box>Attributes Tab in PRT_UI
Procedure
-
Select the Attributes tab.
You can see that there are no attributes.
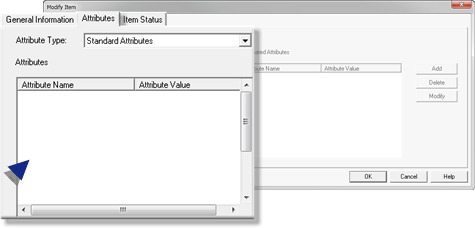
That is because when you created the attributes before you used the prt_attributes.cfg file. So they will be listed with an item when you add it through the PRT_UI, not when you add it using code.
You have to write more code to add attributes to a particular item.
- Create a New Region Object in the Add Blocks Button's Script
-
Create a new region object after all of your existing code, but before the
End Substatement: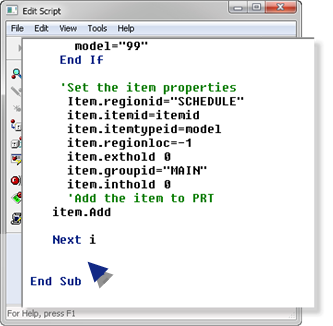
Enter:
Dim Region As New PrtRegion
-
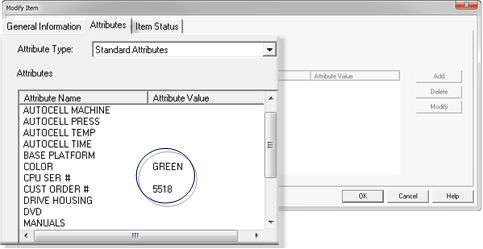
Open the Modify Item dialog box>Attributes tab for any item created in CimView using the new script.
Result: The attributes should display .

- Assign Random Values to Selected Block Item Attributes
You can use a script to assign random selected attribute values automatically.
For this project, have values assigned to the following in the SCHEDULE region.
- Customer Order #'s
- Colors (RED, GREEN and BLUE)
-
Add the following code to the script.
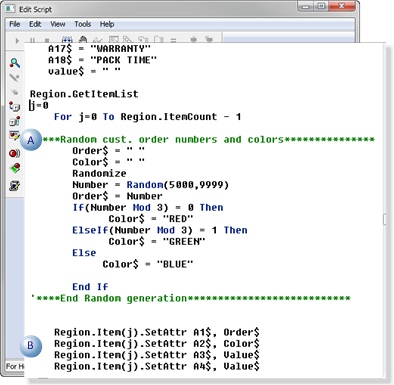
A Note: After For j=0 To Region.ItemCount - 1 Enter: '****Random cust. order numbers and colors*************** Order$ = " " Color$ = " " Number = Random(5000,9999) Order$ = Number If(Number Mod 3) = 0 Then Color$ = "RED" ElseIf(Number Mod 3) = 1 Then Color$ = "GREEN" Else Color$ = "BLUE" End If '****End Random generation***************************B Note: Replace existing code to add two specific values to the .modifymethod Change:
To:Region.Item(j).SetAttr A1$, Value$ Region.Item(j).SetAttr A2$, Value$Region.Item(j).SetAttr A1$, Order$ Region.Item(j).SetAttr A2$, Color$
Results
The CUST ORDER # and COLOR attributes should have assigned values.