 Plant Applications
Install Standard Web Client
About this task
Procedure
-
Run the installfrontend.exe file as an
Administrator.
The installation menu appears, displaying the Install Proficy Plant Applications 8.2 screen.
 Tip: You can hover over each task that appears in the installation menu to refer to the tooltip associated with that task.Note: Ensure that you have installed the Microsoft Visual C++ 2015 Redistributable (64-bit) package.
 -
Select Plant Applications Web Client.
The Plant Applications Web Client installation wizard appears, displaying the Welcome to Plant Applications Web Client 8.2 screen.

-
In the Welcome to Plant Applications Web Client 8.2 screen, select Next
The Read and accept the license agreement to continue screen appears.

-
Read the license agreement, select Accept, and then select Next to continue the installation.
The Prerequisites screen appears.
 If any of the following required software packages are not already installed on your computer, the installer installs them automatically:
- Apache Tomcat version 9.0.35
- Ruby 2.3.3
- Ruby DevKit version 4.65.0.0Note:
Ruby is required because the UAA Command Line Interface (UAAC) is dependent on Ruby.
- NodeJS 8.12
- Python 2.7.2
- OpenJDK 1.8
Note: If Microsoft OLE DB Driver 18 for SQL Server or later is not installed, the Missing Prerequisites screen appears informing you to install the required version of the missing software before you run the installer. You must exit the installation, and first install the required software.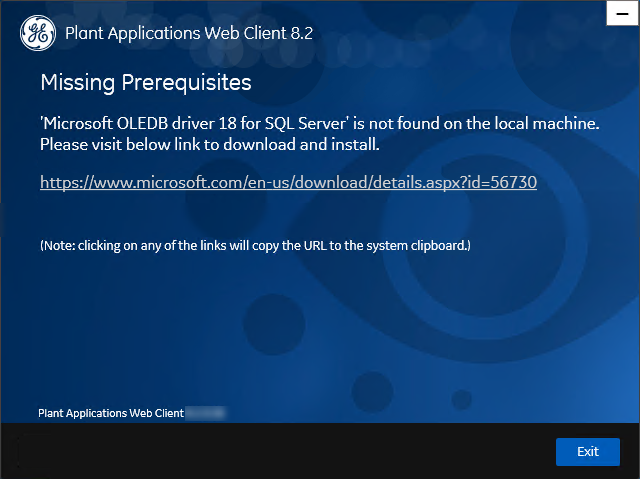
-
In the Prerequisites screen, select
Next to view all installed prerequisites and install
any missing prerequisites.
The Operations Hub Credentials screen appears.

-
Select Next to continue with the installation.
The Installation Directory screen appears with the default installation directory selected as C:\Program Files\GE Digital\PlantApplicationsWebClient.

-
In the Installation Directory screen, select
Next.
The UAA Credentials screen appears.

-
In the UAA Credentials screen, enter the credentials to
access the UAA server as described in the following table.
Credential Description Server Name Enter the host name of the UAA server. Note: Instead of IP address, it is recommended to use the UAA host name (computer name).Port Enter the UAA port number. Note: You can leave this field blank if you are using the default port number (443).Admin Client ID Enter the admin Client ID to access the UAA server instance. Note: The default user name isadmin.Admin Client Secret Enter the Client Secret for the user name you entered in the Admin Client ID box. Validate Select Validate to validate the UAA server connection. Note: The following table describes each icon indicating a validation status that might appear during the validation process.Icon Description 
Indicates that the validation is in progress. 
Indicates that the validation was successful. 
Indicates that the validation was unsuccessful. In this case, make sure you enter the correct password. If all the options are entered correctly, the Next button is enabled. -
Select Next.
The Plant Applications Database Credentials screen appears.

-
Select Validate Connection to validate the database
connection.
Note: The validation process takes some time to check whether a compatible version of the Plant Applications server is installed.The following table describes each icon indicating a validation status that might appear during the validation process.
Icon Description Indicates that the validation is in progress. Indicates that the validation was successful. Indicates that the validation was unsuccessful. In this case, make sure you enter the correct password. -
In the Plant Applications Database Credentials screen, select the CouchDB tab.
The Document Service Couch DB Credentials section appears.

-
In the Document Service Couch DB Credentials section, enter the Couch DB credentials as described in the following table.
Credential Description CouchDB Server Uri Enter the fully qualified web address of Apache CouchDB in the format: https://<host name or IPaddress>:<port number>.Node Enter the name of the node where Apache CouchDB is running. By default, the node value appears. Username Enter the user name of the administrator that has permissions to access the database you entered in the Database box. Password Enter the password for the user name you entered in the Username box. Validate Select Validate Connection to validate the Apache CouchDB database credentials. Note: The following table describes each icon indicating a validation status that might appear during the validation process.Icon Description Indicates that the validation is in progress. Indicates that the validation was successful. Indicates that the validation was unsuccessful. In this case, make sure you enter the correct password. If the Apache CouchDB database connection is successfully validated, the Next button is enabled. -
Select Next.
The Plant Applications Administrator User Credentials screen appears.

-
In the Plant Applications Administrator User Credentials
screen, enter the Plant Applications Administrator credentials as described in the following table.
Note: Ensure that the user credentials entered here must exist in Plant Applications Server with an administrator role defined and you must use the same credentials to login into the Web Client applications.
Credential Description User Name Enter the user name for an administrator account in Plant Applications. Password Enter the password for the user name you entered in the User Name box. Validate Select Validate to validate the Plant Applications Administrator credentials. Note: The following table describes each icon indicating a validation status that might appear during the validation process.Icon Description Indicates that the validation is in progress. Indicates that the validation was successful. Indicates that the validation was unsuccessful. In this case, make sure you enter the correct password. If the Plant Applications Administrator connection is successfully validated, the Next button is enabled. -
Select Next.
The Tomcat Installation screen appears.

-
Select Next.
The Customize Web Client Log Files Location screen appears.

-
Select Next.
The RabbitMQ Credentials screen appears.

-
In the RabbitMQ Credentials screen, perform one of the
following steps:
- Enter the RabbitMQ credentials for the machine that hosts your Plant Applications message bridge as described in the following table, and then select
Validate Connection.
Credential Description Server name Enter the computer name or IP address that hosts your Plant Applications Message Bridge. Username Enter the Administrator's user name that you set during Plant Applications Message Bridge installation. Password Enter the password for the Administrator's user name you entered in the Username box. The following table describes each icon indicating a validation status that might appear during the validation process.Icon Description Indicates that the validation is in progress. Indicates that the validation was successful. Indicates that the validation was unsuccessful. In this case, make sure you enter the correct password.
- Enter the RabbitMQ credentials for the machine that hosts your Plant Applications message bridge as described in the following table, and then select
Validate Connection.
-
Select Next.
The Kafka Credentials screen appears. Make a note of the kafka port number that is listed for configuring Message Bridge after the Web Client installation.

-
Select Next.
The You are ready to install screen appears.

-
Select Install, and then wait for the installation to
complete.
Depending on the options selected, the installation process may take some time. On successful installation, the Installation Successful screen appears.


