 Plant Applications
Upgrade Plant Applications Web Client in Silent Mode
About this task
The silent upgrade consists of configuring settings in a configuration file. Use the configuration file configuration.ini to configure same settings that you configure during interactive installation.
The silent mode of upgrade for Standard Web Client is applicable to only the Standard method.
Procedure
-
Mount the ISO, and then navigate to the
E:\Install\WebClient directory, and then open the
configuration.ini file using any text editor, for
example, Notepad or Notepad++.
Note:
To edit the configuration file configuration.ini, copy the .ini file to a location on your machine. For example, C:\New folder.
-
In the configuration file, enter details for the following:
- Operations Hub credentials
- Fully Qualified Domain Name (FQDN)
- Installation Directory
- Proficy Authentication (UAA) credentials
- Plant Applications Web Client API Login details
- Plant Applications Database credentials
- Plant Applications CouchDB credentials
- Plant Applications Administrator User credentials
- Tomcat credentials
- Log file location
- RabbitMQ credentials
- Kafka and Zookeeper credentials
- Save the configuration.ini file.
-
Open the command prompt in the administrator mode, and then navigate to the
path E:\Install\WebClient where the
Unattended.bat file resides. The
E:\ is the drive where the ISO has been mounted. Then
run this command:
Unattended.bat “<absolute path of configuration.ini
                        file>”
.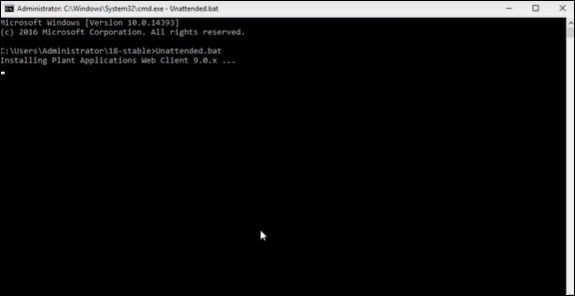
The Plant Applications Standard Web Client upgrade starts. A progress bar appears and displays the upgrade progress.
Note: The installation takes about 20 minutes to complete and might take longer based on system resources.Note: Before you log into the Plant Applications Web Client, ensure to complete the configuration of the Message Bridge Utility. -
To see the installation details, you can access the log
file here: C:\ProgramData\Proficy\Logs\webclientinstaller\.
To see the application details, you can access the log file here:
C:\Program Files\GE
Digital\PlantApplicationsWebClient\ServiceLogs.
When the upgrade is complete, Run the Message Bridge Configuration Utility. This is mandatory step to be completed before using the Web Client.Note: If the upgrade fails, then the system displays an error code: Failure.exit code is 3010. Check the log file to view the error and the description for the problem.
-
When you have completed running Message Bridge Configuration, Verify the Installation if the Plant Applications Web Client applications are up and running.
Note: If you are using signed certificates, then you must re-import the signed certificates using Configuration Manager utility after the upgrade is completed.
- Access the Plant Applications REST APIs to access the REST APIs for Plant Applications Web Client.
- When upgrade is successful but posting applications into Operations Hub fail, then you must post the applications using utility. See Post Applications into Operations Hub Manually.
- After the upgrade is complete, if you want to find the port details or swagger URL information, refer the WebClient-Ports.txt located in C:\Program Files\GE Digital\PlantApplicationsWebClient\WebClient-Ports.txt.