
Value Display
Use this widget to display any type of data value.
The value display widget is available under . When designing application pages, drag-and-drop GEValueDisplay to a container.
The following list of properties are specific to this widget. For common properties, refer to Page Components (Classic).
Value Display Properties
| Field Name | Description |
|---|---|
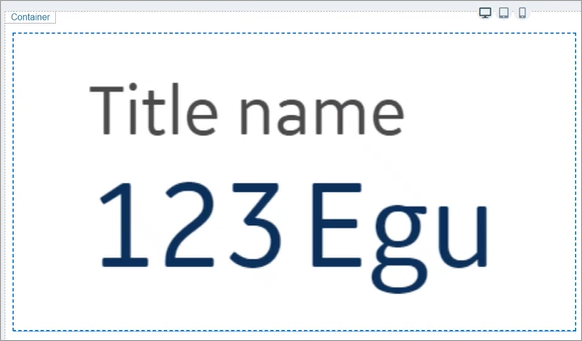
| Title | Enter a title for the widget, which is displayed at runtime. |
| Engineering Unit | Enter the engineering unit of measurement for the values, which is displayed at runtime. |
| Height | Set a height for the value display widget in pixels. |
| Width | Set a width for the value display widget in pixels. |
| Padding | Enter a value that defines the space between the content and the widget's borders. |
| Background Configuration |
|
| Border Configuration |
|
| Font Size | Enter a font size for the widget's Title and Current value and EGU. |
| Font Color | Select a font color for the widget's Title and Current value and EGU. |
| Font Style | Select a font style for Title and Current value and EGU, whether normal, bold, or italic. |
| Rotate | Allows to rotate the widget based on the selected degree of rotation. |
| Align |
|
| State Configuration | You can configure how the widget should appear whenever there is a change
in its status. Use any of these options:
Example: For Global,
Manual, and Formula, you
can paste the following sample code in the text
field: |
| Manual State | You can manually configure each field (instead of applying a query) how
the widget should appear on reaching a specified value. Select +Add
Item and provide these field values that help to indicate the
change:
You can configure several manual states using +Add
Item.
|
| Value Configuration | You can configure the values on how they should appear at
runtime. Select a Format for the value, whether the value should be a number or string.
|
| Number Format |
|
| Value | Use any of these options to provide data source values for the widget.
|
| Historian REST Options > Result Set Index | This property is applicable for Historian REST queries only. It allows to
define which index of the result set the widget should use as input data.
Default is 0. For example, consider a Historian REST query that returns data for three tags.
|
| Historian REST Options > Reverse Sorting Order | This property is applicable for Historian REST queries only. It helps to
reverse the query result set. Select the check box to provide the bottom record value as input to the widget. Clear the check box to provide the top record value as input to the widget. When you apply this property to REST queries that return more than one record for each input tag, the records of the selected tag (use Result Set Index to select the tag) are reversed. For example, consider a Historian REST query with two input tags (tag1 and tag2); each with 100 records as result. Set the Result Set Index as 0 and verify the following:
|
| Hidden | Select this check box if you want to hide the
plug-in. To show the hidden plug-in in Operations Hub new layout, go
to Page Visuals and under
Action column, select |
 and
and  to reorder manual
states.
to reorder manual
states. to delete a configured manual state.