 CIMPLICITY
Step 8. Finish Basic Tracking Model Configuration
Procedure
-
Click
 on the TrackerCfg_UI toolbar to save configuration data.
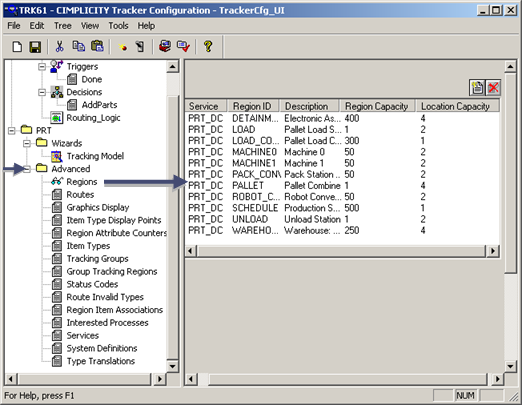
Tracker adds all of the PRT data that you have entered in the configuration dialogs to the Tracking Model configuration.
-
Double-click categories to view configuration data in the left pane.
 Important: If you want to move items across project boundaries, you have to do additional PRT startup configuration .


