Install Remote Management Agents Using the Installer
Before you begin
About this task
You must install Remote Management Agents on each machine on which the collectors that you want to manage are installed.
This topic describes how to install Remote Management Agents using the installer. You can also install Remote Management Agents using the command prompt.
Procedure
-
In the Proficy Historian Installation Program window, select Install Remote Management Agents.
A welcome message appears.
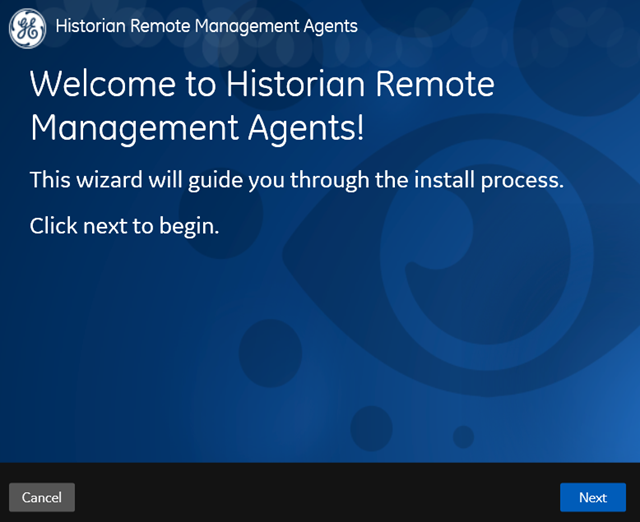
-
Select Next.
The license information appears.
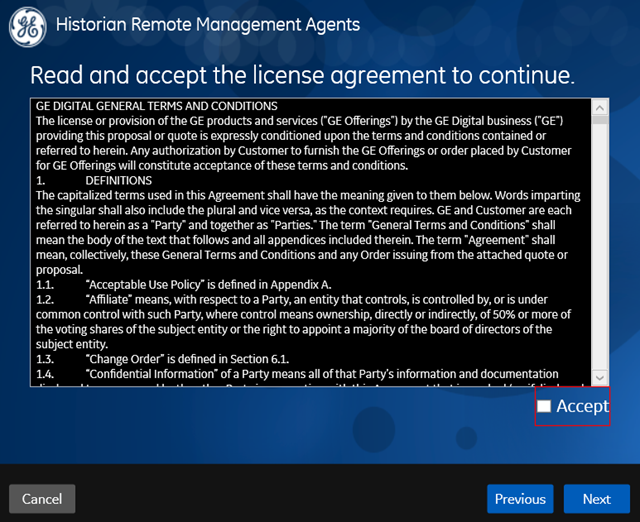
-
Select the Accept check box, and then select Next.
The default installation drive appears.
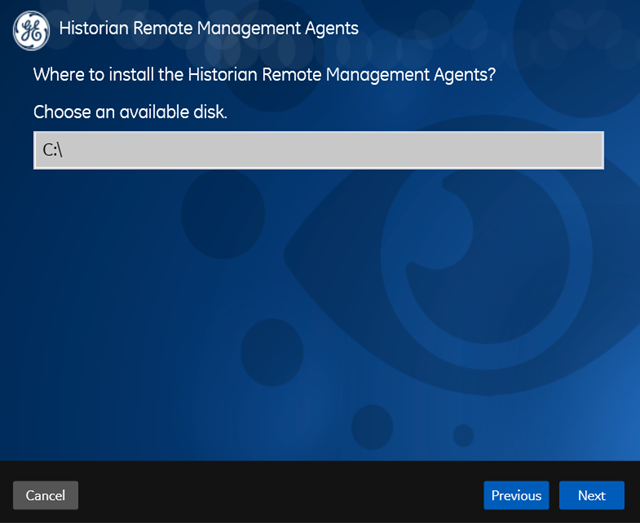
- Optional:
Modify the installation drive for Remove Management Agents, and then select Next.
The destination Historian server details appear.
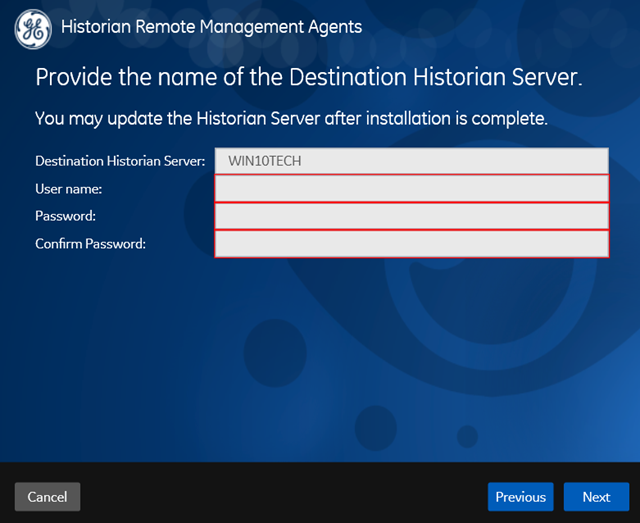
-
Enter the details of the default Historian server to which the collector manager will connect, and then select Next.
The log files location appears.
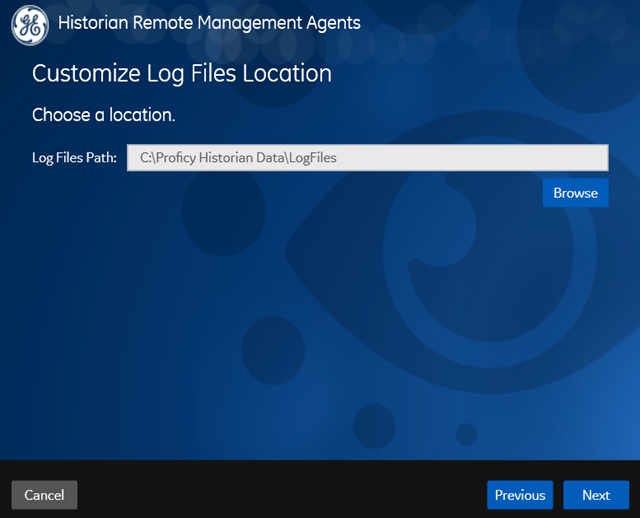
- Optional:
Modify the location of the log files by selecting Browse and selecting the appropriate folder.
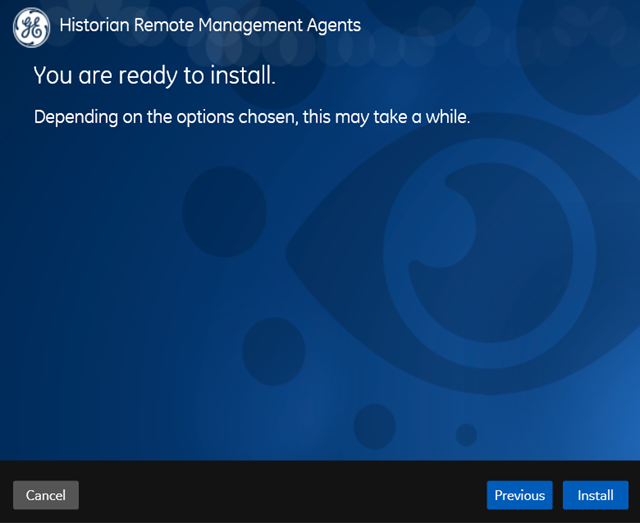
A message appears, stating that you are ready to install Historian Collector Manager.
Results
- Remote Collector Management is installed on your machine.
- A folder named Historian Remote Management Agents is created in the GE Digital folder in the installation location that you specified.
- Remote Collector Management is running, and a .shw file is created in the log folder. This file contains the details of the collectors that are running on the machine.
- For each collector that you manage using Remote Collector Management, a new entry named ServiceName is created in the collector registry. If the ServiceName key is not created or updated incorrectly, refer to Troubleshooting Remote Collector Management Issues.