Step 10. Test Print the WYSIWYG Form
Procedure
-
Do one of the following.
- Open the WYSIWYG Form Test dialog box from the Popup menu.
Select Test from the Popup menu.
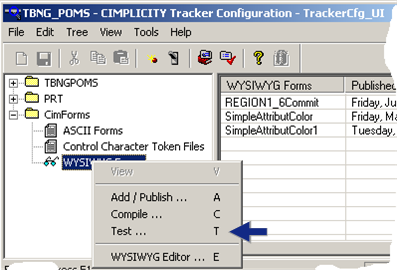
- Open the WYSIWYG Form Test dialog box in the WYSIWYG Editor.
Select File>Test Print on the WYSIWYG Editor toolbar.
A WYSIWYG Form Test dialog box opens when you use either method.
-
Fill in the fields as follows.
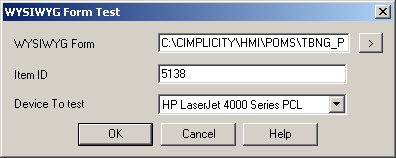
Field Description WYSIWYG Form Form in the CimForms\WYSIWYGForms\Working folder that will be tested. Item ID Item whose data the form will print. Device To test Printer that will print the form.
Results
The form will print the data for the selected item in the configured data source fields.
Note: Messages will alert you to possible problems; if the device is not configured correctly the form will not print.