Installing Historian Mirror Node

About this task

Install your Historian Mirror Primary Server before you install the Mirror node.
  • After installing your Mirror, the Mirror node will not have a Configuration Manager or the Embedded Web Services. These are only included on the Primary node and are shared by Mirror nodes.
  • The configuration setting of the mirror node should be the same as the primary node. This includes activating the same License Key on the mirror node as the primary node.
  • Primary and secondary nodes should be in a domain. This setup will not work on the work group.
  • Historian Global Security (strict client and collector authentication) should be disabled.
  • If the primary node is down, new tags cannot be added using the secondary node because the Configuration Manager is down.
  • Ensure that the mirror node has the same drive name as that of the primary node for the archive files, buffer files, and the log files.

For more information on how to configure a mirror node, refer to Historian Administrator Console.

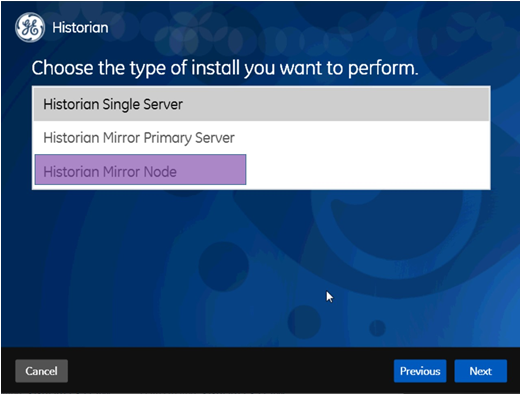
To install the Historian Mirror node:

Procedure

  1. Log in to the Windows Server as an administrator.
  2. Start the Historian installation by double-clicking the InstallLauncher.exe file.
    This file is found on your ISO or DVD.
  3. Click the Install Historian link to start the Historian installation.
    The Historian Welcome splash screen appears.
  4. Click Next.
    The End User License Agreement appears.
  5. Read the license agreement and check Accept.
  6. Click Next.
    The Where do you want to install Historian? prompt appears.


  7. To install on the default disk C:\, click Next.
    The Override the default Historian data path screen appears.
  8. Click Next to use the default path.
    The default Historian Data Path is C:\Proficy Historian Data.
  9. On the Choose the type of install you want to perform screen, select Historian Mirror Node and click Next.
    The Ready to Install screen appears
  10. Click Install.
    The Installing progress bar appears and the installation proceeds. During the install, a Historian screen briefly appears, and then the InstallShield wizard appears. A progress bar appears while the software is prepared for installation and configuration. The installation process may take some time.

    The Installing Proficy Common Licensing screen appears. A progress bar appears while the license is installed. This may take several minutes.

    The Historian Installing screen with the progress meter reappears. The Historian SDK Help and Historian Help icons appear on the desktop.

  11. Click Exit when the Installation Successful screen appears.
    The Reboot Required dialog appears.
  12. Click Yes to restart your computer.
    This may take several minutes.