
Import a Plug-in (Classic)
This topic describes how to import custom plug-ins.
Before you begin
About this task
Note: In case you imported a newer version of an
existing plugin, you need to revisit the application pages
(designer) wherever the old version was in use.
- Delete the old plugin version from the container. All plugin configuration settings are lost when you delete the old version.
- Add the new plugin version to replace the deleted one. Reconfigure the settings for the new version.
You can also use a third party client (for
example, Postman) to import plug-ins. Send a post request to
https://enter your machine
                                                  name/site/ajax/plugin
Procedure
-
In the main navigation menu, select
PLUGINS.
The PLUGINS workspace appears.
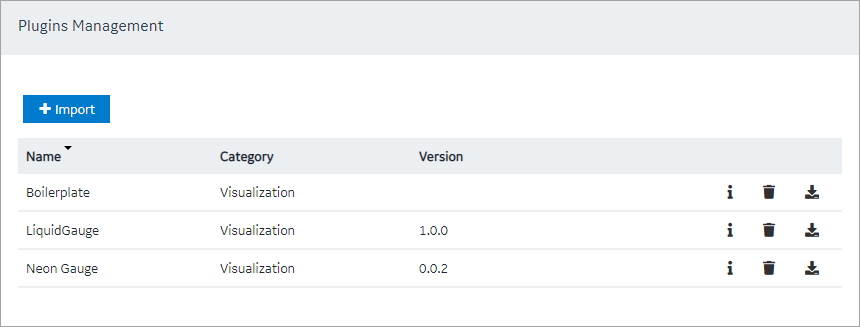
- Select Import.
- Navigate to and select the plug-in that you want to import, and then select Open.The plug-in is imported.Note: If the plug-in name contains special characters, then the plug-in is not imported. You must fix the plug-in name to import it to Operations Hub. However, existing plug-ins containing special characters in their name are allowed in Operations Hub as long as they are not deleted.