RCM Analyses
Access an Analysis
Procedure
- In the Analysis Name column, select the link for the analysis that you want to view.
In a new page, the Analysis Details workspace for the selected analysis appears, displaying the Analysis Identification section for the selected analysis.
The pane contains a hierarchy of functions included in the selected analysis. When you select a function, you will be able to view the hierarchy of the assets within the selected function.

Create a New RCM Analysis
About This Task
Procedure
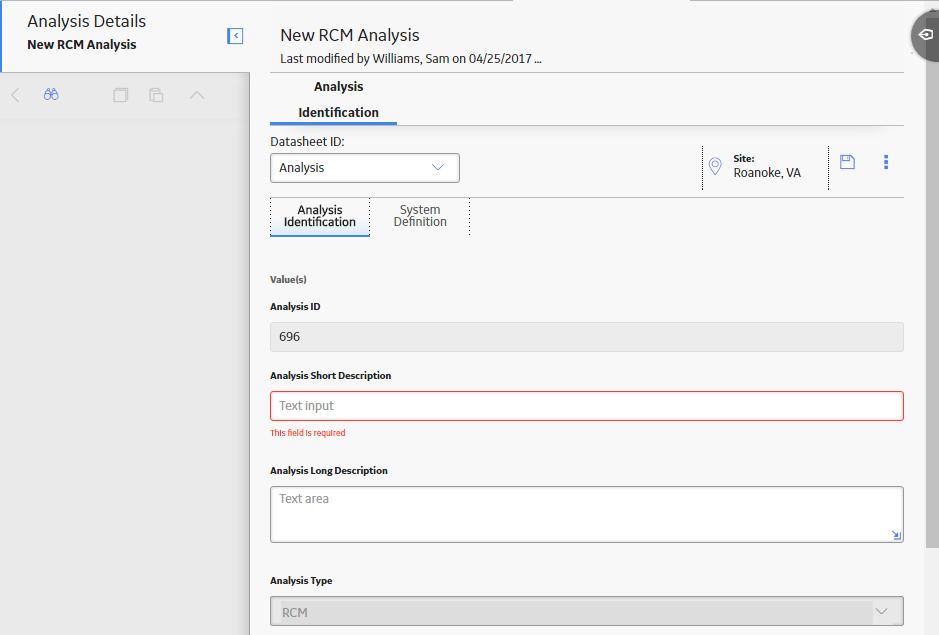
- In the page, select Create New Analysis.
In a new tab, the New RCM Analysis page appears, displaying the Analysis Identification section of the datasheet for the analysis.
Create an Analysis from a Template
Procedure
- Select the line in the grid containing the template from which you want to create an analysis, and then select
 .
.The Apply Template Builder window appears.

- Select
 beside the assets that you want to add to the template, and then select Done.Note: You are only able to add assets that have the same site assignment as the analysis you are creating.
The Select Asset Replacements screen appears displaying the assets you newly added.
- Select Next.
The Asset Replacement screen appears, displaying available failure modes for the template.

Modify an RCM Analysis
About This Task
Procedure
- Access the analysis that you want to modify.In a new tab, the Analysis Details workspace for the selected analysis appears, displaying the Analysis Identification section and the datasheet for the analysis.

- Select
 .
.The changes to your analysis have been saved.
Copy and Paste Nodes in an Analysis or Template
Procedure
- Access an Analysis if you want to copy analysis nodes.
-or-
Access a Template if you want to copy template nodes.
In a new page, the workspace for the selected analysis or template appears.
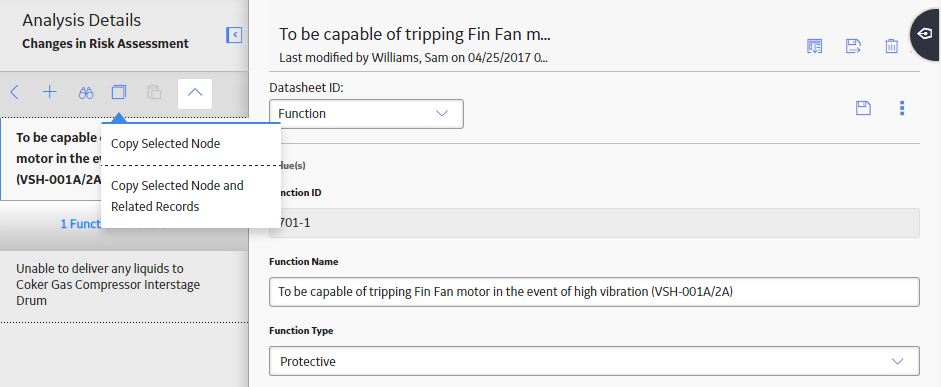
- In the pane, select the node that you want to copy.
The
 button is enabled.
 - Select .
A menu appears.
- Select the node where you want to place the copied node.
The
 button is enabled.
 - Select .
The copied node is pasted.
Promote an RCM Analysis to Strategy
About This Task
Promoting an RCM analysis to an ASM strategy creates risks and actions in a new strategy from corresponding failure effects and Recommended Actions in an RCM analysis, respectively. Additionally, when you make subsequent changes to the original RCM analysis, you can also promote those changes to the strategy.
Procedure
- In the workspace, select
 .
.A message appears, asking you to confirm that you want to promote all of the pending Recommended Actions to ASM.
- Select Yes.A progress indicator appears. Once the process is complete, the date and time of the last promotion appears.Note: If the process cannot be completed, an error message appears.

Use State Controls in RCM Analyses
About This Task
Procedure
- Access the analysis that you want to modify.
In a new page, the Analysis Details workspace for the selected analysis appears, displaying the Analysis Identification section and the datasheet for the analysis.

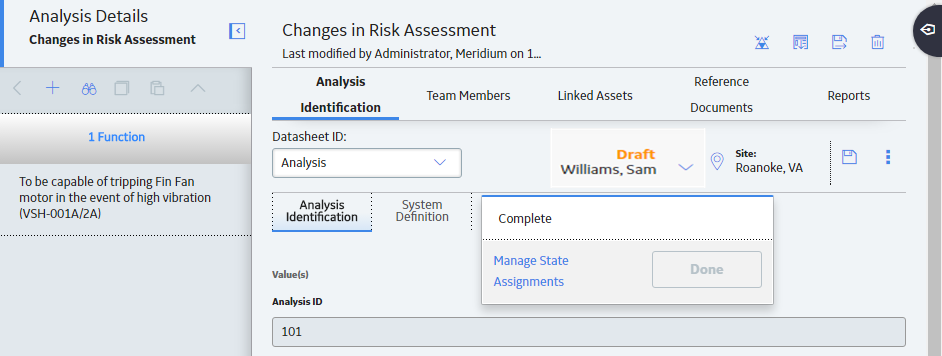
- In the analysis datasheet, select
 .
.The state control menu appears.
Delete an RCM Analysis
About This Task
Procedure
- In the list of analyses, highlight the line containing the analysis that you want to delete, and then select
 .A message appears asking you to confirm that you want to delete the analysis.
 - Select Yes.The analysis is deleted.Note: You can also delete the analysis using the delete button () while viewing the analysis that you want to delete.
Access a Reference Document
Procedure
- In the workspace, select the Reference Documents tab.
The Reference Documents section appears, displaying a list of reference documents.
 Tip: For more information, refer to the Reference Documents section of the documentation.
Link Reference Documents
Before You Begin
This topic assumes that there are existing documents in RCM that you want to link to your analysis.
Procedure
- Select
 .The Search window appears.
- Select the type of document you want from the Linked To drop-down box.
-or-
Enter the name that you want to search for in the search box, and then select
 .
.The results appear.
Delete a Reference Document
Before You Begin
This topic assumes that you have Reference Documents already attached to your RCM analysis.
Procedure
- Select
 , and then select .A window appears, asking if you want to delete the entity.
Access an Asset
Procedure
- In the pane, select the asset that you want to access.
 Tip: If needed, modify values in the available fields.
Filter RCM Analyses by Asset
About This Task
GE Digital APM features asset-centric navigation. To filter strategies by asset, please follow the instructions below.
Procedure
- In the page, select
 .
.
The Enter Parameter Values window appears.

- In the Asset field, select Home.
The Hierarchy window appears.

- Filter the assets. You can search through both Hierarchy and Groups by selecting the tabs in the window.
- Using the Hierarchy, you can navigate to the smallest level of asset. You can also select Search to find assets not connected to a strategy.
- Using the Hierarchy, if you select , it will allow you to filter by Category, Class, and Type.
- Using the Groups, if you select , it will allow you to search by Relationship and Hierarchy Filter.
Link Assets to an Analysis
Before You Begin
This procedure assumes that there are assets available to link to your analysis.
Procedure
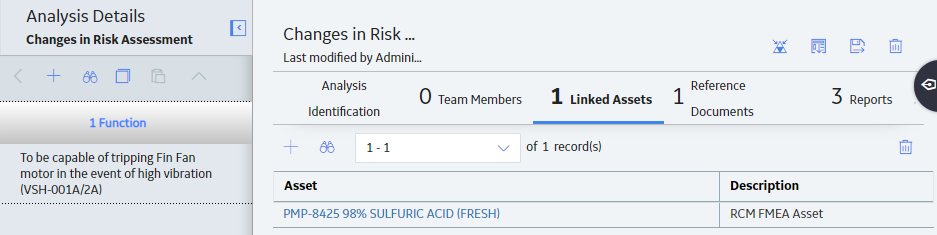
- Select the Linked Assets tab.The Linked Assets section appears.

- In the section, select
 .The Asset Finder window appears.
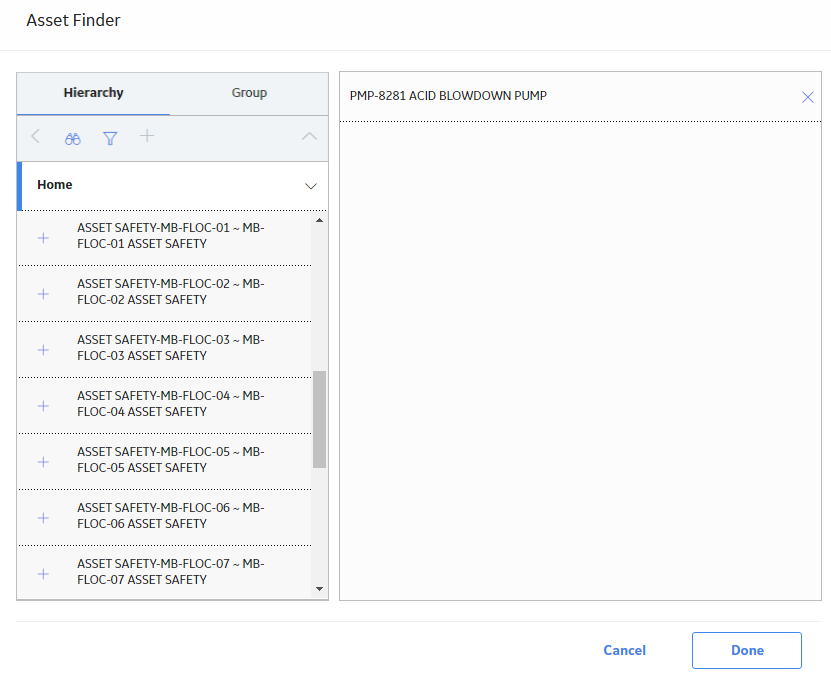
- Select next to each asset that you want to link to the analysis. You can search through both Hierarchy and Groups by selecting the respective tabs in the window.
Delete an Asset
Before You Begin
Procedure
- Select the Linked Assets tab.The Linked Assets section appears.
- In the workspace, select .A message appears, confirming that you want to delete the selected item.
Access a Template
Procedure
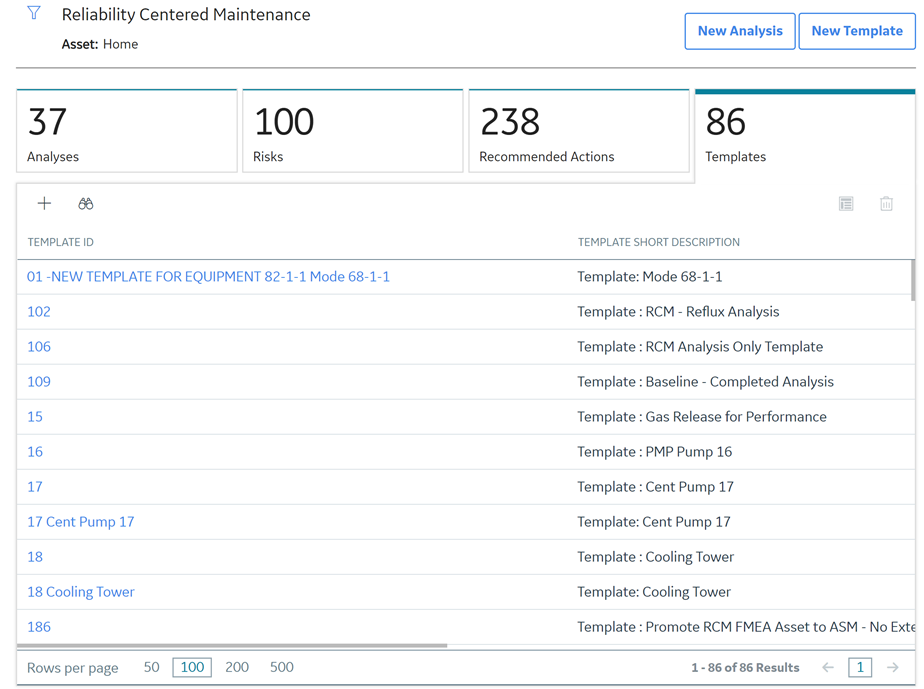
- In the workspace, select the Templates tab.The Templates section appears, displaying a list of Templates.
- Select the Template that you want to access.The datasheet for the selected template appears.
Tip: If needed, modify values in the available fields.
Create a Template
Procedure
- In the page, select New Template.The Template Builder window appears.

- Select Next.
The Select Template Type screen appears.

- Select the template type you want to apply, and then select Next.The Define Root Node screen appears.

- As needed, enter values in the available fields, and then select Next.The Define Template screen appears.

Save an RCM Analysis as a Template
About This Task
Procedure
- In the workspace, select
 .The RCM Template window appears.
 - Select .The analysis is saved as a template.
Use the Apply Template Builder
Before You Begin
- The template with which you are creating a new Analysis must be associated with at least one RCM FMEA Asset record.
- Link assets to the analysis.
Procedure
- In the workspace, select
 .The Apply Template Builder window appears.
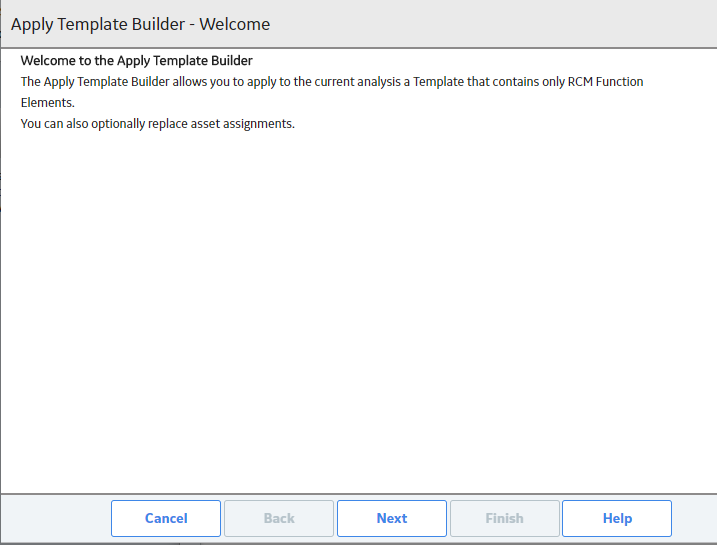
- Select Next.The Select Template screen appears.
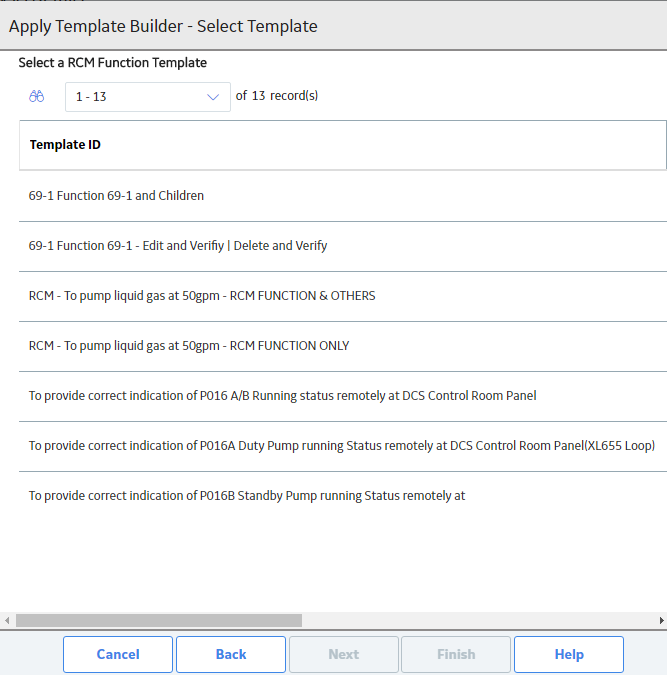
- Select the template that you want to apply, and then select Next.
The Asset Assignment screen appears, displaying the Asset Assignment drop-down list box. This field contains the assets that you linked in the Linked Assets section of the analysis.

- In the Asset Assignment drop-down list box, select the asset that you want to associate with the failure mode, and then select Finish.
The selected template is applied to the analysis and will be listed in the Analysis Details pane at the analysis level (Function, Functional Failure, or Failure Mode) that you selected.
Promote an RCM Template to ASM
About This Task
Promoting an RCM analysis template to an ASM template creates risks and actions in a new strategy template from corresponding failure effects and Recommended Actions in an RCM template, respectively. Additionally, when you make subsequent changes to the original RCM template, you can also promote those changes to the strategy template.
Procedure
- In the workspace, select .
A message appears, asking you to confirm that you want to promote all of the pending Recommended Actions to ASM.
- Select Yes.A progress indicator appears. Once the process is complete, the date and time of the last promotion appears.Note: If the process cannot be completed, an error message appears.