Access a Reliability Distribution Analysis for which you want to modify the Analysis Period.
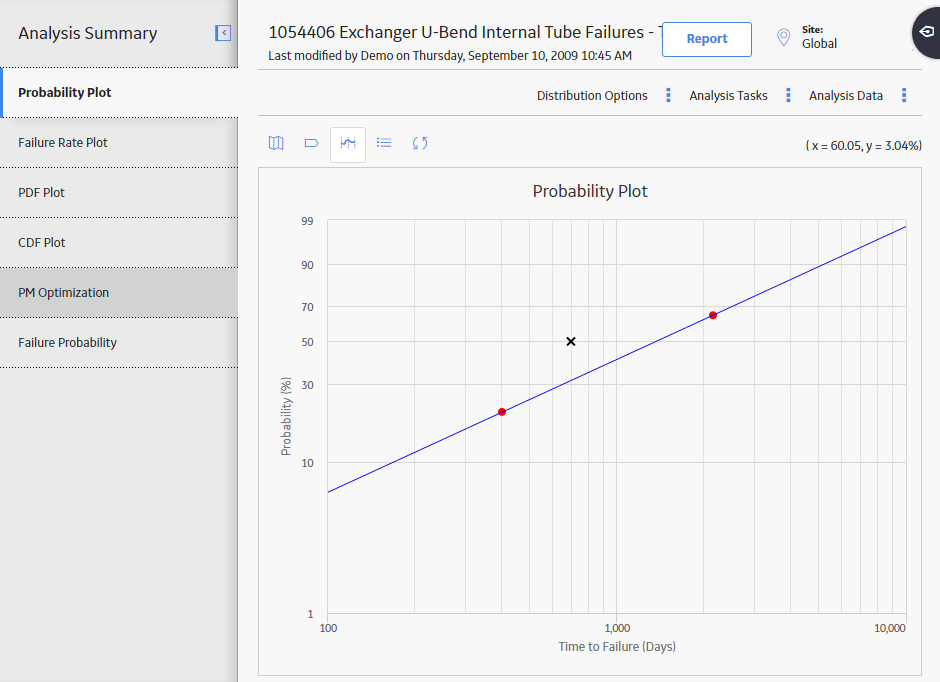
In the left pane, select the Probability Plot tab.
The Probability Plot appears in the workspace.

Note: You can also modify the Analysis Period for a plot via the Failure Rate Plot, PDF Plot, CDF Plot, and Failure Probability.
In the upper-right corner of the workspace, select Analysis Tasks, and then select Analysis Period.
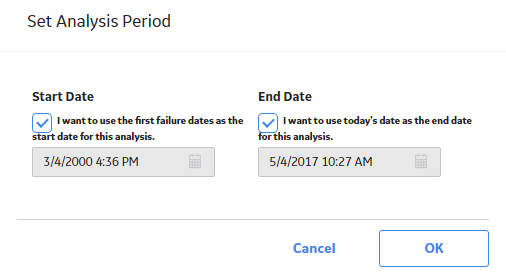
The Set Analysis Period window appears.

Clear the I want to use the first failure dates as the start date for this analysis. check box, and then enter or select the desired date.
Note: To ensure that all failure dates appear on the plots, make sure that the start date is before the date associated with the first datapoint. Only failures that occur after the start date will appear on the plots.
Select OK.
The GE Digital APM system saves the Analysis Period and recalculates the analysis using the selected dates.
Note: If you want to change the Analysis Period back to the default Analysis Period, select the Start Date and End Date check boxes.