Activating the Add-In for Microsoft Excel 2016/2013/2010
About this task
Procedure
- In the Manage drop-down list, click Excel Add-ins and click Go. The Add-Ins dialog box appears.
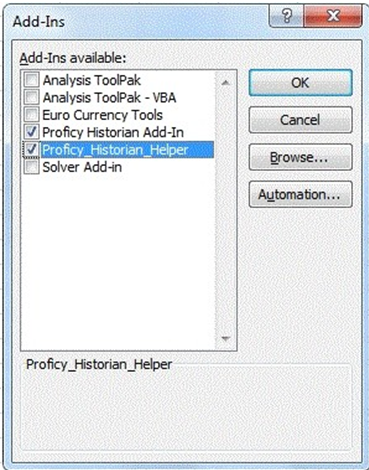
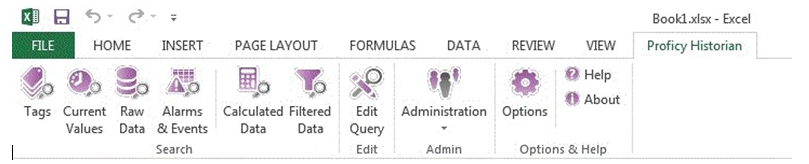
- Select Historian Add-In and Proficy_Historian_Helper and click OK.The Add-In is now ready to use and the Historian menu is now available in the Microsoft Excel toolbar.
If the Historian Add-In is not listed, click the Browse button to locate the Historian.xla file.
If you install the Excel Add-In prior to installing Microsoft Excel, the install program copies the Historian.xla file to your Historian folder (typically, C:\Program Files\Proficy\Historian or C:\Program Files (x86)\Proficy\Historian).
If you decide to add the Excel Add-In after installing Excel, open Excel and on the Tools menu, select Add-Ins and then from the dialog box that appears, click Browse to locate the Historian.xla file.
If you uninstall Historian after installing the Excel Add-In as described, ensure that you clear the Historian check box in the Microsoft Excel Add-Ins dialog box. If you do not clear this option, you will receive an error each time you open Microsoft Excel.