Step 3. Select Points to be Logged to Historian

Procedure

  1. (If the project is running) make sure dynamic configuration is enabled.
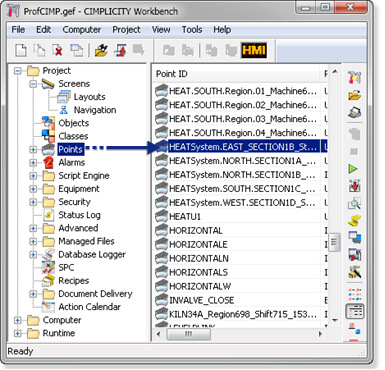
  2. Select Points in the Workbench left pane.
  3. Select a point that will be logged in the Workbench right pane.
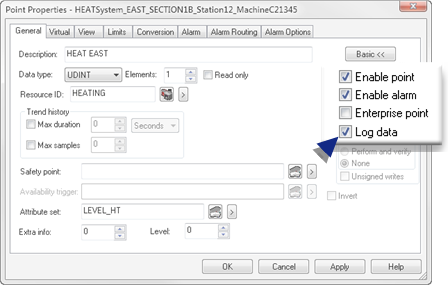
  4. Openthe point's Point Properties dialog box.
  5. Select the General tab.
  6. Check Log data.
  7. Click OK.
  8. (If the project is not running) do the following:
    1. Do a Configuration Update.
    2. Startthe project.

Results

The selected point and/or point alarm will be logged to Historian, based on the Historian options that were selected.

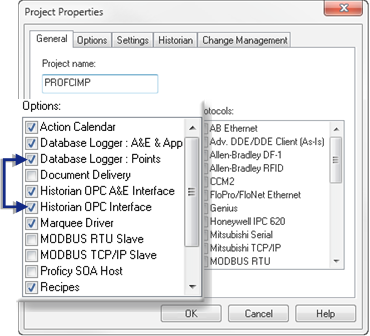
Important: If Database Logger: Points is checked on the General tab in the Project Properties dialog box, point data will be logged to both the Historian and the Database Logger.