Deployment
About the APM Connect Installation Package
GE Digital APM creates and delivers an installation package that provides the files and folders needed for a successful implementation of APM Connect. This topic describes what may be contained in your installation package based on your requirements.
Contents of the Installation Package
- UDLP - EAM Cloud 2.9.0 Client
- Contains the Job Packages for the Cloud Client Installation.
- APM Connect Base 2.0.0
- Contains the APM Connect Base.
- APM Connect Studio 2.0.0
- Contains the Developer Workbench on the Procurement of License.
Upgrade the APM Connect Base to V2.0.0
About This Task
The following table outlines the steps that you must complete to upgrade this module to V2.0.0.
These tasks may be completed by multiple people in your organization. However, we recommend that the tasks be completed in the order in which they are listed.
- Because of changes to the Check Connection function, the CMMS_ID and the System Name in the EAM System record must be the same. Before upgrading, make sure you update the EAM System record so these values match.
- If you are using multiple cultures from a single source system, existing data must be updated before you upgrade.
Procedure
Upgrade from any version V1.0.0 through V1.0.3
- Uninstall APM Connect.
- Complete the steps to deploy the APM Connect Base for the first time.
Deploy the APM Connect Base for the First Time
The topics outline the steps that you must complete to deploy and configure this module for the first time. These instructions assume that you have completed the steps for deploying the basic GE Digital APM system architecture.
About This Task
These tasks may be completed by multiple people in your organization. We recommend, however, that the tasks be completed in the order in which they are listed.
What To Do Next
After deploying the APM Connect Base, deploy any adapters you need.
Run the APM Connect Installer
Before You Begin
Before you can run the APM Connect Installer, you must:
- Ensure that your system meets the APM Connect system requirements.
- Access the APM Connect installation package.
- For SAP integrations, download the SAP Java Connector Files (SAP JCO) from the SAP marketplace.
Procedure
- Select Next.
The screen appears.
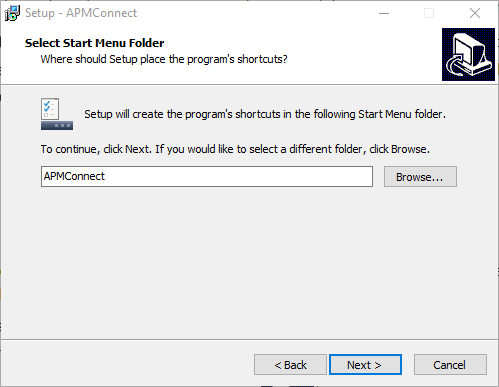
- In the Select Start Menu Folder, select the folder where the Start Menu folder is saved by doing one of the following :
- To select the default folder (APMConnect), select Next.
- Navigate to the folder to which you want to save the Start Folder, select Ok, and then select Next.
The Select Additional Tasks screen appears.
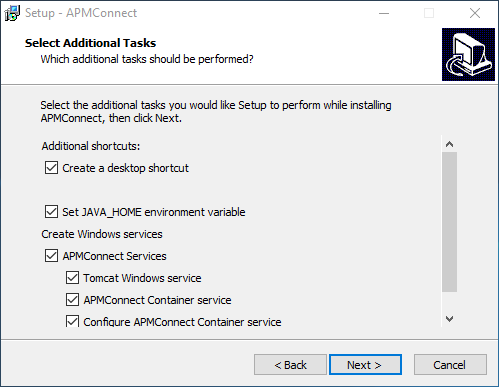
SAP JCO driver installation:
APM Connect set up:
After the progress bar indicates that the APM Connect installer is finishing installation, the Java SE Development Kit installer starts.
Java SDK setup:
PostgreSQL setup:
- In the Installation Directory window, select the location to install PostgreSQL.
- If you are satisfied with the default location (C:\Program Files\PostgreSQL\9.6), select Next.
- If you want to change the location where the software will be installed, select the
 button, navigate to the location where you want to install PostgreSQL for APM Connect, and then select Next.
Complete setup:
Configure APM Connect Server to Run Talend Administration Center (TAC) Jobs after Server Restart
About This Task
Procedure
Encrypt Parameters
Parameters in the context file are not encrypted by default, which results in values being transmitted in clear text over the network. However, you can manually encrypt any parameter manually.
Procedure
- In the command prompt, copy the text between the banners that was generated.

- In the parameter start tag, add encrypted="true"
algorithm="aes128", as shown in the following image:

Results
The parameters are encrypted.
Access the APM Connect Administration Center
Using the APM Connect Administration Center, you can run extraction and load jobs. Before you can begin running jobs, you must set up the APM Connect Administration Center. This topic explains how to access and deploy the APM Connect Administration Center for the first time.
Procedure
- Select .
The Database parameters window appears, and a check is performed by the APM Connect Administration Center.
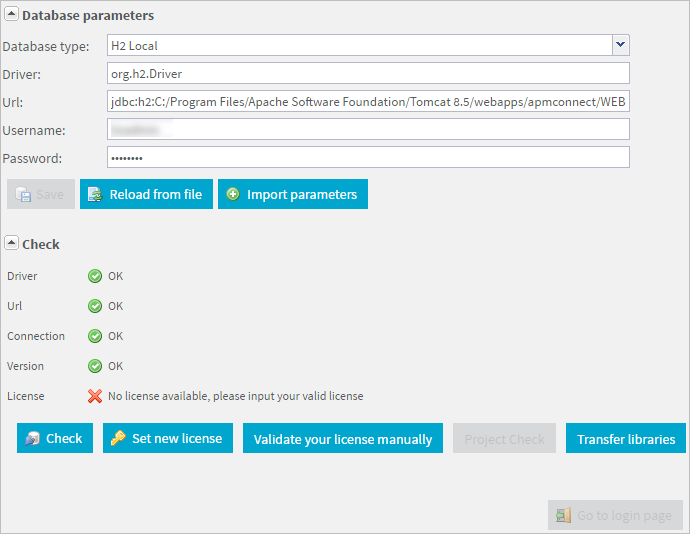 Important: If your license does not validate as shown in the previous image, you can validate your license manually.
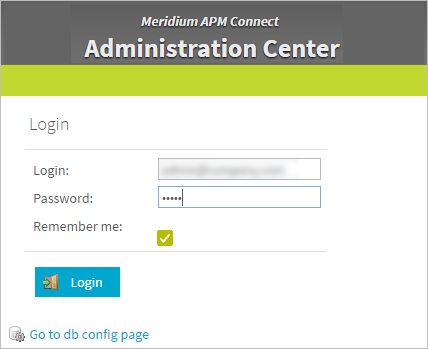
 - If your license validates, in the Database parameters window, select Go to login page.
The Login page appears.
Results
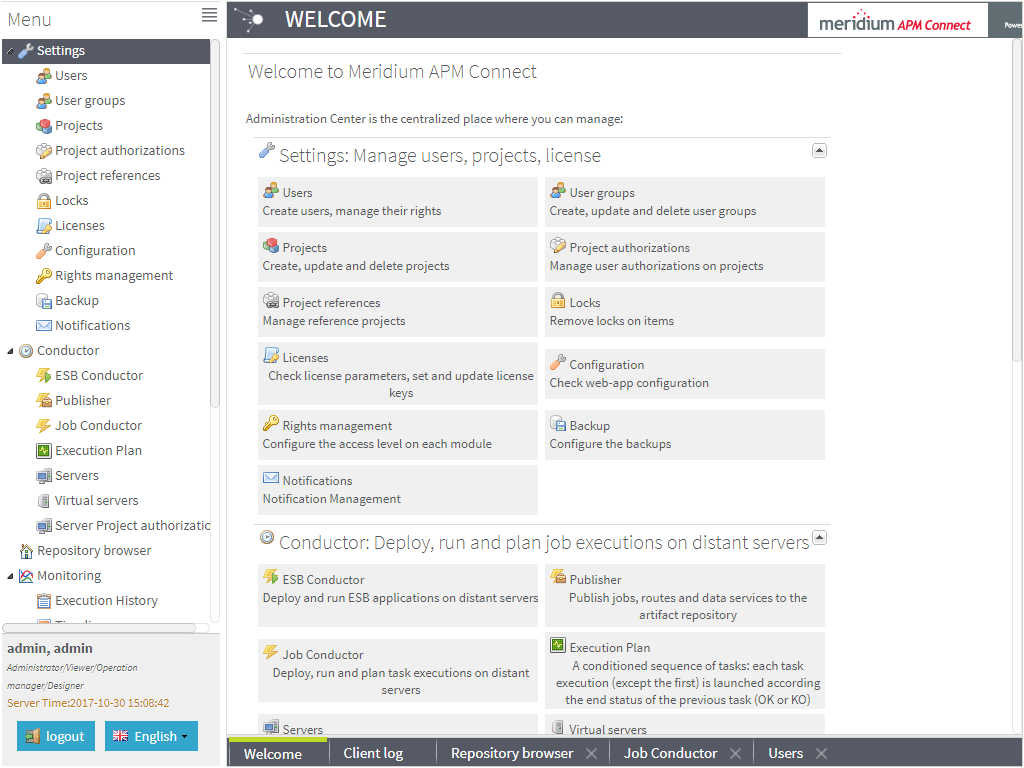
The APM Connect Administration Center is successfully deployed, and the APM Connect Administration Center Welcome page appears.
Change and Encrypt the APM Connect Service User Names and Passwords
About This Task
Procedure
Enable Internet Explorer for APM Connect
About This Task
Procedure
Update PostgreSQL Networking Configuration
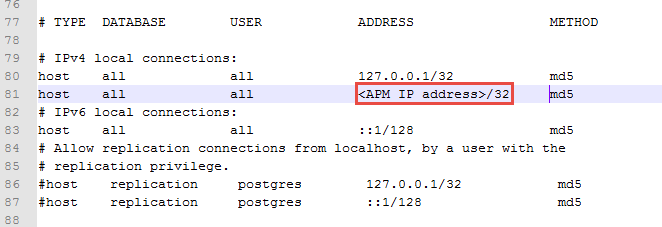
To allow connections from the GE Digital APM Server to APM Connect, you must update the PostgreSQL networking configuration. This topic describes how to perform the configuration update.
Procedure
- Scroll down to the end of the document and locate the following line of text: host all all 127.0.0.1/32 md5
Results
PostgreSQL is now configured to open the connection from the GE Digital APM Server.
Change the PostgreSQL Passwords
Procedure
- At the top of the workspace, select
 .
.The query runs and the password is changed.
Note: For more information about the PostgreSQL roles, see the PostgreSQL documentation.
Configure SSL
If you want to use SSL for connections from APM Connect, this step is required.
About This Task
If you want to use SSL when moving data through the system, you must import security certificates from the secured application into a truststore file accessible to APM Connect. This procedure describes the process for a single application. You can import multiple certificates into a single truststore file by repeating this procedure for each application requiring SSL.
Procedure
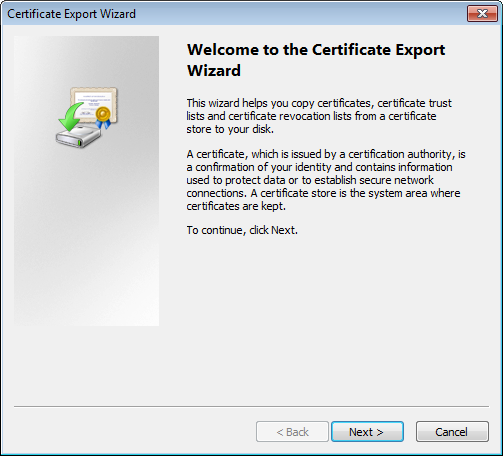
- Select Details, and then select Copy to File....The Certificate Export Wizard window appears.
- Select Finish.
The Certificate Export Wizard window appears.
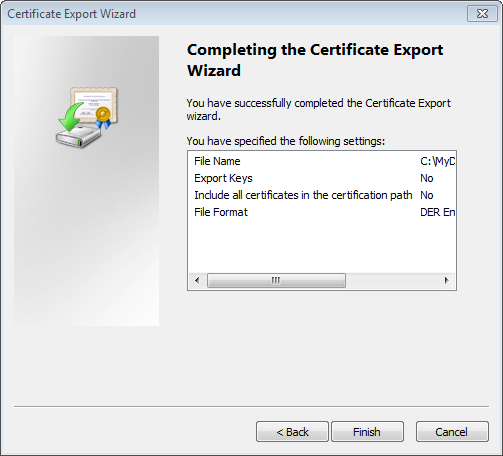
Results
Configure the Karaf Server for SSL
To ensure proper communications between GE Digital APM and APM Connect, you must configure the server to use SSL.
About This Task
To provide a more secure data flow, you must make sure that the connection that provides the path from the APM Connect system to GE Digital APM is protected. You can provide additional security to the data flow by configuring the APM Connect server, which processes the jobs that send and receive data between the endpoints, to use SSL.
Procedure
Results
What To Do Next
Import any additional client application certificates for your installation.
Configure Multiple Source Systems or Multiple Plants
Whether you have multiple source systems or multiple plants connected to GE Digital APM, the configuration process is similar.
Before You Begin
- Identify the target APM Connect system and all required information, such as userids, passwords, IP addresses, and ports.
- Identify the source systems you need. These can be any type of source system or plants that have unique language or extraction requirements.
- Review the information about creating EAM system records.
- Review the information about configuring the context file for the types of source systems involved.
- Make sure that the language and decimal notation values for the source system System User and GE Digital APM match.
- Make sure GE Digital APM is deployed.
About This Task
You need to follow these steps if you have multiple source systems using APM Connect performing Extractions and RFC/Notification Management for a single GE Digital APM system or for a single GE Digital APM Tenant in a cloud environment. The scenarios include:
- Multiple source systems of the same EAM type. This situation has multiple SAP, Maximo, or ServiceMax Systems connected to a single GE Digital APM system.
- Multiple source systems with a mixture of EAM types. This situation has multiple SAP, Maximo, and ServiceMax systems connected to a single GE Digital APM system.
- A single source system that has plants that need different languages or extractions.
- An asset can only be accessed by a single CMMS-ID.
You use similar steps to configure APM Connect to support either multiple source systems or multiple plants from a single source system. The main differences are addressing of the sources, any applicable filtering of data, and the contents of the context file for each source. The following steps outline what needs to be done in both an on-premise environment or a cloud environment.
This topic assumes familiarity with the process of deploying APM Connect for a single source system and that you have already configured GE Digital APM for the first source system.
Procedure
Enable Multiple Cultures From a Single Source System
To enable data flow when there are multiple cultures configured for a single source system, you must complete the following steps.
Procedure
- Create a context file for each culture originating from a specific source system.
- Create the Intermediate Repository database for the first CMMS_ID you define.
- For each additional CMMS_ID defined in Step 1.a, run the addSourceSystem job.
- For each CMMS_ID defined in Step 1.a, create an EAM system record, using the CMMS_ID in the System Name field.
- Select Test Connection for each EAM System record you created.
Results
Access the APM Connect Administration Center
Using the APM Connect Administration Center, you can run extraction and load jobs. Before you can begin running jobs, you must set up the APM Connect Administration Center. This topic explains how to access and deploy the APM Connect Administration Center for the first time.
Procedure
- Select .
The Database parameters window appears, and a check is performed by the APM Connect Administration Center.
Important: If your license does not validate as shown in the previous image, you can validate your license manually. - If your license validates, in the Database parameters window, select Go to login page.
The Login page appears.
Results
The APM Connect Administration Center is successfully deployed, and the APM Connect Administration Center Welcome page appears.
Change the APM Connect Administration Center User Password
Procedure
- In the Data pane, select change password.
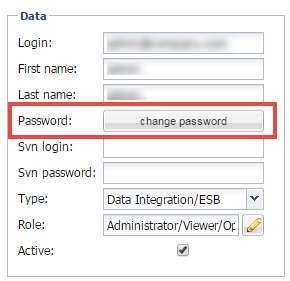
The User Password window appears.
Create a Service Account User
This topic describes how to create a service account user that has access to the SAP server and runs the Karaf service.
About This Task
For security reasons, it is important to limit the number of users that can access the file shares between the SAP server and the APM Connect server. The best way to do this is to create one service account user to run the Karaf service and to access the SAP file shares on the SAP server.
Procedure
- In the Permission Level column, select
 , and then select Read/Write.
 - In the APM-CONTAINER Properties (Local Computer) window, select the Log On tab.
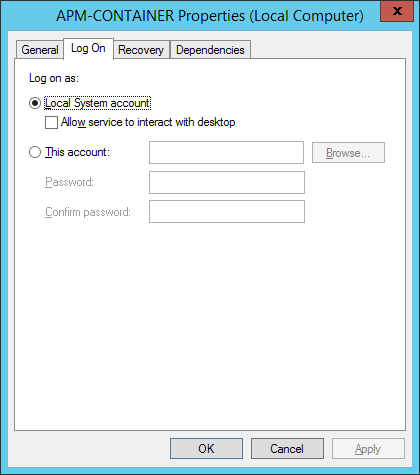
Results
The service account user has been created, authorized to run the Karaf service, and given access to the file shares on the SAP server.
Uninstall APM Connect
Before you can upgrade the APM Connect Base, you must uninstall your current version of APM Connect.