
Modify Settings
Steps to modify application settings in the latest version of Operations Hub.
Before you begin
About this task
Procedure
-
On the navigation panel, select .
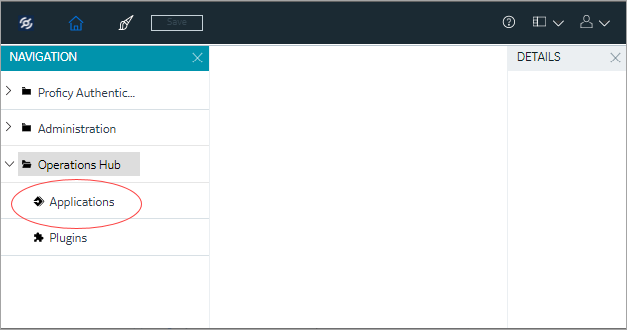 The existing list of applications appear.
 -
Select the application you want to
modify.
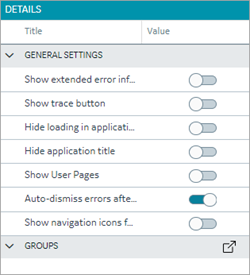
The following fields appear under GENERAL SETTINGS on the details panel.
Field Name Field Description Show extended error information Select this check box if you want detailed error information to appear in error messages. You can use this information to troubleshoot issues in the application. Show trace button Select this check box if you want to display a button that allows you to access information on the data retrieved from queries, functions, and global variables that are used in the application. It also includes data that is inserted or updated using queries. When you select this check box (and save your changes), a Trace appears in the application. You can select this button to view the trace information. Hide loading in application Select this check box if you do not want to display a busy indicator to indicate that a page is loading data from a query. Hide application title Select this check box if you do not want the title of the application to appear when you access the application. Show User Pages Select this check box if you want to display user pages in the application navigation menu. These pages are used to change the password of the user and access user settings using the application. If you select this check box, the option to access the user pages appears in the application title. If, however, the Hide application title check box is selected, the option is moved to the navigation menu of the application. Auto-dismiss errors after 10 seconds Select this check box to automatically dismiss error messages after 10 seconds if they pop up in the end application. Recommended for hands-free environments. Show navigation icons for application history Select this check box to show  navigation icons on the
banner of your application. The back/forward
navigation icons work within the scope of an
individual application.
navigation icons on the
banner of your application. The back/forward
navigation icons work within the scope of an
individual application.Use the navigation icons to
Go to previous pageorGo to next page. The icons are activated based on the entries for the current application session history. -
To enable the settings for an application,
turn on the respective toggle switch.
- Select Save on the toolbar.
Modify Settings (Classic)
Steps to modify application settings in the Operations Hub classic version.
Before you begin
About this task
Procedure
-
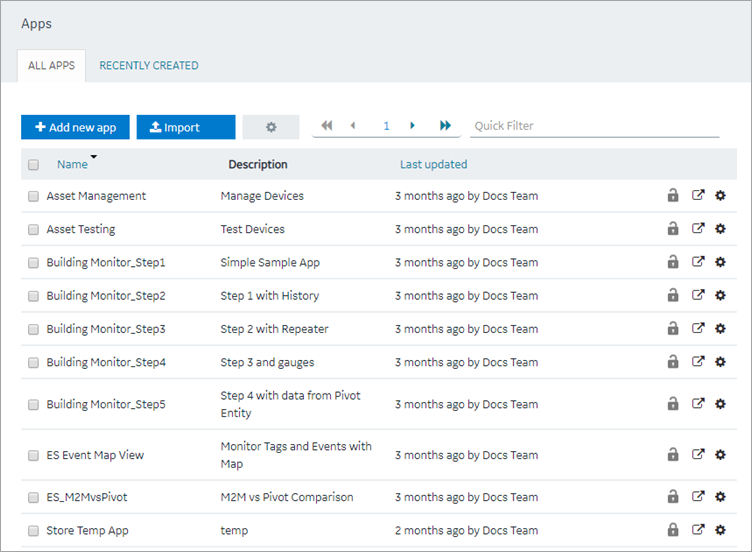
In the main navigation menu, select
APPS.
The APPS workspace appears.
-
In the Name column,
select the application whose settings you want to
modify.
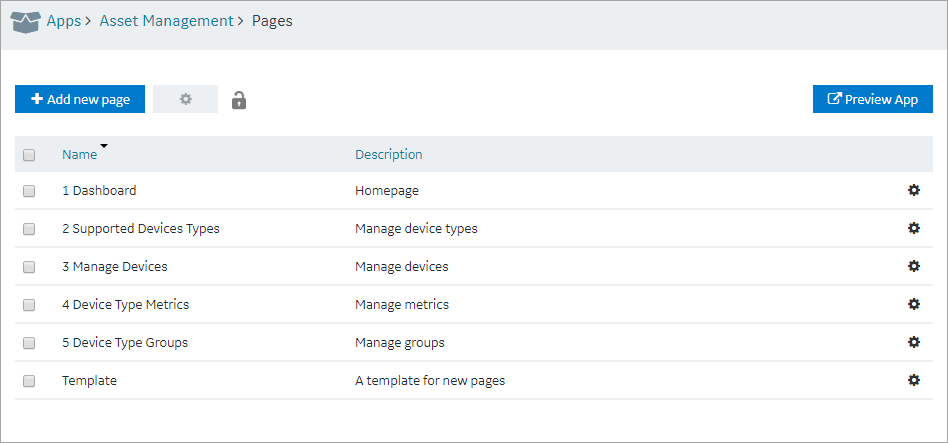
The PAGES workspace appears.
-
In the main navigation menu, select
SETTINGS.
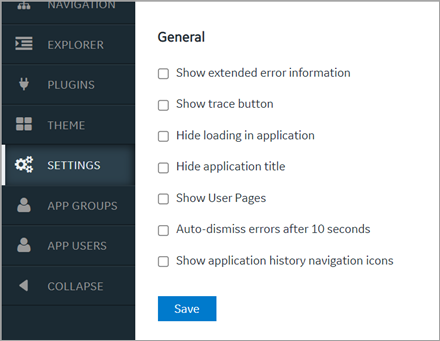
The SETTINGS workspace appears.
-
As needed, modify values as described in the
following table.
Field Description Show extended error information Select this check box if you want detailed error information to appear in error messages. You can use this information to troubleshoot issues in the application. Show trace button Select this check box if you want to display a button that allows you to access information on the data retrieved from queries, functions, and global variables that are used in the application. It also includes data that is inserted or updated using queries. When you select this check box (and save your changes), a Trace appears in the application. You can select this button to view the trace information. Hide loading in application Select this check box if you do not want to display a busy indicator to indicate that a page is loading data from a query. Hide application title Select this check box if you do not want the title of the application to appear when you access the application. Show User Pages Select this check box if you want to display user pages in the application navigation menu. These pages are used to change the password of the user and access user settings using the application. If you select this check box, the option to access the user pages appears in the application title. If, however, the Hide application title check box is selected, the option is moved to the navigation menu of the application. Auto-dismiss errors after 10 seconds Select this check box to automatically dismiss error messages after 10 seconds if they pop up in the end application. Recommended for hands-free environments. Show navigation icons for application history Select this check box to show navigation icons on the
banner of your application. The back/forward
navigation icons work within the scope of an
individual application.Use the navigation icons to
Go to previous pageorGo to next page. The icons are activated based on the entries for the current application session history. -
Select Save.
The settings are modified.