Steps to Install Historian Client Tools
- Right-click the InstallLauncher.exe file and select Run as Administrator.
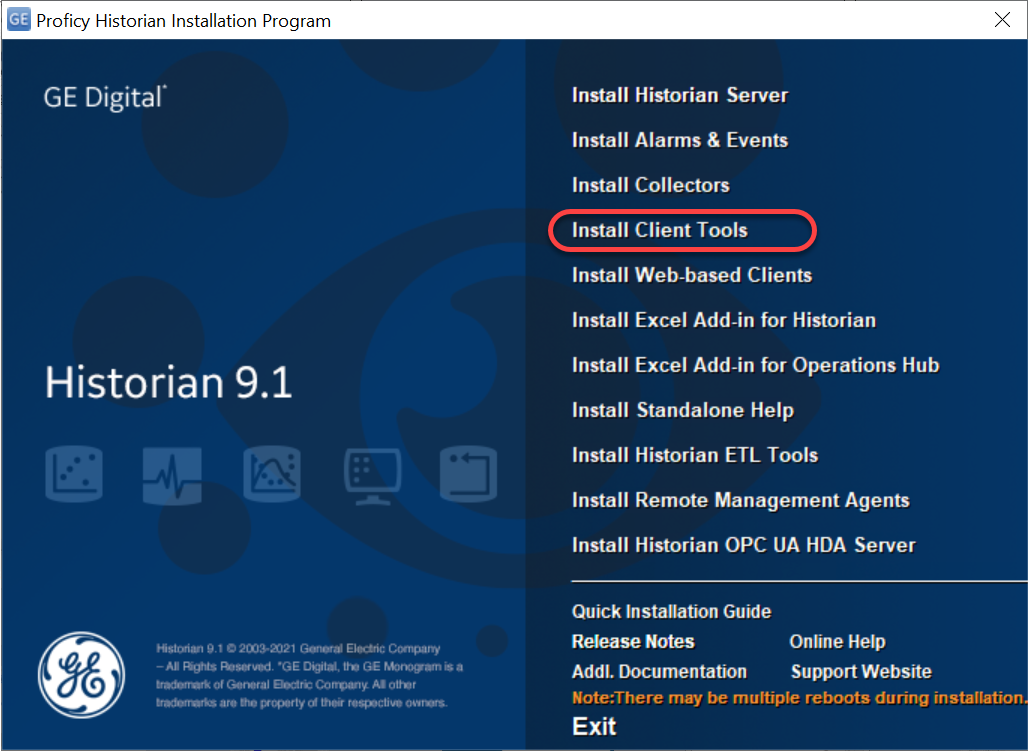
- Select Install Client Tools. The Select Features page appears, displaying a list of components that you can install with Client Tools.

- Leave the defaults. By default, the check boxes for components such as Historian Administrator, HDA Server, OLE DB, and User API and SDK are selected. If you do not want to install them at this time, clear the check boxes. You cannot, however, clear the Proficy Historian Client Tools check box.
- Select Next. The Historian Server Security screen appears.
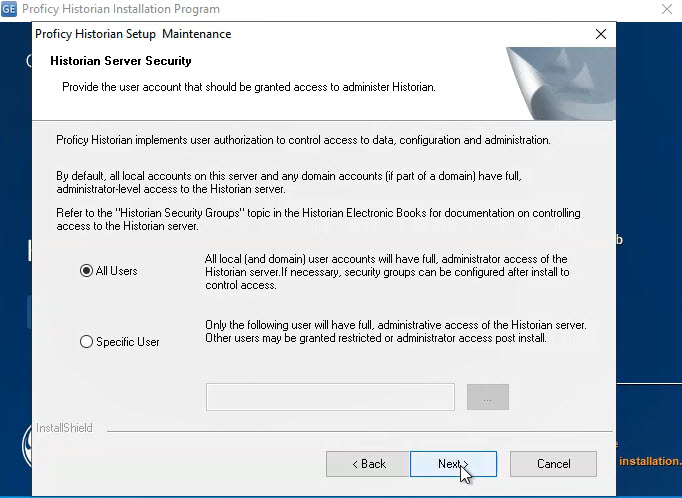
- Click Next. The Historian services are stopped automatically and the Client Tools are installed.
- Wait a few moments for the Historian services to stop, and the installation to continue. When complete, a message to start the Historian services appears.
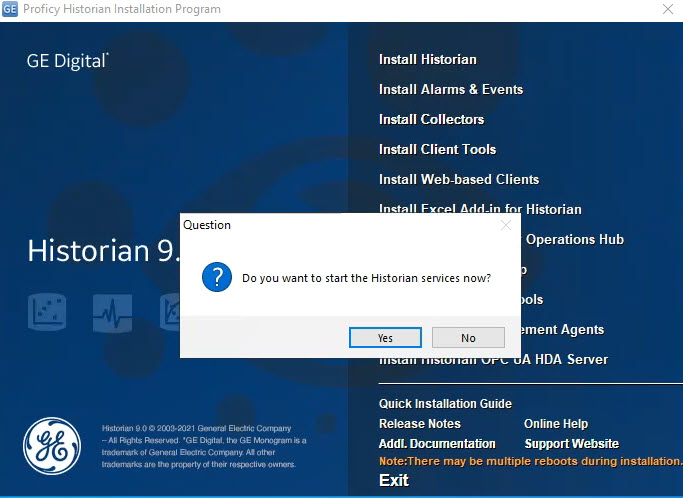
- Click Yes to continue.
- If you are asked to reboot your system, select Yes, and then Finish.
Steps to Configure the iFIX Collector
