Steps to Configure the iFIX Collector
iFIX Steps
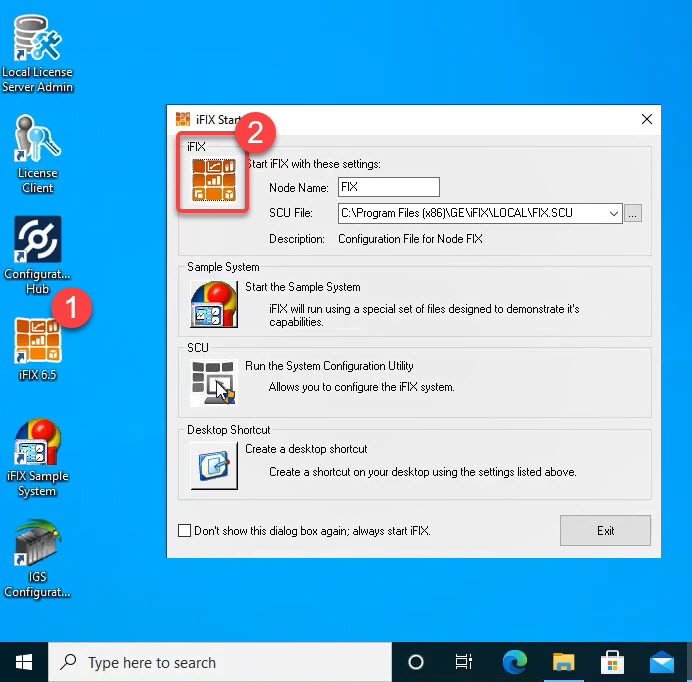
- On the Desktop, double-click the iFIX 6.5 icon to start iFIX. The iFIX Startup dialog box appears.
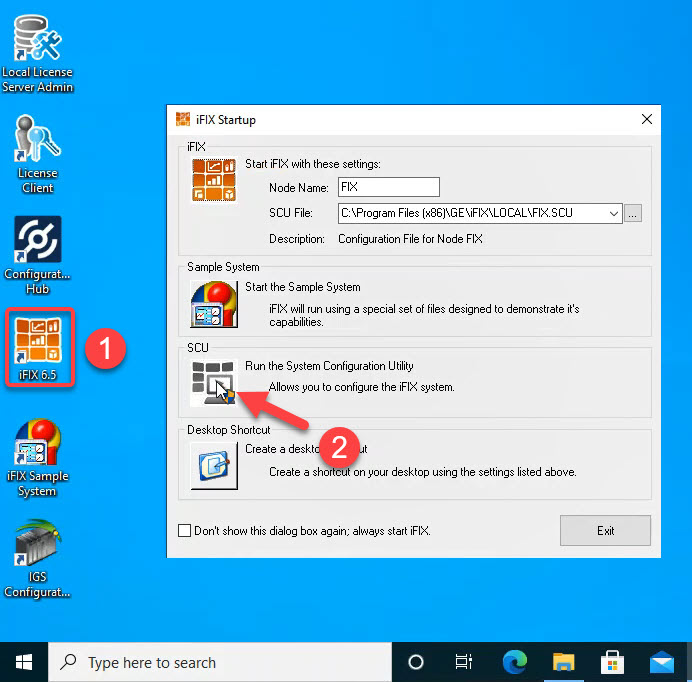
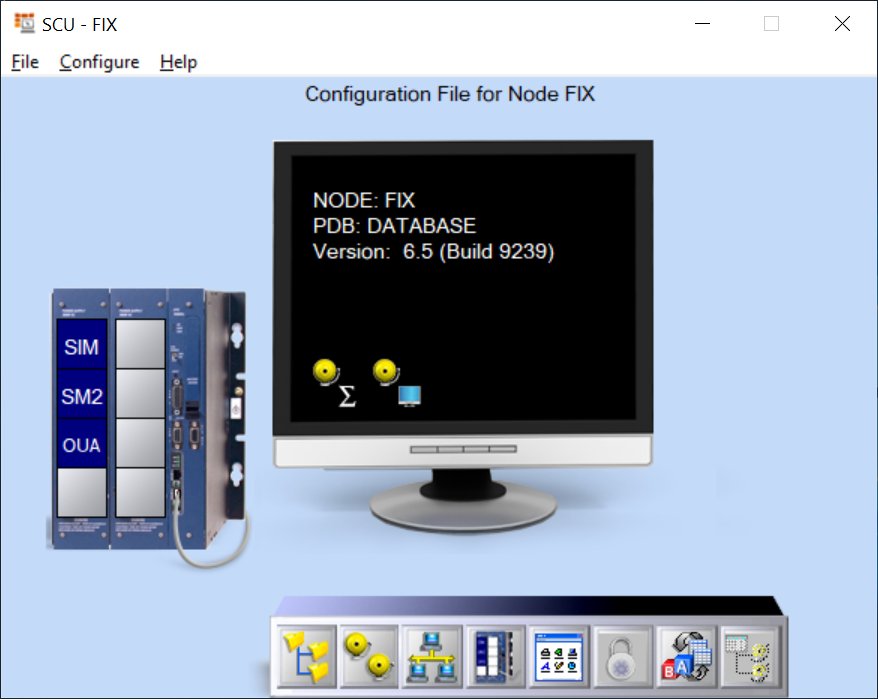
- Select the SCU (System Configuration Utility) option. The SCU appears.
- On the Configure menu, select Tasks.
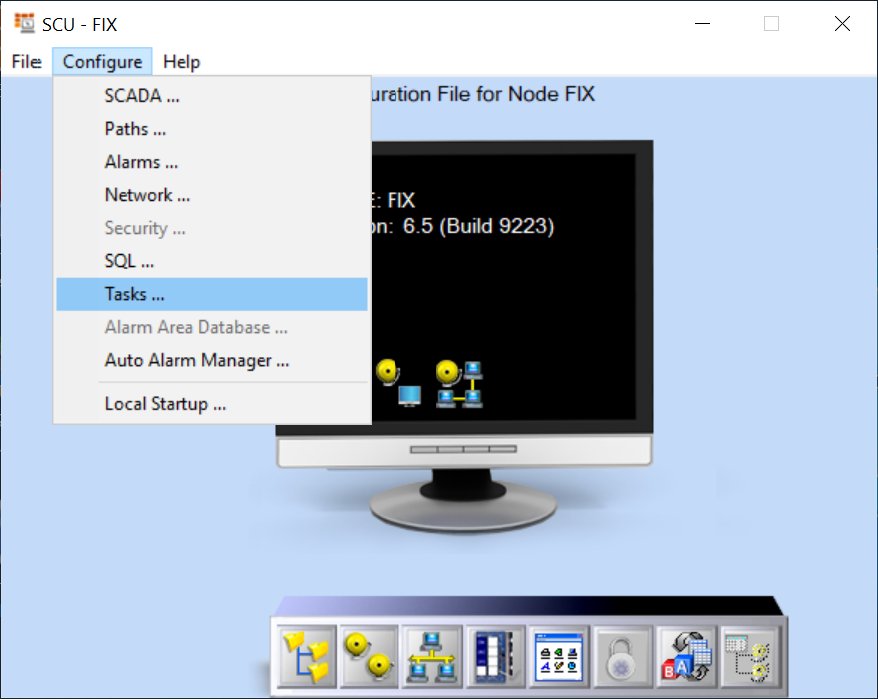
The Task Configuration dialog box appears.
- Next to the Filename field, click the browse (…) button. A Select Files window appears.
- Select the ihfixcollector.exe file from the iFIX folder (by default: C:\Program Files (x86)\GE\iFIX).
- In the Command Line field, enter the following command:
RUNASDOSImportant: TheRUNASDOScommand line can only be used if iFIX is installed on the same computer as Historian.Note: If Historian was on a different computer than iFIX, you would need to use theNOSERVICE REG=CollectorNamecommand line instead (where collector name would default to MachineName_iFIX). Since we are not installing on different computers here, you do not need to use theNOSERVICE REGcommand line in this instance. - Click Add.
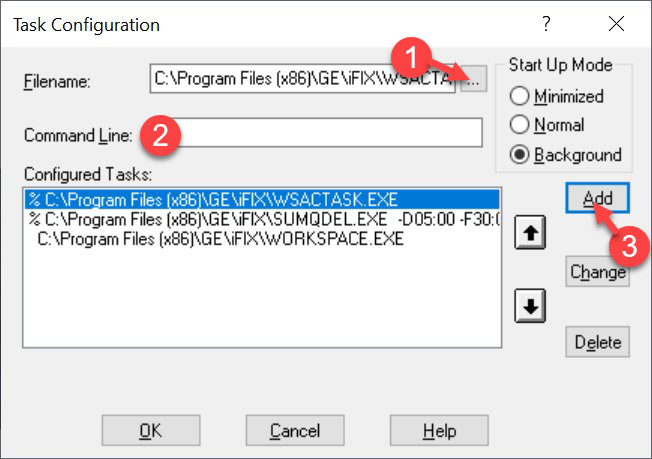
- Click OK.
- Save the SCU settings, and then close the SCU app.
- From the iFIX Startup dialog box, select iFIX to start iFIX. The iFIX WorkSpace should start automatically, by default.
- From the iFIX WorkSpace, and click the Administration tab.
- Select the Configure Historian Server option. The Configure Historian Server dialog box appears.
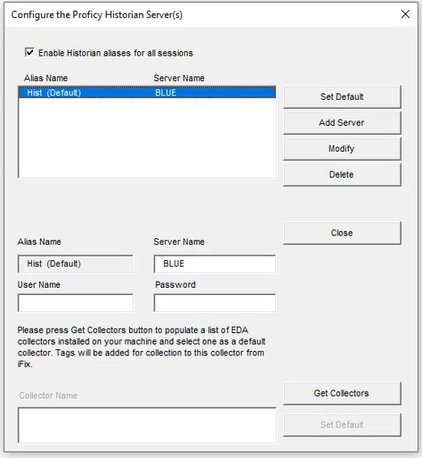
- Be sure that your Historian Server appears in the list, and that it is set as the Default.
- Click the Get Collectors button to get the iFIX Collector.
- Select the iFIX Collector name (Blue_iFIX in the following example), and then click Set Default to set the selected collector as the default collector.
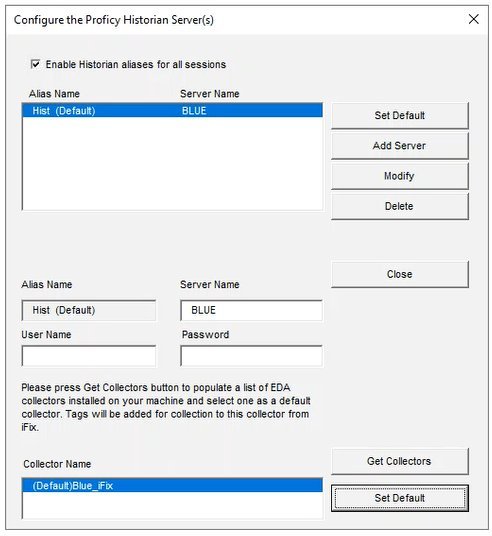
- Close the Configure Proficy Historian Server(s) dialog box.
- Restart the iFIX WorkSpace.
