MTConnect
Install the Software
The Setup program of the MTConnect OPC UA Server software is designed as a Setup Wizard which guides you through the setup procedure step-by-step. The setup program's file name is GE_MTConnectOPCUAServerSetup.msi. To start the Setup wizard either double-click on the setup file or select "Install" from the setup file's context menu. The following screen shots show all these steps in the order they occur during the setup procedure.
-
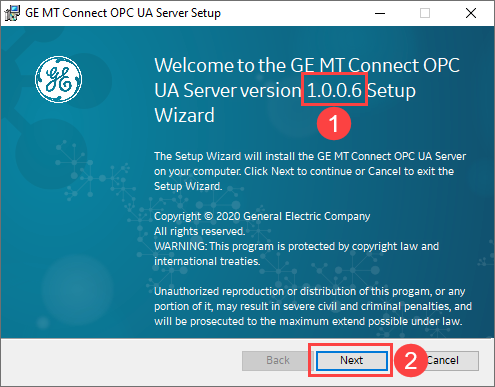
The first dialog of the Setup wizard shows the welcome text which contains the
version number
 of
the MTConnect OPC UA Server which will be installed with this setup. If this is the
version you want to install click the Next button
of
the MTConnect OPC UA Server which will be installed with this setup. If this is the
version you want to install click the Next button  to start the setup
wizard.
to start the setup
wizard.
-
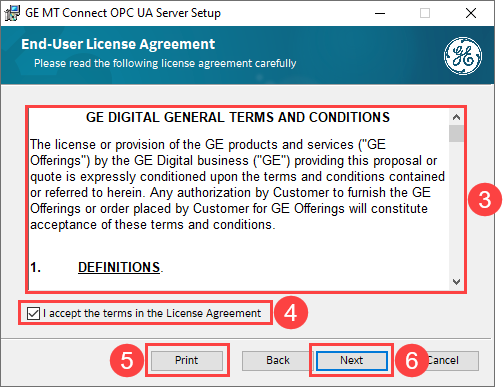
Please read the license terms
 carefully! If required you can print out the license
terms by clicking the Print button
carefully! If required you can print out the license
terms by clicking the Print button  . If you agree with these
terms check the I accept... check box
. If you agree with these
terms check the I accept... check box  . Only when this check
box is checked the Next button
. Only when this check
box is checked the Next button  becomes enabled. Click the Next button to
continue.
becomes enabled. Click the Next button to
continue.
The setup wizard sets the installation folder for the MTConnect Driver software to C:\Program Files (x86)\General Electric Company\MTConnect as the default installation folder
 . You can override this default folder by clicking the Change
button
. You can override this default folder by clicking the Change
button  and
selecting a new/different installation folder.
and
selecting a new/different installation folder.Click the Next button
 to confirm
the installation folder and to continue the setup.
to confirm
the installation folder and to continue the setup.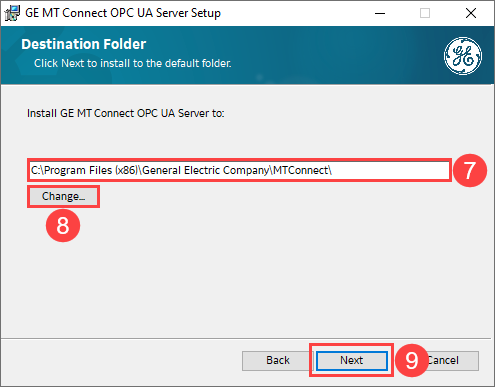
-
This Setup dialog allows you to set specific parameters for the MTConnect OPC US
Server. The current version of the server only has one such parameter, namely the
TCP Port No.
 used for the OPC UA Client-Server connections. The
default port number is set to 48031 but you can override this number in case that the
default number is already used by another OPC UA Server or other program.
Tip: Use the Microsoft Tool TCPView to check if a TCP port number is in use resp. free.
used for the OPC UA Client-Server connections. The
default port number is set to 48031 but you can override this number in case that the
default number is already used by another OPC UA Server or other program.
Tip: Use the Microsoft Tool TCPView to check if a TCP port number is in use resp. free.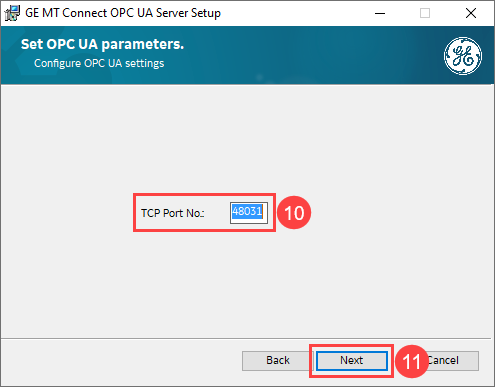
-
Click the Next button
 to confirm the installation folder and to continue the
setup.
to confirm the installation folder and to continue the
setup.
-
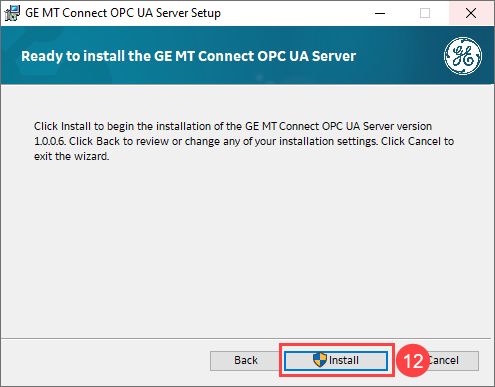
When you are sure, that all installation settings are correct, then click the
Install
 button to start the
installation process. You can click the Back button to go back to the
previous setup dialogs and to change or review the settings.
button to start the
installation process. You can click the Back button to go back to the
previous setup dialogs and to change or review the settings.
-
While the setup program is processing, the Status bar
 show the progress of
the installation and the current setup step.
show the progress of
the installation and the current setup step.

-
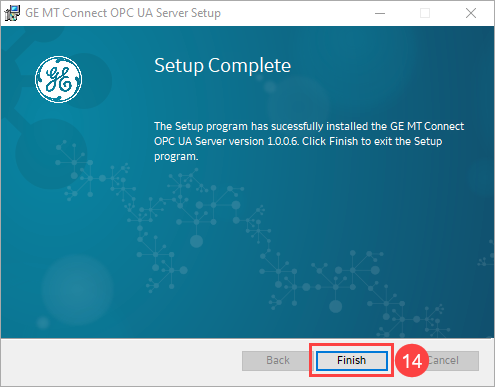
After the setup process is finished without any errors, this "Completed..." dialog
will be displayed. You can terminate the setup by clicking the Finish button
 .
.