Installing Historian Web-based Clients
About this task
- Historian Trend Client
- Historian Web-admin Console
- Rest APIs
Note: If you are upgrading to Historian 8.0 from Historian 6.0 or above, the web-based clients and the associated data will be lost. Before upgrading to Historian 8.0, you should take a backup of the data using the uaa_config_tool provided in the Utilities folder of the ISO package.
For more information, refer Migrate User Authentication Data from Historian to Common UAA Service.
Note: Historian Web-based Clients cannot be upgraded to 8.0. If you want new web-based clients, you should do either of the following:
- Install the web-based clients in a new machine.
- Uninstall the server (uaa backup should be taken) and then install Historian Web-based Clients.
Procedure
- Launch the .iso disk image file and run InstallLauncher.exe.The Install Historian splash screen appears.
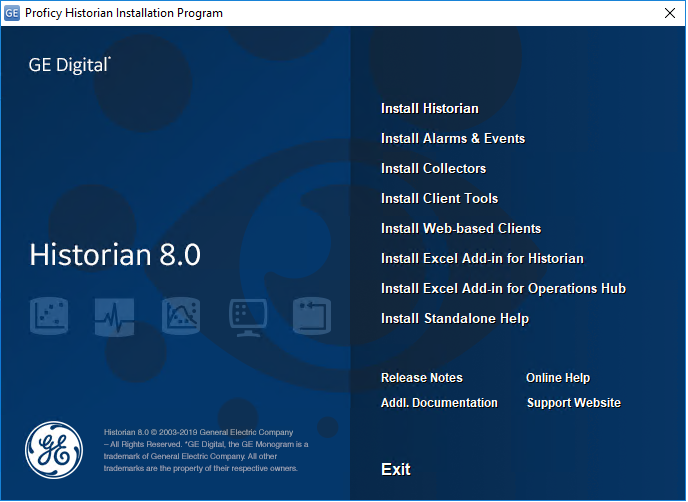
- Select Install Web-based Clients.The welcome screen appears.
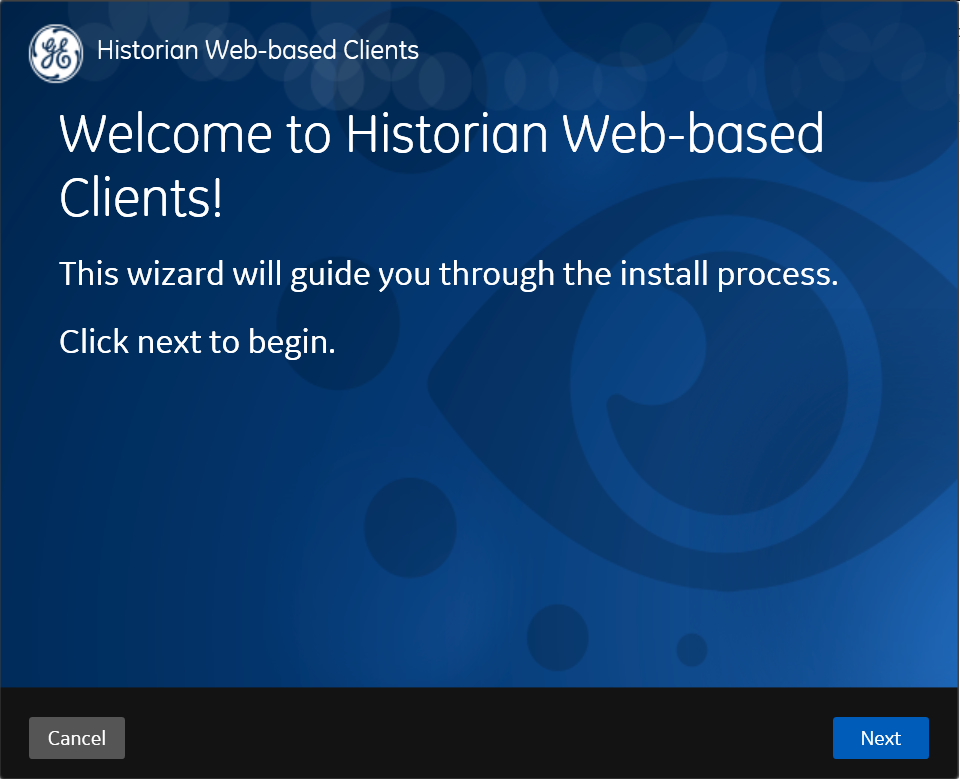
- Select Next.The TCP port assignments screen appears.
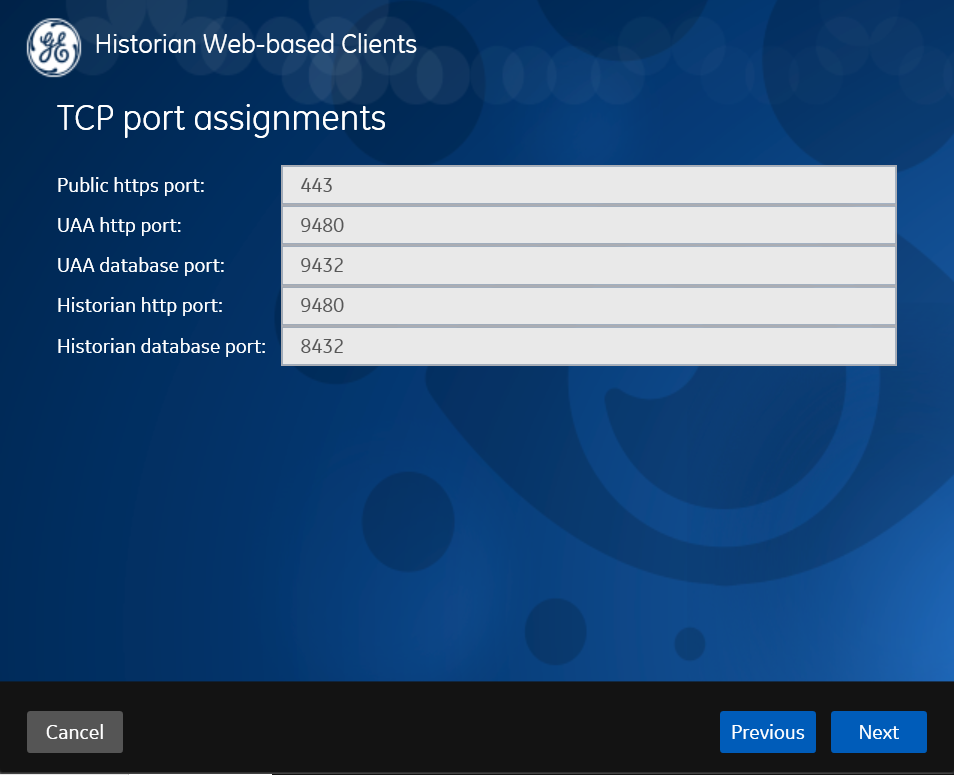
- Enter the values for TCP port assignments and then, select Next.
Field Description Public https port Port for https protocol communication UAA http port Port where UAA runs on the machine where it is installed. UAA database port Port where UAA data (postgresql UAA database) is stored on the machine where it is installed. Historian database port Port where postgresql historian database is stored on the machine where it is installed. Historian http port Port where Historian Web applications run on the machine where they are installed. The Fully Qualified Domain Name(s) screen appears.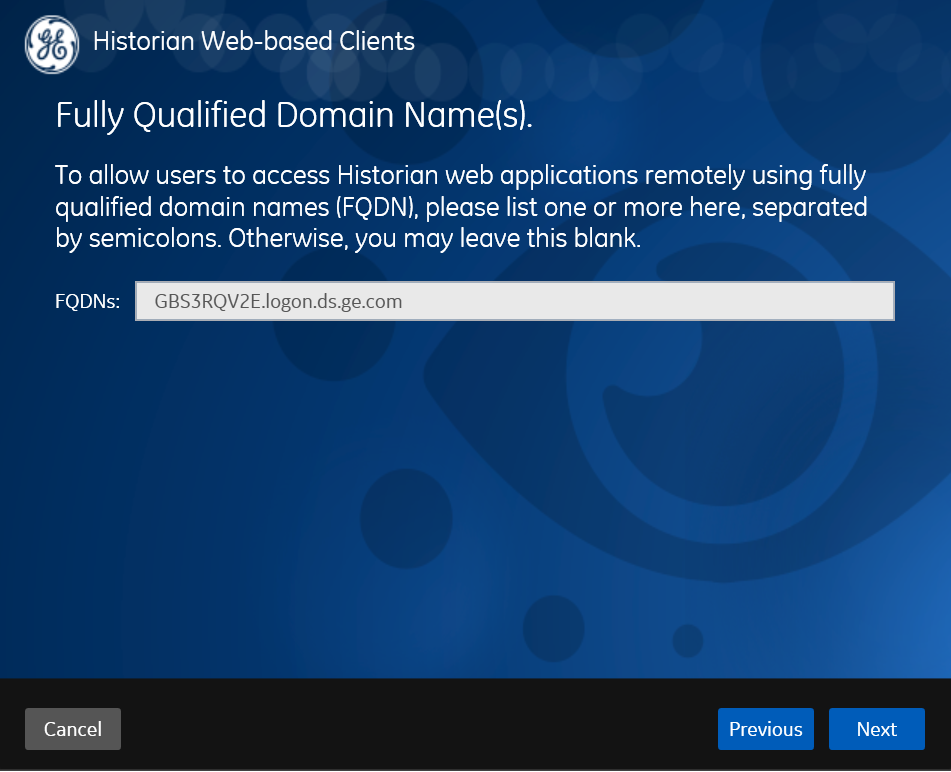
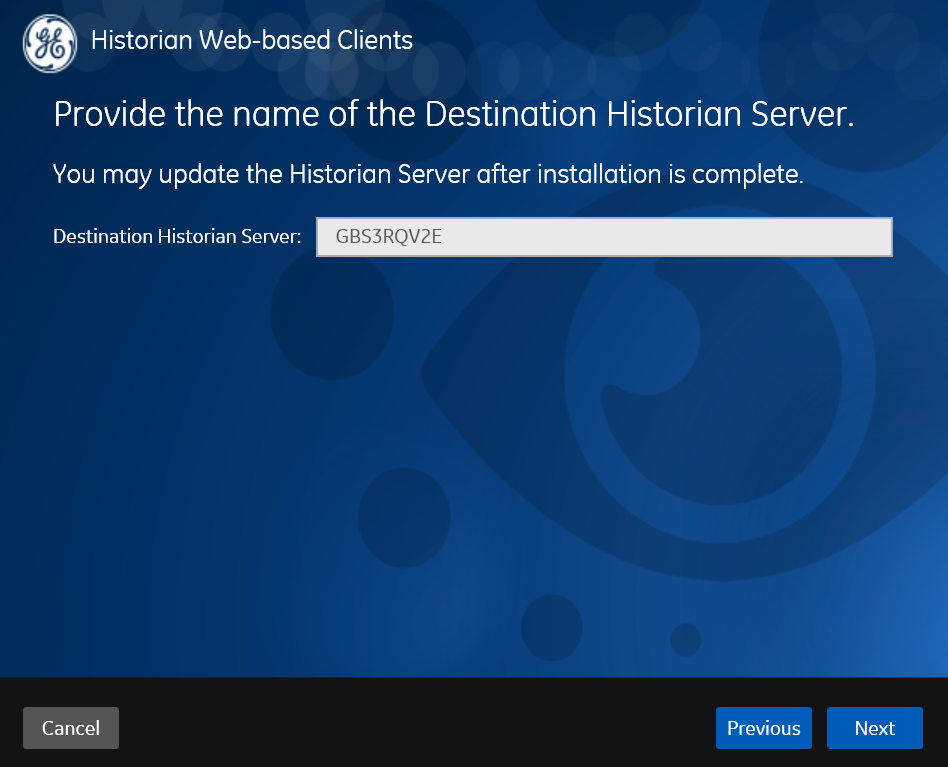
- In the FDQNs text box, enter the fully qualified domain names and then, select Next.This enables you to access Historian web applications remotely.The User Authentication and Authorization Service screen appears.
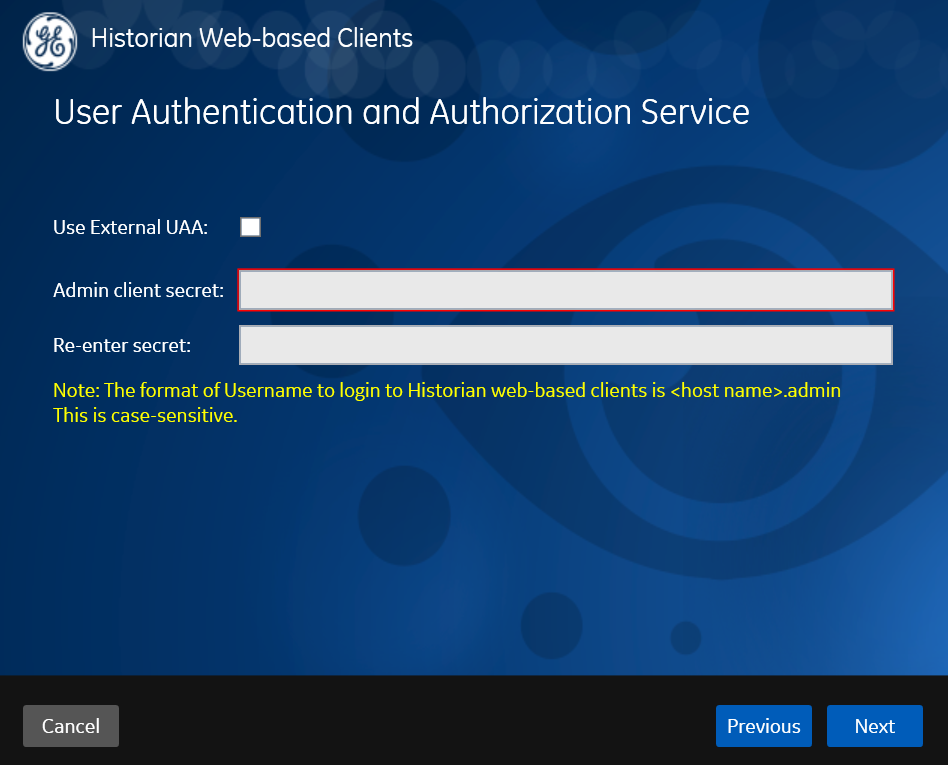
- Alternatively, if you want to use an External UAA, select the Use External UAA check box.
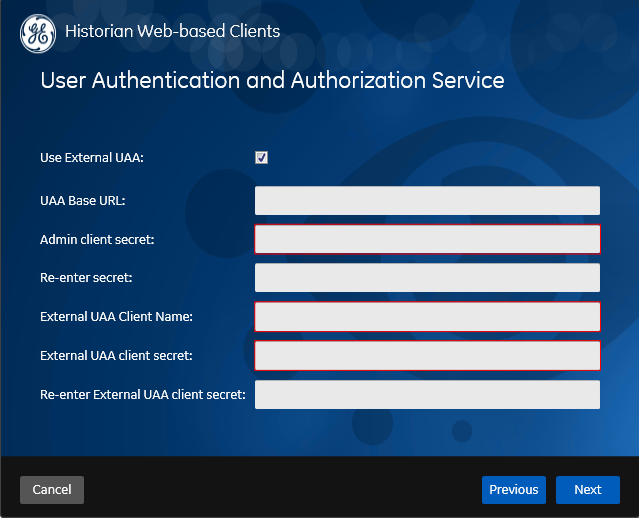
- Enter the following details and select Next.
Field Description UAA Base URL URL of the external UAA Admin Client Secret
Desired Client Secret for local Installation
External UAA Client Name
Client name of the external UAA
External UAA Client Secret Client Secret of the external UAA The following screen appears.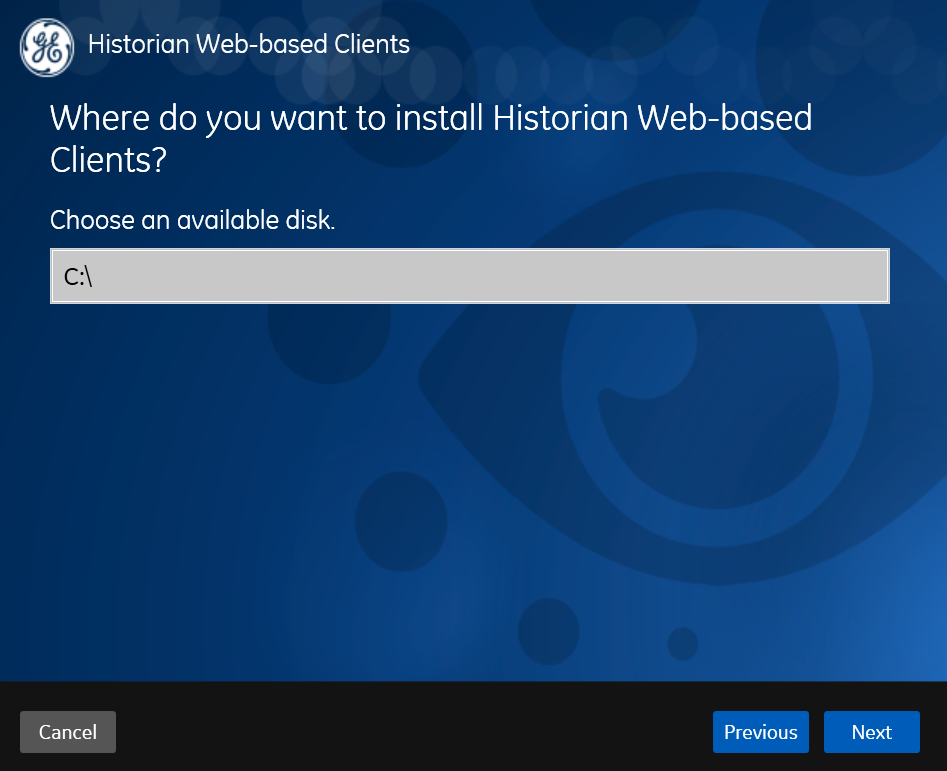
- Select where you want to install Historian web-based clients and select Next.The following screen appears.

- Select a location for log files and postgre data and select Next. The following screen appears.