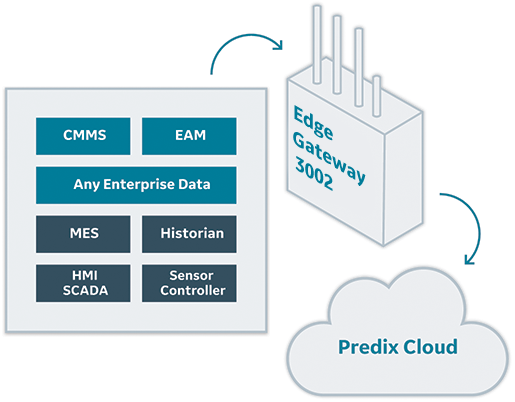
This guide will help you configure the Predix Edge Gateway 3002 for your network environment to allow the gateway to be managed by Predix Edge Manager, and to enable the rich functionality of Predix Edge and Predix Cloud.
Before you begin
The following equipment is required to connect the Edge Gateway:
Ethernet cables.
Computer.
Before you connect and setup the Edge Gateway, follow the steps in the Getting Started Guide to:
Mount the Edge Gateway.
Install the micro SD card.
Power on the Edge Gateway.
Configuring and Connecting the Edge Gateway
This will allow you to access the Predix Edge Technician Console (PETC) and configure the Edge Gateway to communicate with your networks.
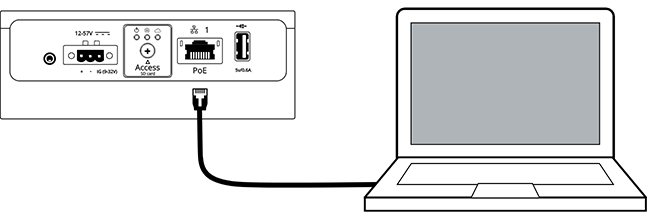
Connect the computer to Port 1 on the Edge Gateway with an Ethernet cable (or two Ethernet cables and a switch).
The Edge Gateway comes with a pre-configured static IPv4 address (192.168.100.2).
Go into your computer's network settings and set your IPv4 address to a static address on the same subnet as the Edge Gateway (e.g., 192.168.100.5).
In a web browser, go to https://192.168.100.2, which is the PETC.

 Edge Software